
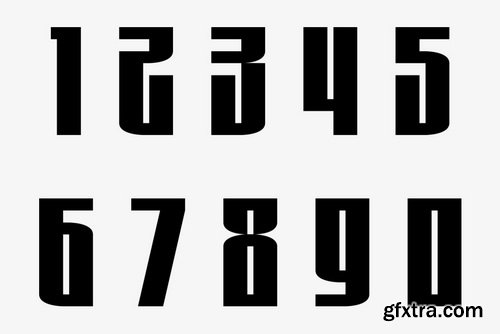
Categories: GFXTRA Special » Special Fonts

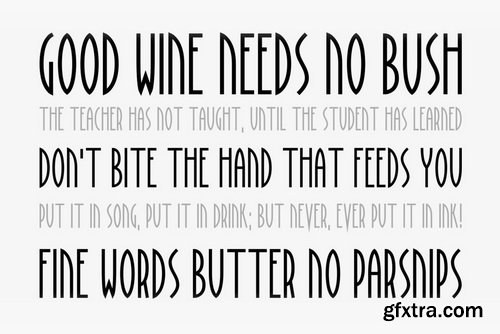

BraveWorld Font | 1 x TTF
https://www.youworkforthem.com/font/T5871/braveworld/
Categories: GFXTRA Special » Special Fonts
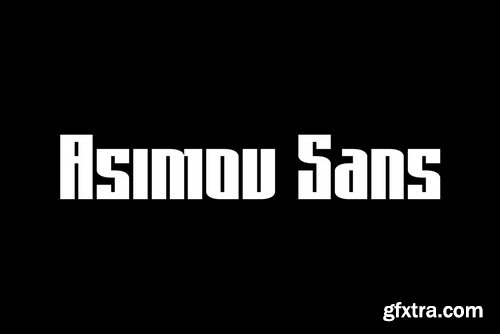
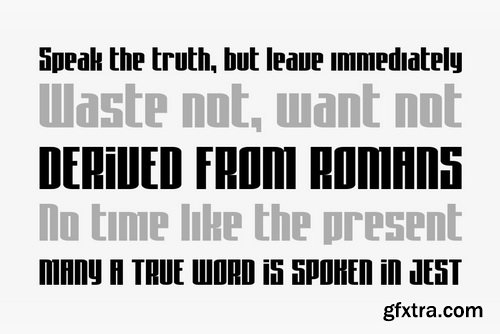
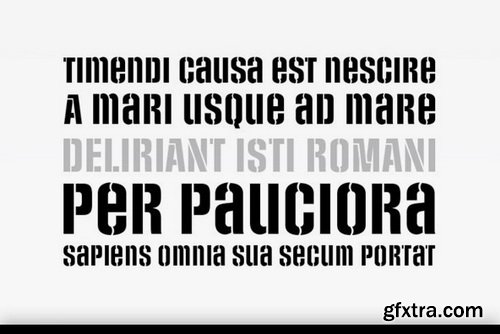
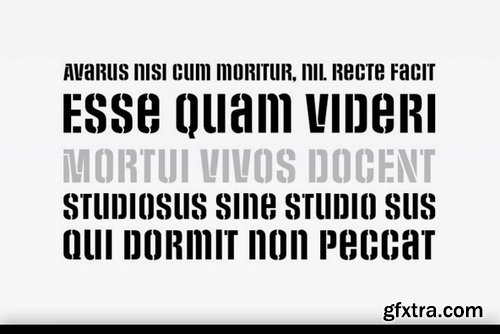
Asimov Sans Font | 1 x TTF
https://www.youworkforthem.com/font/T5861/asimov-sans/
Categories: GFXTRA Special » Special Fonts
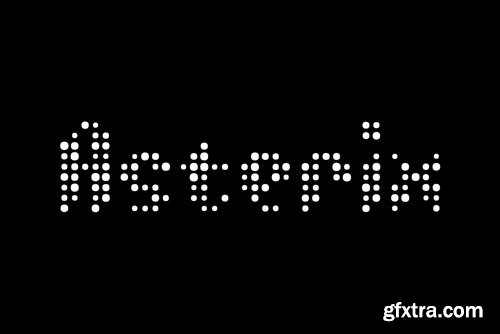

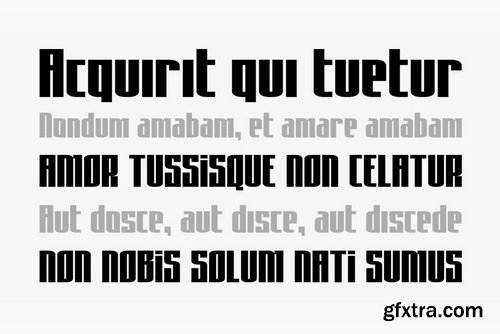
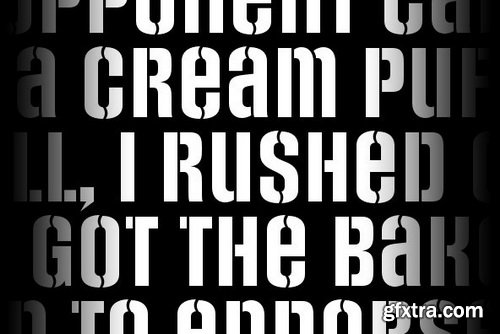
Asterix Font Family | 6 x TTF
https://www.youworkforthem.com/font/T5863/asterix/
Categories: GFXTRA Special » Special Fonts
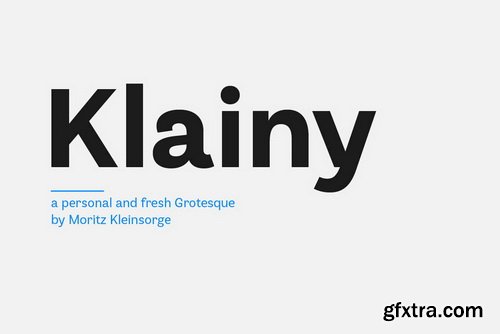

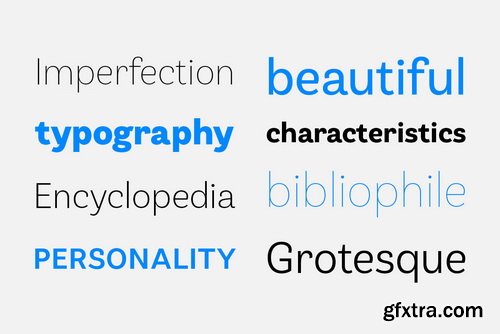
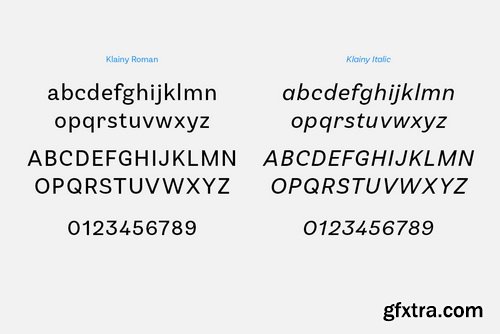
Klainy Font Family | 16 x TTF
https://www.youworkforthem.com/font/T8635/klainy/
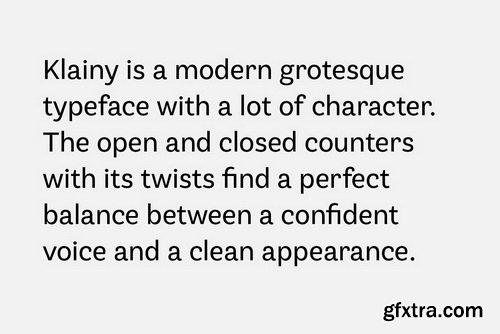
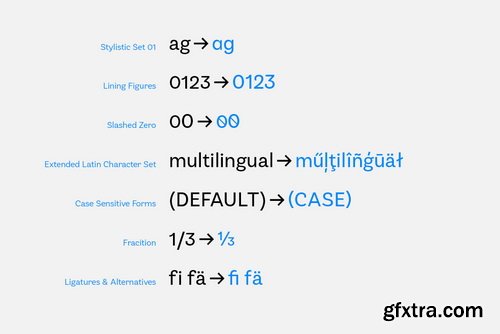
- Klainy is a modern Grotesque typeface with a lot of character. The open and closed counters with its twists find a perfect balance between a confident voice and a clean appearance.The subtle bends perform well in display sizes as an eye-catching element of the typeface. Yet, the familiar Grotesque appearance makes sure that it is comfortable to read in smaller body texts. Klainy is simply a true all-rounvder.
Categories: GFXTRA Special » Special Fonts


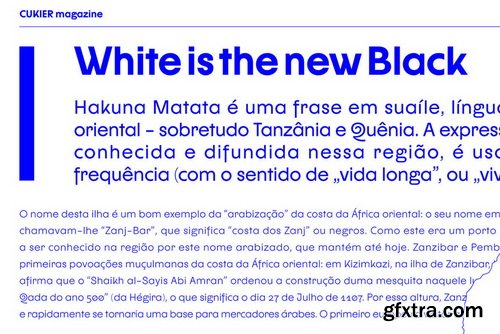
Cukier Font Family | 10 x TTF
https://www.youworkforthem.com/font/T8679/cukier/
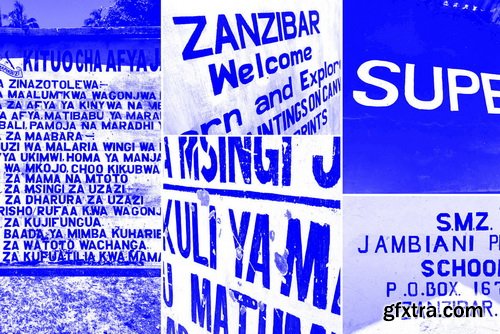
- Cukier is a sans serif, geometric typeface, inspired by the vernacular typography from Zanzibar (Tanzania). A lot of letters have intentionally made mistakes in a drawing, and this it what makes the whole font unusual. Family consist 10 styles – 5 weights with italics.
Categories: GFXTRA Special » Special Fonts
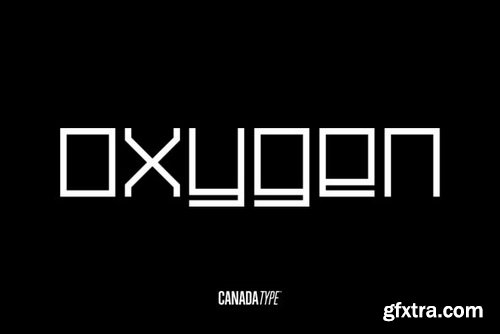
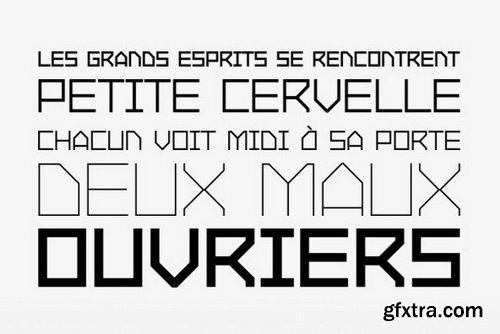
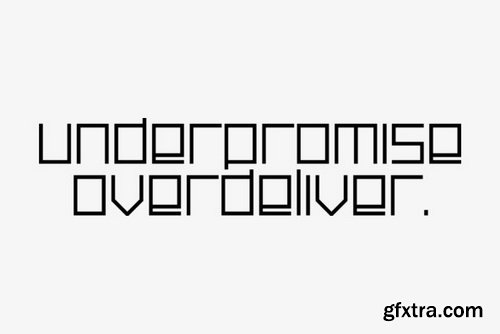

Oxygen Font Family | 6 x TTF
https://www.youworkforthem.com/font/T4341/oxygen/
- Oxygen is a square and strict grid-based unicase design that expresses the 21st century with an unmatched clinical precision and clarity.With three weights and italic counterparts, Oxygen covers geometric expression ranges from the thin and delicate artist to the sturdy in-your-face brand announcer. The italics contain a unique and noticeable elegance rarely seen in geometric alphabet.
Categories: GFXTRA Special » Special Fonts
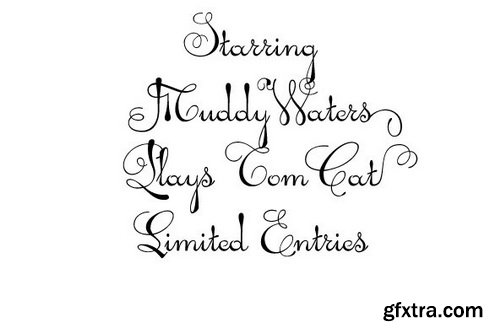
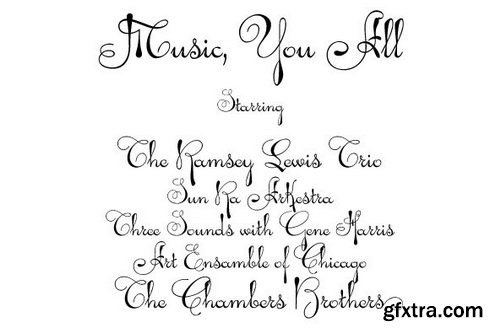
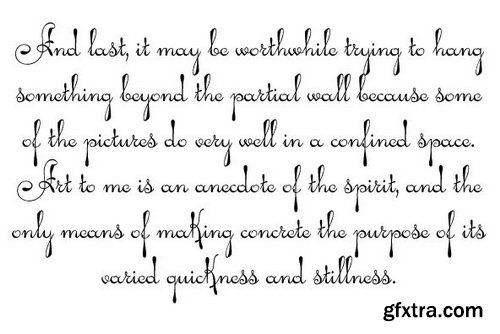
Pendulum Font Family | 2 x TTF
https://www.youworkforthem.com/font/T0065/pendulum/
- To complement the beauty of the original letters, Pendulum comes with two additional sets of swashed ending lowercase we call Swings. These Swings help Pendulum become a fantastic calligraphic plate making tool, as well as a great personalizing headline font. Plenty of alternates and extra custom endings are included for extra choice and variety.
Categories: GFXTRA Special » Special Fonts

Naga Font Family | 2 x TTF
https://www.youworkforthem.com/font/T2160/naga/
- Naga is Hans van Maanen's original creation of art deco shapes interected with intricate mazes of what could be Celtic or Mesoamerican knotwork art. The totality of the typeface borders on the mysterious, exotic and yet clearly discernible as far as readability is concerned.
Categories: GFXTRA Special » Special Fonts
Militia Sans Font Family | 2 x TTF
https://www.youworkforthem.com/font/T0116/militia-sans/
- Militia Sans is the sans-serif version of Militia. A heavy sans serif with very distinct stenciling, Militia Sans is ideal for strong designs that settle for nothing less than total obedience. A few alternates are sprinkled throughout the character set.
Categories: GFXTRA Special » Special Fonts

https://www.youworkforthem.com/font/T1188/urw-bee/
Bee is a tall, headline sans that was designed by URW Studio in 1995. Bee contains language support for West, East, Turkish, Baltic and Romanian.
Applying Post-Production Techniques in SilhouetteFX
6h 11m | FLV 1280x720 | Project Files | 5.3 GB
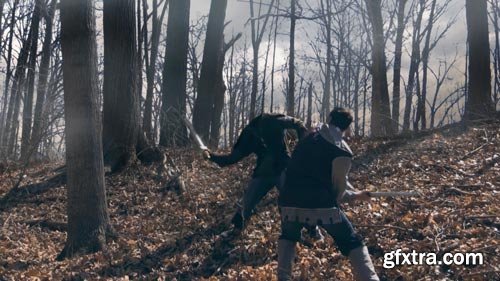
- Throughout these lessons, we'll be taking a look at SilhouetteFX. We'll start by learning how to navigate the interface and discussing the different tools we'll be using throughout the course. We'll then explore how powerful each node is, followed by rotoscoping different elements and discussing how to assign various tracking data to drive the spline. Then, we'll learn a new way of rotoscoping using IK joint to control the spline behavior. Finally, we'll extract fast and easy mattes using two different ways of Keying inside the software. We'll learn about the Paint node menu and how to create a dynamic, clean plate frame by frame. We'll continue by using the Morph node to animate two images into each other using splines to control the transformation. We'll finish by learning the stereo menu inside SilhouetteFX and how to overcome the offset between left and right eye when using the Roto and Paint node. A bonus final project was added to simulate a standard film post-production shot. We'll use what have learned so far to complete it and composite the different elements in NUKE for a final outlook. By the end of this course, you'll know how to rotoscope, track, extract matte, morph images, create clean plates in easy and difficult sequences inside SilhouetteFX, and export the final elements and shape data for use in NUKE.
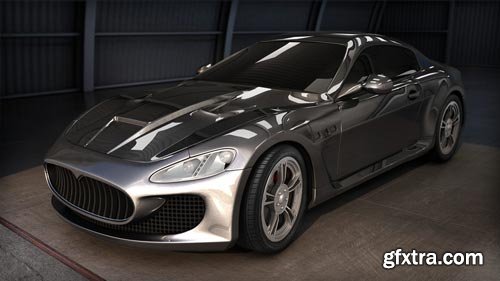
Automotive Modeling in 3ds Max 2015
8h 23m | FLV 1280x720 | Project Files | 3.2 GB
- In this 3dsMax tutorial we'll use an edge modeling method to begin building our Maserati Gran Turismo. Computer generated cars are a staple of film and commercial projects. Whether the parts all fly together before our eyes in a commercial meant to show off superior engineering, or the car is tossed around by gigantic creatures in a feature film, there is a need to create 3D automotive models. The different parts of a car present specific challenges but also provide certain advantages. The workflow for creating a car can vary, from using splines and surfaces to box modeling. Once we're happy with the shape, we can cut the panels apart and add thickness. We'll cover methods for maintaining hard edges and smooth contours. We'll cover the common polygon modeling tools, as well as some new tools in the Modeling Ribbon that will make certain tasks much easier. It's a big project, but we'll go step by step so that by the end, you'll have created a 3D car from scratch and have the knowledge you need to build your own vehicle. Software required: 3ds Max 2015.
Automating Tasks Using MAXScript in 3ds Max
1h 43m | FLV 1280x720 | Project Files | 465 MB
- Throughout these 3ds Max tutorials you'll learn how to automate tasks within 3ds Max to help boost your productivity. You'll be introduced to the 3ds Max's native scripting language called MAXScript and learn about the tools and knowledge needed to begin automating processes within your pipeline. Those are just a few of the many topics that will be covered. Some other popular highlights include: Overview of MAXScript listener, Methods of Collection, Flow of Execution, Loops, Variable, and Interface Creation. Software required: 3ds Max 2014.
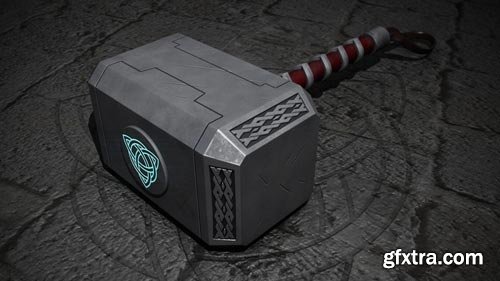
Asset Pipeline in Maya and Mudbox
1h 42m | FLV 1280x720 | Project Files | 1.9 GB
- In this series of Maya and Mudbox tutorials, we'll talk about the process of working on an asset using multiple applications - in this case Maya, Mudbox, and Photoshop. We'll begin by using Maya's powerful modeling tools to create some base geometry for a Thor inspired hammer. We'll learn to create a simple UV layout and then use those UVs to create a texture map that can help us add sculpted detail very quickly. Once we have our geometry set up in Mudbox, we'll look at ways of adding carved detail using sculpt layers. We'll also paint texture maps for our objects and learn to add new geometry to our project as it progresses. Once we're done, we'll bake out normal maps and combine them with existing bump maps. Finally, we'll transfer our project back out of Mudbox to Maya. This Maya and Mudbox training will go quickly, so if you're interested in more basic training in any of the applications used, I would recommend starting with the introductions to the particular applications and move on from there. Software required: Maya 2015, Mudbox 2015, Photoshop.

Artist Guide to Motion Graphics in 3ds Max
3h 37m | FLV 1280x720 | Project Files | 4 GB
- In collaboration with Autodesk, Digital-Tutors is excited to teach you about some of the powerful tools found in 3ds Max, and explaining how these tools can be incorporated into a motion graphics project. We will start by looking at storyboards and animatics of the final project. From there, we will learn how to set up lights and materials for our scene inside of 3ds Max, we will learn how to use particles to create dynamic effects such as sparks for our project, and we will spend several lessons discussing the new State Set feature, which is a powerful new system for creating and managing your render passes within 3ds Max. We will also learn how this State Set tool allows for the seamless transfer of rendered passes, 3D cameras, lights, and helper objects from 3ds Max directly into After Effects. From here, we will learn how to use helper objects from 3ds Max to quickly create 3D layers in After Effects, use 3D nulls to drive 2D effects like lens flares and glows, and learn how Maxscripting and expressions can be used to create highly-customized, procedural animation effects within 3ds Max. Software required: 3ds Max 2013, After Effects CS6.

Applying Matte Painting Techniques to Image Editing for the Web in Photoshop
1h 30m | FLV 1280x720 | Project Files | 545 MB
- Throughout these lessons, we'll look at matte painting techniques that can be applied to web design. In this tutorial, we'll talk about poor quality imagery, how to fix images, and how to work around problematic graphics that can cause problems for even the most seasoned web veteran. By the end of this tutorial you'll be able to work faster, smarter, and output images that look much better than anticipated. Software required: Photoshop CS3.
Animation Techniques in Photoshop CC
1h 48m | FLV 1280x720 | Project Files | 260 MB
- In this Photoshop tutorial, we'll look at how we can use Photoshop as an animation tool. We'll start by getting familiar with the timeline in Photoshop and the differences between video and regular layers. We'll then look at what extremes and keyframes are and why they're important to animation. Next, we'll discover how using onion skins can help our workflow by allowing us to see the natural curve of movement. We'll go over breakdowns, in-betweens and the different roles that they play in pose-to-pose animation. We'll also create straight ahead animation and look at when we would use this technique over pose-to-pose. By the end of this Photoshop training, you'll have a greater understanding of how animation works and will be well on your way to creating your own stories. Software required: Photoshop CC 2015.
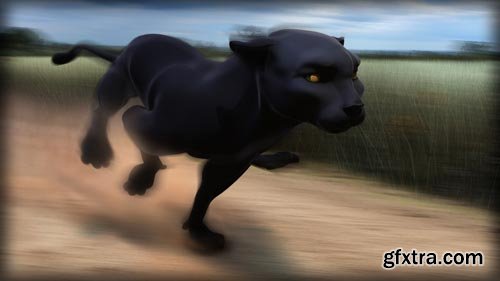
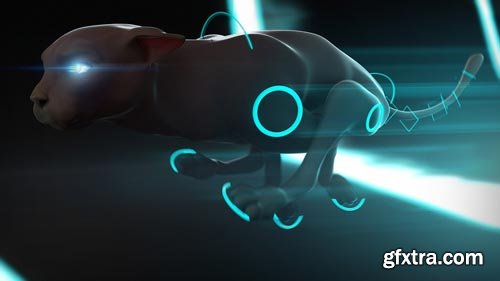
Animating Quadrupeds in Maya
1h 50m | FLV 1280x720 | Project Files | 960 MB
- In this series of tutorials we will learn how to animate a run cycle for a quadruped-type creature. We'll start by learning how to set our animation preferences. We'll then have a look at references we can use to guide us in achieving realism throughout the animation. After this, we'll begin our blocking pass, and from there, we'll move to refining our work with time-saving techniques. Once we've completed the cycle, we'll then learn how to translate it forward. By the end of this training, you'll have the skill-set to animate your own quadrupeds in Maya. Software required: Autodesk Maya 2014.
Animating Quadrupeds in 3ds Max
1h 45m | FLV 1280x720 | Project Files | 925 MB
- In this series of tutorials we will learn how to animate a run cycle for a quadruped-type creature. We'll start by learning how to set our animation preferences. We'll then have a look at reference we can use to guide us in achieving realism throughout the animation. After this, we'll begin our blocking pass and from there, we'll move to refining our work with time-saving techniques. Once we've completed the cycle, we'll then learn how to translate it forward. By the end, you'll have the skill-set to animate your own quadrupeds in 3ds Max. Software required: Autodesk 3ds Max 2014.
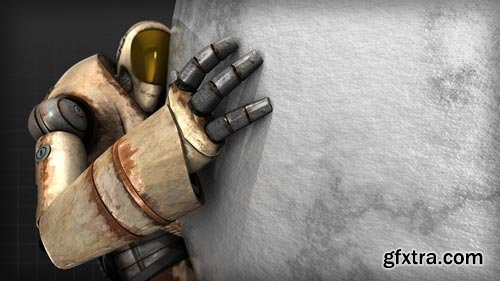
Animating In-game Biped Characters in Maya
2h 48m | FLV 1280x720 | Project Files | 1.2 GB
- Throughout these lessons, we'll learn how to animate in-game locomotion animations for biped characters. We'll look at the mechanics of using Maya 2014 as a sketching tool for designing the animations. Functions we'll address are the graph editor, key frames, in-betweens and breakdowns as well as basic functionality of animation layers. Animations we'll focus on include idle, run, jump, attack, hit-reaction, death, celebration and deselect-idle animations. By the end of this tutorial you will have a deeper understanding of how to animate an in-game biped character using Maya. Software required: Maya 2014.
Categories: GFXTRA Special » Special Fonts
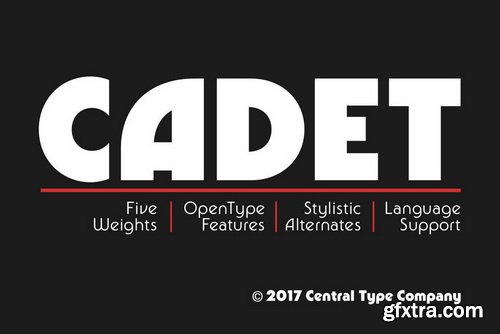
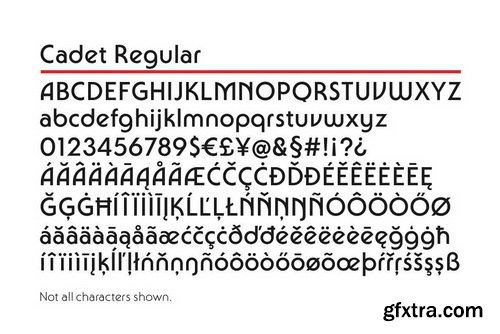
Cadet Font Family | 5 x TTF
https://www.youworkforthem.com/font/T7653/cadet/
- What I set out to achieve with Cadet was a design that retained much of the character and charm of the style but stayed rooted enough in traditional sans serif forms to avoid becoming overly decorative and abstract. Cadet is not based on or inspired by any single typeface but is instead an amalgamation of some of my favorite elements of the style.While Cadet may at first appear to be constructed with perfect geometry, subtle adjustments have been made throughout in order to get more natural, smooth, and well-proportioned letters.
Categories: GFXTRA Special » Special Fonts


Sympathique Font Family | 3 x TTF
https://www.youworkforthem.com/font/T2759/sympathique/
- One can never be too tall or too thin, the old adage goes. Sympathique is quite fashionably both. Rooted in two separate film face ideas called Hairstreak (English) and Mossman (American), Sympathique takes art deco to its ultimate and inevitable high fashion goals. Breezy and cool, Sympathique combines mostly androgynous majuscules with distinctly feminine minuscules to reach one of the most elegantly expressive voices a poster can ever have. Sympathique comes in all popular font formats and a very extended character set.
Categories: GFXTRA Special » Special Fonts
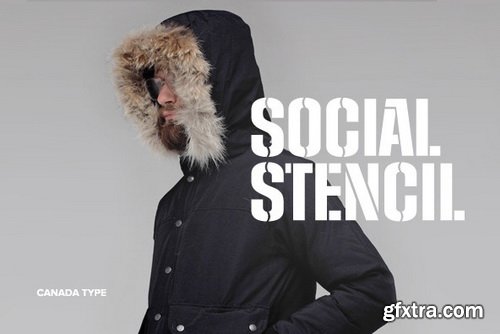
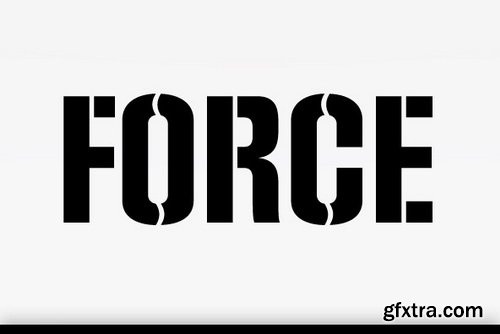
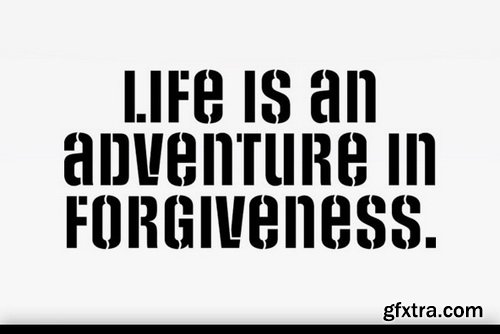
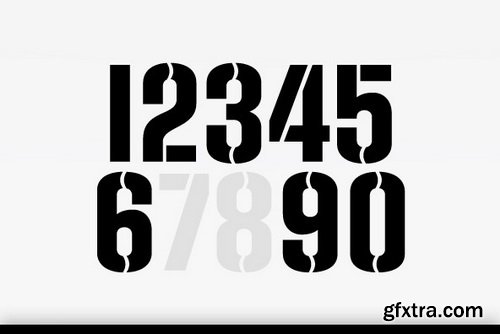
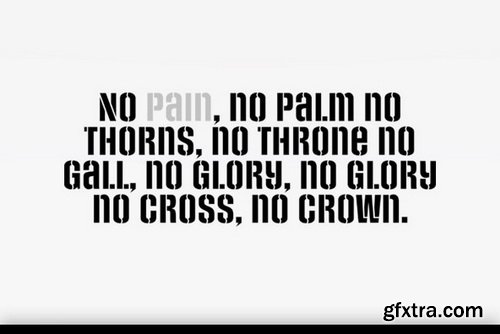
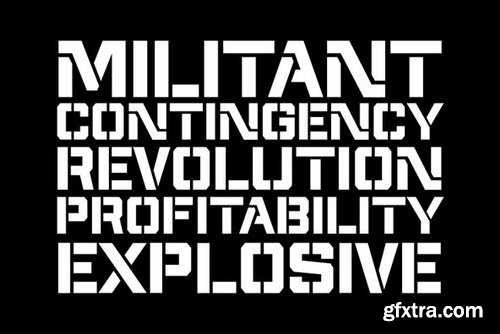
Social Stencil Font | 1 x TTF
https://www.youworkforthem.com/font/T2875/social-stencil/
- Social Stencil is perfect for revolutionary design. As you well know, there's always a revolution starting somewhere. Now you can start your own.
Top Rated News
- Finding North Photography
- Sean Archer
- John Gress Photography
- Motion Science
- AwTeaches
- Learn Squared
- PhotoWhoa
- Houdini-Course
- Photigy
- August Dering Photography
- StudioGuti
- Creatoom
- Creature Art Teacher
- Creator Foundry
- Patreon Collections
- Udemy - Turkce
- BigFilms
- Jerry Ghionis
- ACIDBITE
- BigMediumSmall
- Boom Library
- Globe Plants
- Unleashed Education
- The School of Photography
- Visual Education
- LeartesStudios - Cosmos
- Fxphd
- All Veer Fancy Collection!
- All OJO Images
- All ZZVe Vectors
 Categories


