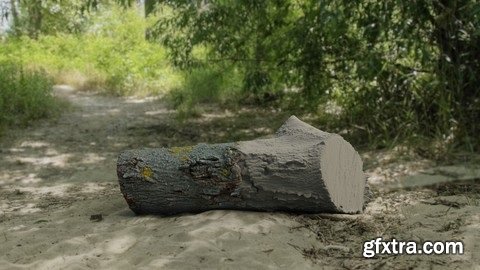
In this series We will use Photoshop Camera RAW for color correcting Our photos and save them as JPG files, then We will go to Agisoft Photoscan, to generate our model. Masking photographs, aligning, generating dense point cloud data, clean that data, generate mesh, textures. We will also merge chunks, because this object need to be done from two scans. Main part of the trunk, and bottom part which was covered, because it need to stand this way.
Then We will go to Zbrush, for fixing scan errors. Decimating our scan to get usable mesh, and bake displacement maps for later use in Blender/Cycles and it's new Principled Shader. Before rendering We will also use Substance Designer and Painter to make PBR textures and off course Photoshop for some cloning and relighting.
Home Page - https://www.udemy.com/from-photo-to-3d-model-photogrammetry-tutorial-series/

Top Rated News
- Sean Archer
- John Gress Photography
- Motion Science
- AwTeaches
- Learn Squared
- PhotoWhoa
- Houdini-Course
- Photigy
- August Dering Photography
- StudioGuti
- Creatoom
- Creature Art Teacher
- Creator Foundry
- Patreon Collections
- Udemy - Turkce
- BigFilms
- Jerry Ghionis
- ACIDBITE
- BigMediumSmall
- Boom Library
- Globe Plants
- Unleashed Education
- The School of Photography
- Visual Education
- LeartesStudios - Cosmos
- Fxphd
- All Veer Fancy Collection!
- All OJO Images
- All ZZVe Vectors


 Categories


