Categories: GFXTRA Special » Special Fonts




Fairweather Font Family | 18 x TTF
https://www.youworkforthem.com/font/T9046/fairweather/
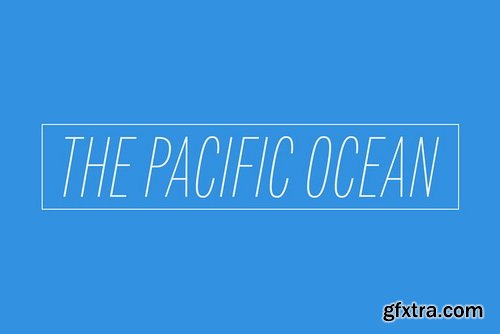
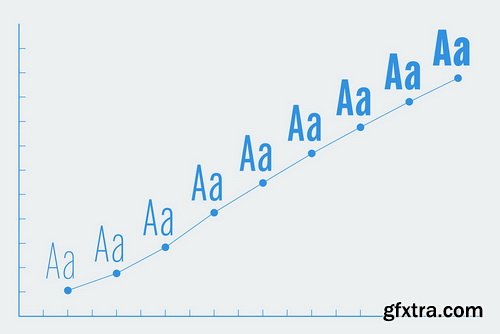
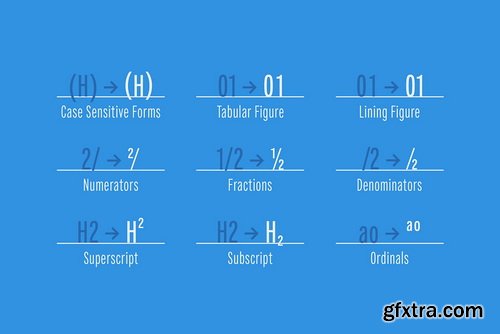
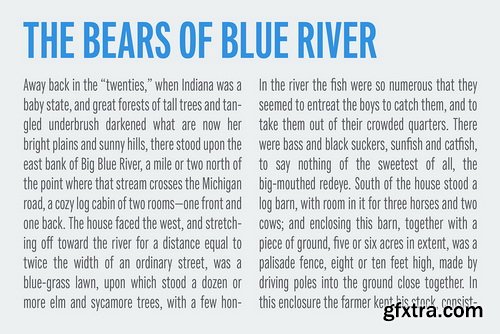
Fairweather is a fresh air. Clear, transparent, and lucid as if it is the spring and autumn sky. By designed condensed, legible and perspicuous, Fairweather is perfect for titles and captions. But "Title and Captions" are the just examples. Very neutral and plain letter forms make the font versatile.
Categories: GFXTRA Special » Special Fonts
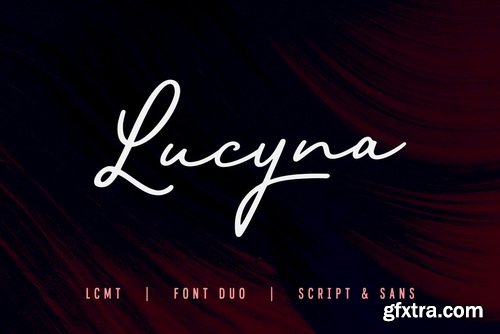
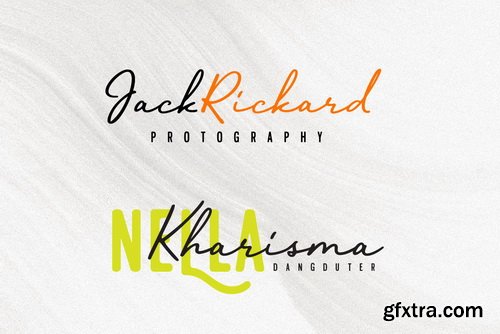



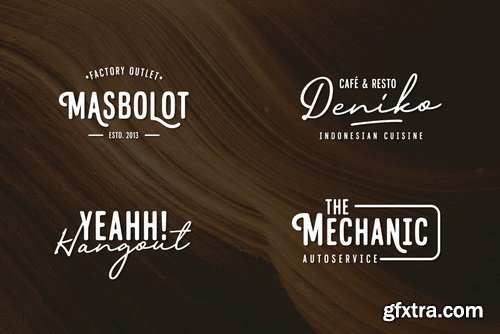
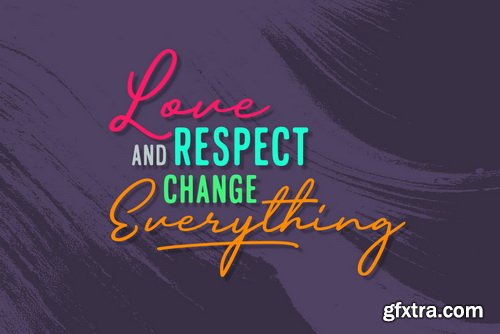

Lucyna Font Duo | 2 x TTF
https://www.youworkforthem.com/font/T9034/lucyna-font-duo/
Lucyna Script is a handwritten typeface that gives you a relaxed yet beautiful style for your design. Sleek signature style is perfect for use to create a classy design, especially if paired with Lucyna Sans.Lucyna Sans is an all-caps sans serif font specially paired with Lucyna Script. Thick but rounded shape gives a strong but not rigid impression. You can mix and match these two fonts to create a casual yet classy design.
Categories: GFXTRA Special » Special Fonts
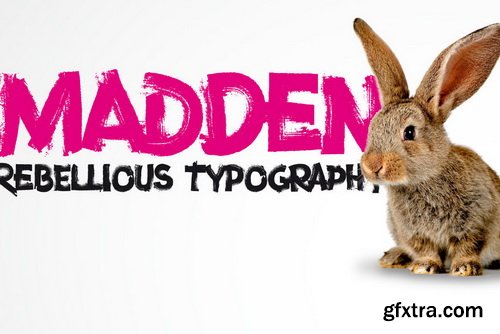
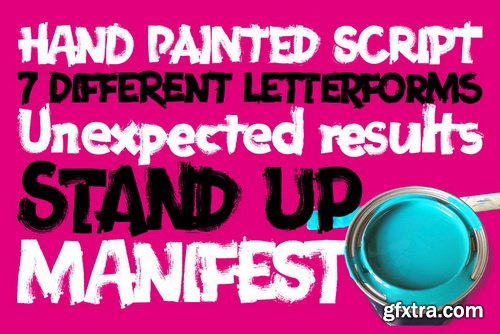



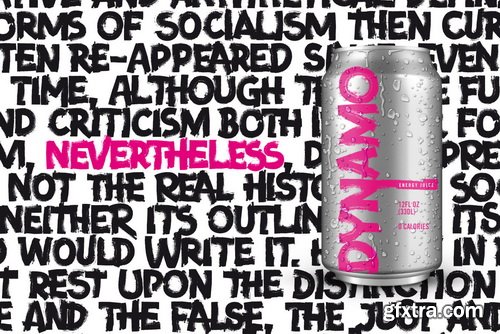
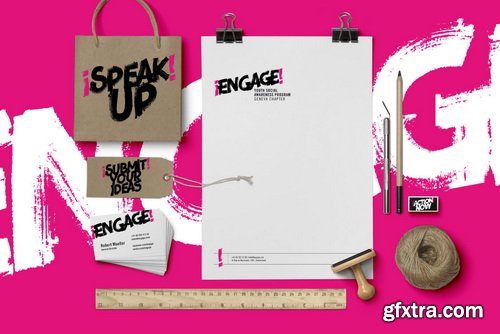

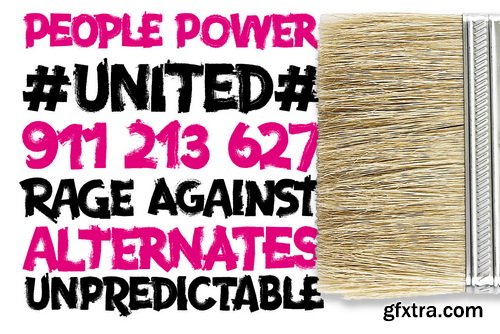
Madden Font | 1 x TTF
https://www.youworkforthem.com/font/T9036/madden/
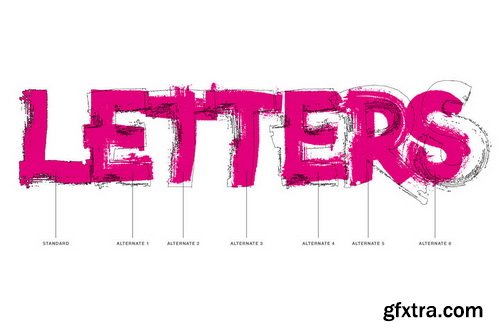
Madden is a bold, single weight typeface designed for use in titles, editorial design, branding or any other setting that requires capturing attention. With a bold, rugged stroke, inspired by the wide brush used in hand made protest signs, this typeface exploits Opentype features to randomly replace letters set in a line of text, thereby simulating the erratic and irregular letterforms that could be create by a manual writing. Madden is designed to give you an expressive and impactful typeface that will grab attention and shout your message.
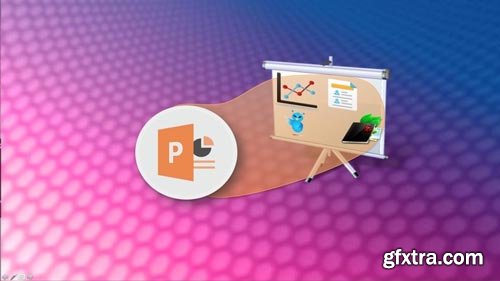
Create amazing animated presentations in PowerPoint
MP4 | Video: 1280x720 | Duration: 7h | Language: English
Present you business, your ideas, your thesis, your researches, the results of your work is crucial wherever you are active.If you do not do the right presentation you will not amaze your audience, you will not entice your potential customers.In this course I will show you how to use Microsoft (TM) PowerPoint to create amazing animated presentations.
Categories: Tutorials » Photography and Video
Create a Video Intro for your own brand in After Effects
MP4 | Video: 1280x720 | Duration: 6h | Language: English
These video intros (or video bumpers as many people call them in the video industry) are eye-catching, brand-strengthening, and audience-growing. Anybody that ever watched television can remember McDonald’s ba da ba ba ba jingle and logo fading onto the screen. Most great YouTube channels have a short intro bumper, and these creators are sometimes making a living off of the videos they post online.
Create a Logo & Eye Catching Social Network Images
MP4 | Video: 1280x720 | Duration: 1.5h | Language: English
Learn how to create your logo design, social network cover photos and shareable post images.Do you need a logo for your startup or blog and visuals for social media? The good news is – you don’t need to hire a designer or buy expensive softwares to create good-looking visuals. You can do it YOURSELF and with FREE tools, thanks to the different resources that are available on the Internet. There are so many easy and quick solutions out there! Actually, even the most highly paid pros take help from the same resources you are going to learn in this course.
Categories: Tutorials » Other Tutorials
Complete SEO Guide For Ranking Page 1 Google & Youtube A-Z course
MP4 | Video: 1280x720 | Duration: 2h | Language: English
SEO Strategies For Ranking at Top of Google 2015 With Organic Search Results. Complete SEO Guide From A - Z.This course is for anyone needing help improving their search results both Google and Youtube. All White hat strategies. These tips will not get you penalized by Google.
Complete PHP Course With Bootstrap3 CMS System & Admin Panel
MP4 | Video: 1280x720 | Duration: 20h | Language: English
This Course is for Everyone, Newbies, Beginners and Professionals. This Course will provide you the Basic Understanding of the PHP to the Advance Techniques to Create beautiful Applications. After watching this complete course, You will find how easy is to make a Complete Personal CMS System with an Advanced Admin Panel Using Bootstrap 3.With the right mindset, understanding, and application of the teachings in this course, you will instantly begin to move towards Using PHP With Booststrap3 CMS System & Admin Panel!

Java Basics - A Complete course for Beginners
MP4 | Video: 1280x720 | Duration: 4.5h | Language: English
If you want to learn basic java programming then you are at the right place. In this course you will learn all the basic concept of java. After taking this course you will have complete knowledge of all the basic concepts and you will be able to learn java programming at advanced level. You can also polish your knowledge from this course. If you don't know anything about programming you can also take this course to start learning coding. I will teach you from beginner level. First of all, I will teach you how to set editor for writing coding.

Complete guide to install Wordpress, PHP on Cloud,AWS or VPS
MP4 | Video: 1280x720 | Duration: 3h | Language: English
Installing any site on cloud server is no easy task. A single Wordpress site needs number of software not only installed, but configured together to function. A main reason why people like to stay away from cloud server. But situation has changed now. This course helps you to deploy optimized Wordpress, PHP & HTML site on cloud server in minutes. No prior experience is needed.

The Complete Facebook Ads & Marketing Course 2017
MP4 | Video: 1280x720 | Duration: 11h | Language: English
This is the most popular, up-to-date, and comprehensive Facebook Marketing Course on Udemy, with 11.5 hours and 122 lectures that will enable you to go from being a Beginner to an Advanced Facebook Marketer. Take this course today and start creating effective Facebook Marketing campaigns to your target audience. Within just 2 lectures, you will learn how to get Facebook Likes for $0.003 (or potentially lower) and later you will learn to get Facebook Video Views for 0.0003!
Categories: Tutorials » Development

Android development tutorial for Beginners
MP4 | Video: 1280x720 | Duration: 3h | Language: English
Are you looking have a career in Android Development? Maybe you have a lot of app ideas but don't know how to start with those? Or you are seeking a career in Android Development and Java Programming that will finally land you in a great opportunity and also you can start a business of building Apps on the side?? Build a strong foundation in Android Development, Android Studio and object-oriented Java Programming with this tutorial and complete course.
Categories: Tutorials » Photography and Video

Animated Infographics In 30 Minutes Using PowerPoint
MP4 | Video: 1280x720 | Duration: 3.5h | Language: English
You’ve always wanted to learn how to easily edit your photos. Lightroom is the perfect tool for you. It’s robust, yet intuitive. This course will teach you everything you to start photo editing today.This Lightroom training course is the perfect course for beginners. Learn all of the basics to get started in just over an hour of content. Whether you are using Lightroom 5, 4, or 3, this course will teach you how to use the program to its fullest potential

Animated Infographics In 30 Minutes Using PowerPoint
MP4 | Video: 1280x720 | Duration: 1.5h | Language: English
You may create wonderful movies utilizing Microsoft PowerPoint and never simply boring slideshows! When you’ve got creativity by your facet, you should use PowerPoint as an efficient animation device to create video infographics!On this class, Sick present a step-by-step course of, to create wonderful animated infographics utilizing free icons, shapes and textual content in PowerPoint. Proper from selecting coloration themes & icons, and including numerous animation & transition results, to including narration & exporting movies in excessive definition. Sick cowl all of it!
Photoshop: Quick & Easy Animation Like a Professional
MP4 | Video: 1280x720 | Duration: 2h | Language: English
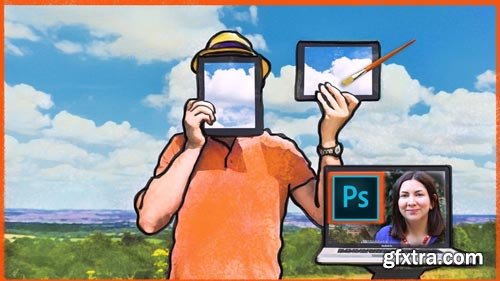
Become an animator by the end of today even if you "can't draw." Take your videos to new heights using Adobe Photoshop.In this course you will learn my very favorite animation and video rotoscoping techniques to create powerful multimedia projects ranging from laughably simple (think stick figures waving) to more sophisticated and complex (such as my own award-winning series of films screened internationally in film festivals and online since 2002.)

Animate Hipster Logos & Badges in After Effects
MP4 | Video: 1280x720 | Duration: 1h | Language: English
Step-by-step guide to designing and animating a fun badge logo using Adobe Illustrator and Adobe After Effects.Using a few templates (available in the downloadable resources of the course), you can create this badge from scratch. You can also use the Adobe Illustrator and After Effects project files to follow along and practice.If you have a bit of After Effects skills, this is a just a fun project for you to re-create and customize for any of your own projects!
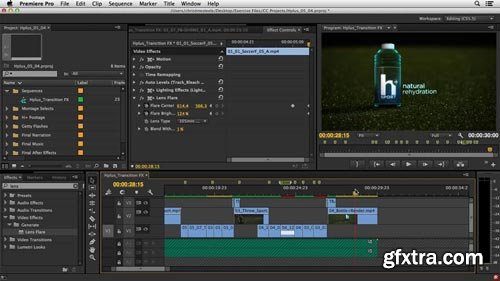
Premiere Pro: Commercial Editing Techniques
MP4 | Video: 1280x720 | Duration: 2h 43m | Language: English
Learn to creatively compose short-form advertisements using Adobe Premiere Pro. Author Christine Steele explores how to communicate and market an idea that does more than just sell a product or service, by experimenting with concepts that help the audience feel, rather than think. The techniques in this course break from the more narrative style of film and television storytelling, and allow you to explore alternative visual messaging styles. First Christine shows you how to use style frames and temporary audio to nail down an idea before you start editing. Then you'll learn how to construct the rough cut: in this case, an action montage interspersed with hero shots that define and highlight the brand messaging. You'll refine your cut with motion graphics, final audio, and effects, and learn to manipulate color, lighting, and timing to increase your audience's emotional reaction to the spot. Last, learn the basics of layering sound effects, audio filters, and subtle volume adjustments to create an effective sound mix for your commercial.
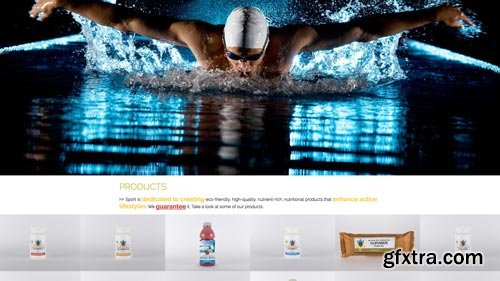
Building a Responsive Single-Page Design with PostCSS
MP4 | Video: 1280x720 | Duration: 2h 30m | Language: English
Learn how to create responsive single-page websites with PostCSS, the CSS post-processor engine that extends the power of CSS through javascript. These step-by-step instructions take existing HTML markup and add style, animation, and responsive navigation. This combination allows for dynamic one-page sites—a popular design that's now even faster and easier to create with PostCSS. Along the way, Ray Villalobos introduces some handy plugins, tips for integrating PostCSS into a Gulp-based workflow, and techniques for making layouts more responsive with Flexbox.
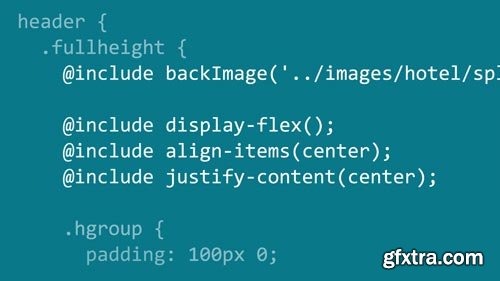
Building a Responsive Single-Page Design with Sass
MP4 | Video: 1280x720 | Duration: 4h 55m | Language: English
Learn how to build dynamic, responsive single-page designs with HTML, javascript, and CSS. The website featured in this course combines docking navigation, columns that adjust without cluttering your site layout or HTML markup, and animated scrolling effects that respond to user direction. Author Ray Villalobos shows you how to build it. He starts with a lean, easy-to-read template, and then explains how to add the features that make single-page designs so great, with these four frameworks
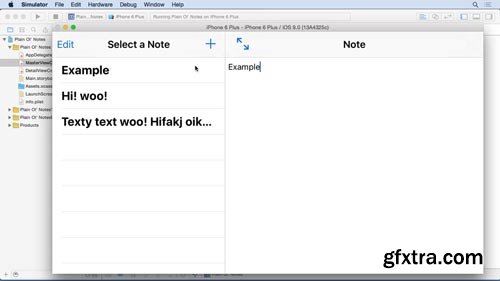
Building a Note-Taking App for iOS 9 with Swift
MP4 | Video: 1280x720 | Duration: 1h 20m | Language: English
Android, Windows, and iOS support are all required for a successful app launch. This course, revised for 2015, is one in a series that will demonstrate the similarities and differences between the three platforms via the development of a complete note-taking app. This installment uses Xcode and Apple's Swift programming language to get the job done. Author Todd Perkins shows you how to set up your development environment, create a new app, and customize the app to support a split-screen view.

Android Development Essential Training: Distributing Apps
MP4 | Video: 1280x720 | Duration: 1h 31m | Language: English
Once you've created an Android app, it's time to share it with the world. Luckily, there are many avenues to distribution. This course focuses on the two primary channels: Google Play and the Amazon Appstore. The first step is to prepare your app, including cleaning up, minifying, and (optionally) obfuscating code to prevent others from decompiling and stealing it. Then you'll learn how to package and export an APK file for distribution. Author David Gassner then walks you through each step involved in releasing an app through Google Play or Amazon, including creating graphics and marketing copy, setting pricing, registering for developer programs, uploading the APK, and publishing the app. Finally, once your app is released, learn how to track its success with the built-in reporting features offered by both stores.
Android Development Essential Training: Create Your First App
MP4 | Video: 1280x720 | Duration: 2h 39m | Language: English
Explore the world of Android app development. This training course prepares you to create your very first Android app—helping you understand the technologies at work and prepare your computer for development and testing. Learn how to configure Android Studio, the Android SDK, and emulator software, and study the different files in a typical Android app: build scripts, the app manifest file, permissions tags, and icons. Finally, learn how an app is built from the bottom up, with screens, activities, and layouts. David Gassner shows how to define the visual presentation with XML and widgets, and control the logic with Java code. This simple overview is designed to provide you with everything you need to know to understand the Android development process. Later courses in the Essentials series concentrate on the specific skills you need to master.
Categories: Tutorials » Other Tutorials
Affinity Photo Essential Training
MP4 | Video: 1280x720 | Duration: 3h 31m | Language: English
Affinity Photo is a powerful photo post-processing program for the Mac platform, combining raw conversion, photo retouching and enhancement, and compositing. In this course, Steve Caplin explores all of Affinity Photo's essential features. Each tutorial helps unlock another of Affinity Photo's capabilities, from its raw conversion and editing controls to its advanced selection tools, image enhancement features, filters and special effects, and compositing features. Whether you want to change the look of a photograph, scale and crop images, or create complex photomontages, each adjustment is completely nondestructive, allowing you to retain quality and incorporate additional effects as you go. To help Photoshop users who may be considering Affinity Photo, Steve also compares and contrasts the two applications.
Categories: Tutorials » Other Tutorials
Affinity Designer Essential Training
MP4 | Video: 1280x720 | Duration: 3h 16m | Language: English
introduces the workflows and tools required to get up to speed with this fast, powerful, and professional application. He shows how to work with workspaces in Affinity Designer, called personas; use the drawing tools; and create custom brushes. This course is designed to help artists feel more confident and become more proficient using Affinity Designer in their own work.
Top Rated News
- Sean Archer
- AwTeaches
- Learn Squared
- PhotoWhoa
- Houdini-Course
- Photigy
- August Dering Photography
- StudioGuti
- Creatoom
- Creature Art Teacher
- Creator Foundry
- Patreon Collections
- Udemy - Turkce
- BigFilms
- Jerry Ghionis
- ACIDBITE
- BigMediumSmall
- Boom Library
- Globe Plants
- Unleashed Education
- The School of Photography
- Visual Education
- LeartesStudios - Cosmos
- All Veer Fancy Collection!
- All OJO Images
- All ZZVe Vectors


