Categories: PhotoShop » Brushes *.ABR
Ron's Birds Photoshop Brushes
Photoshop CS+ | ABR
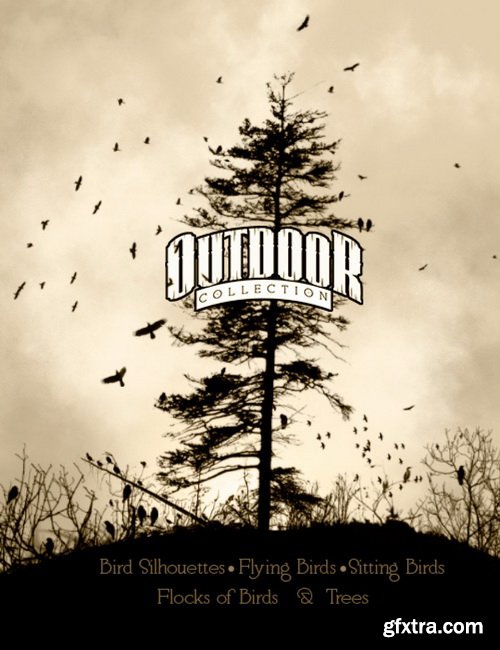
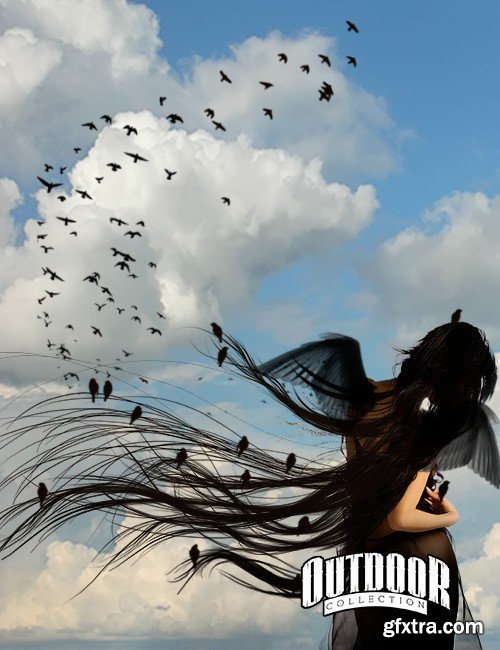
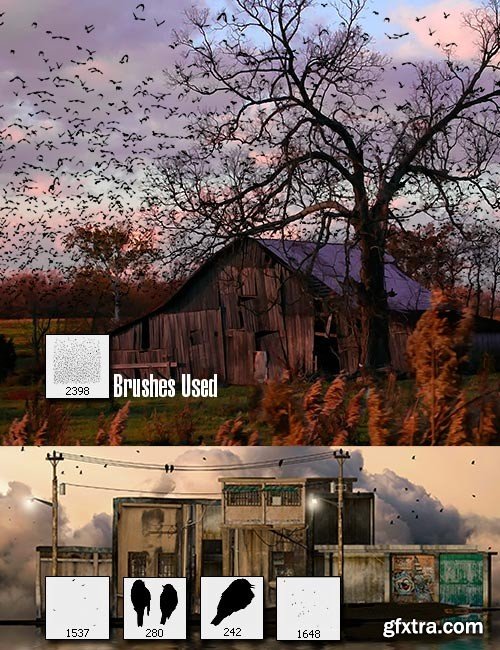
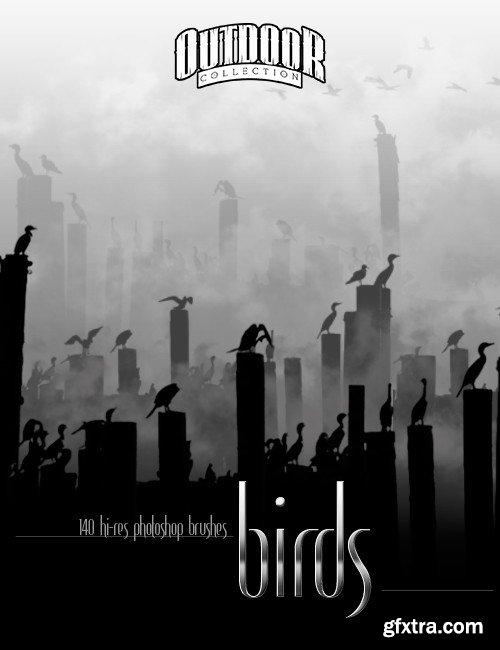
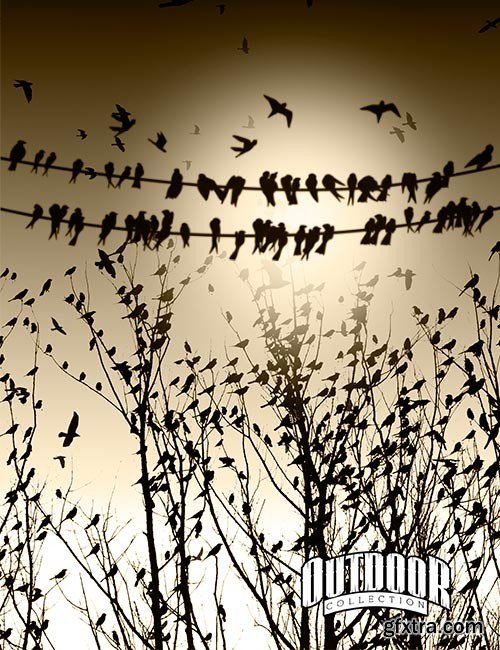
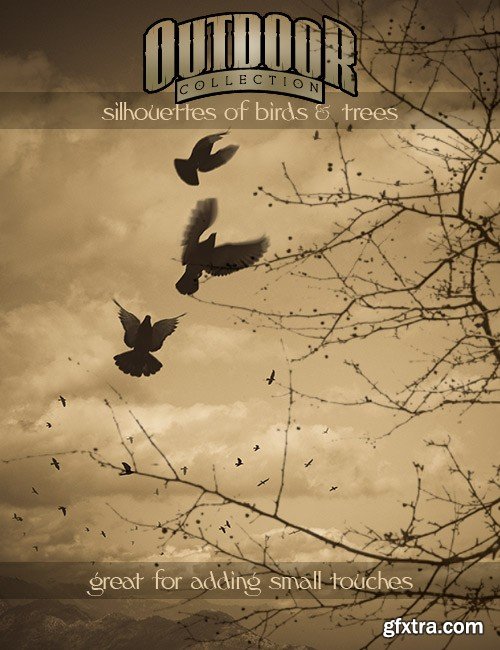
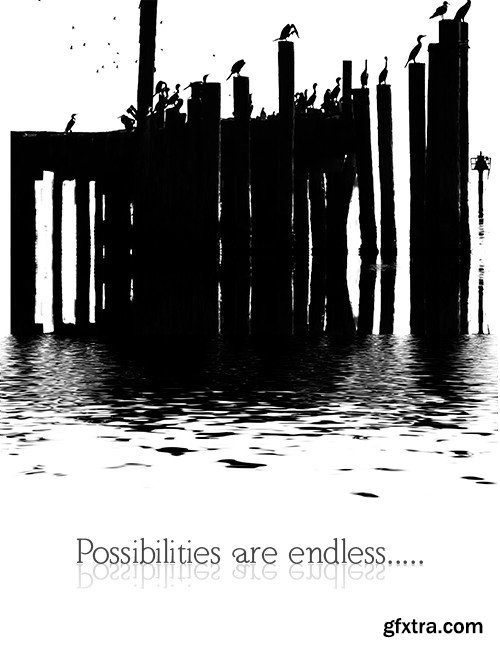
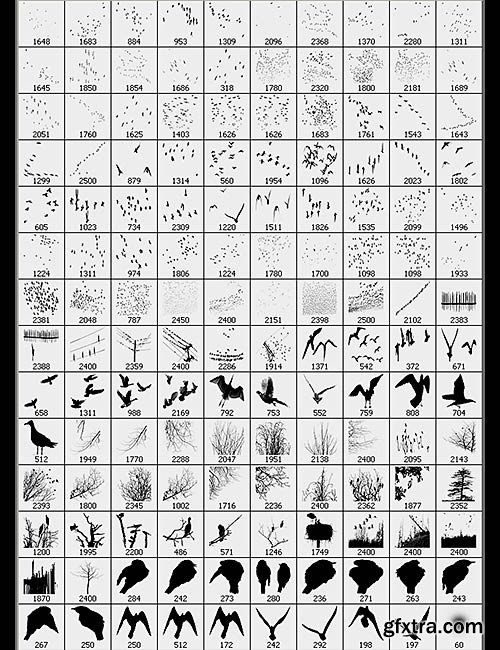
- Many times I am needing something to finish out a illustration that might be a outdoor scene, maybe a few birds or trees to help. I created these just for that reason.
- Yes, there are flying birds, flocks of birds, sitting Birds, birds on power lines, birds in trees, plus a few trees and branches.
- I think you will find these useful and handy in helping bring your layouts to life!
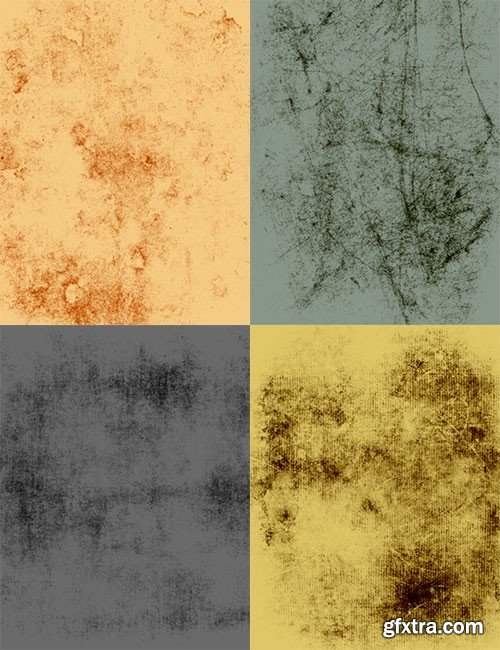
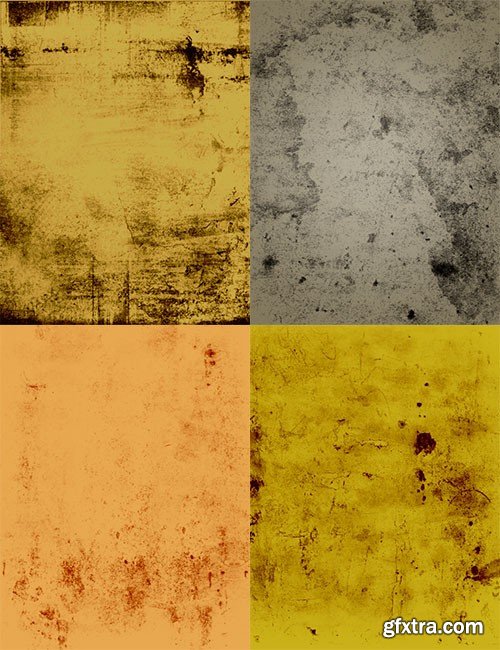
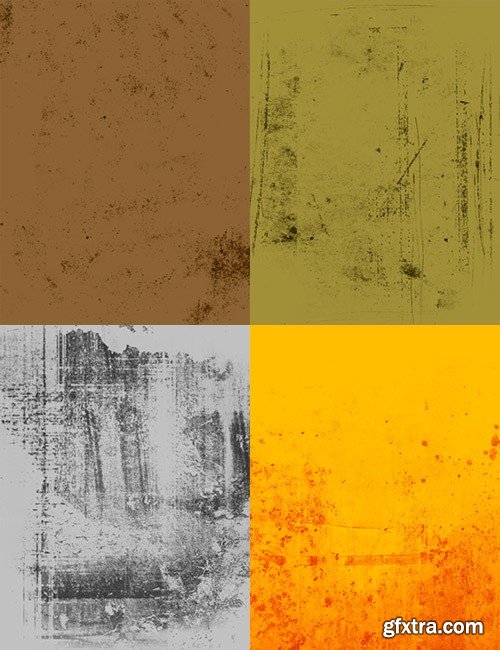
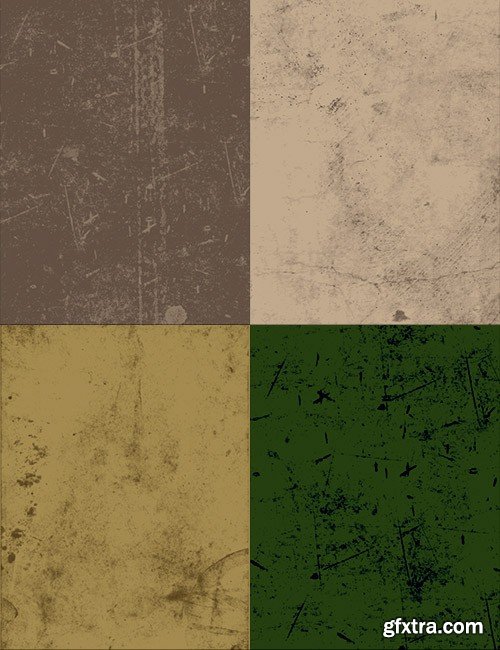
Ron's Aging Dirt and Grit Photoshop Brushes
Photoshop CS+ | ABR
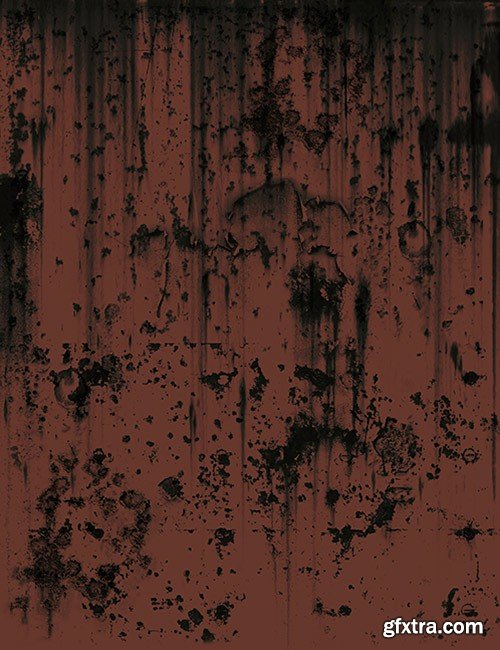
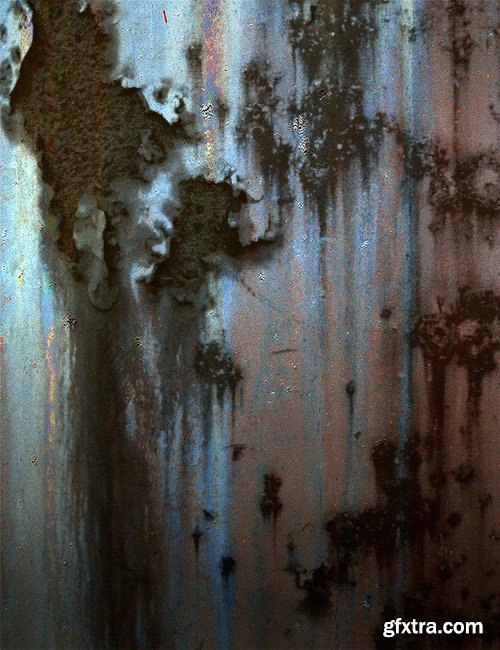
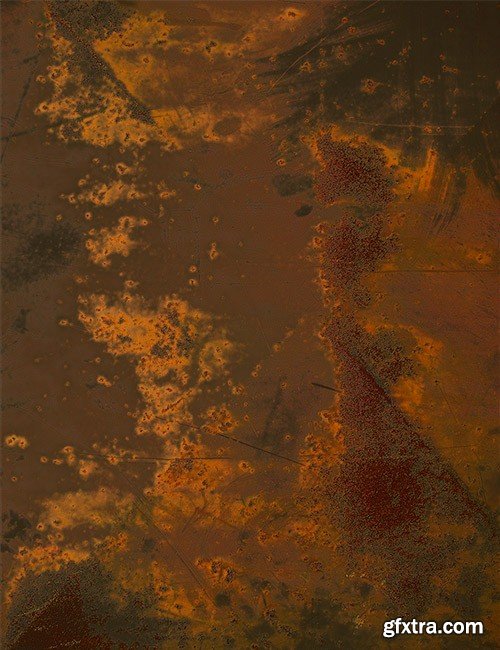
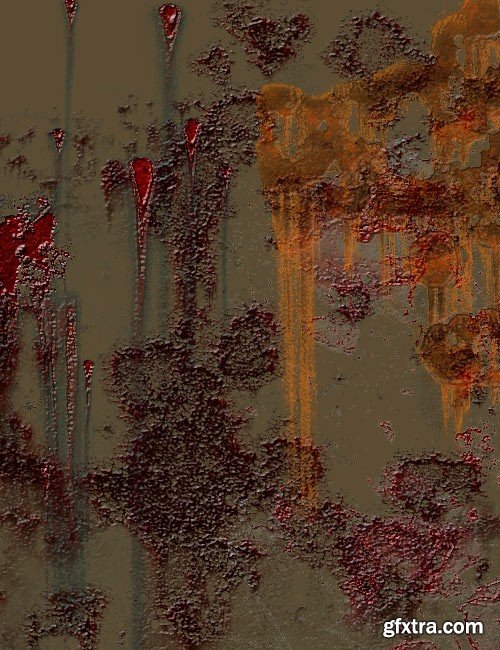
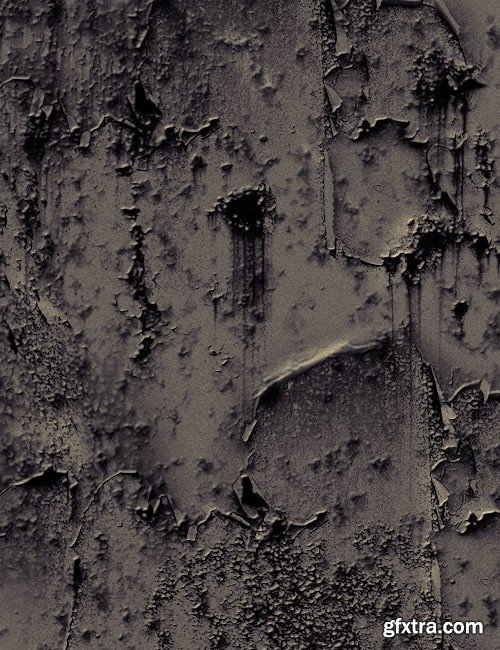
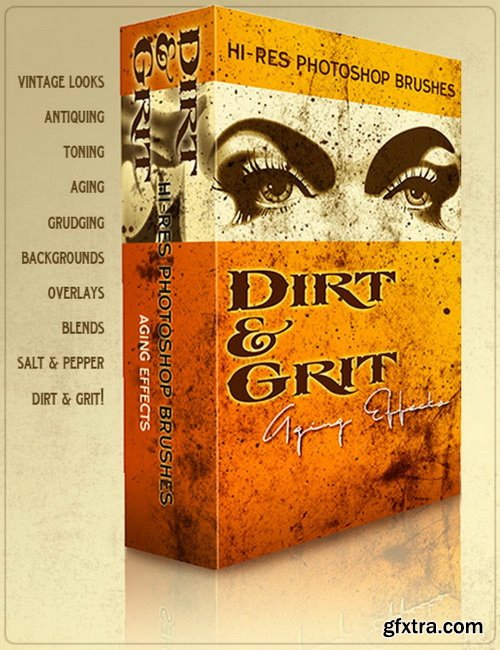
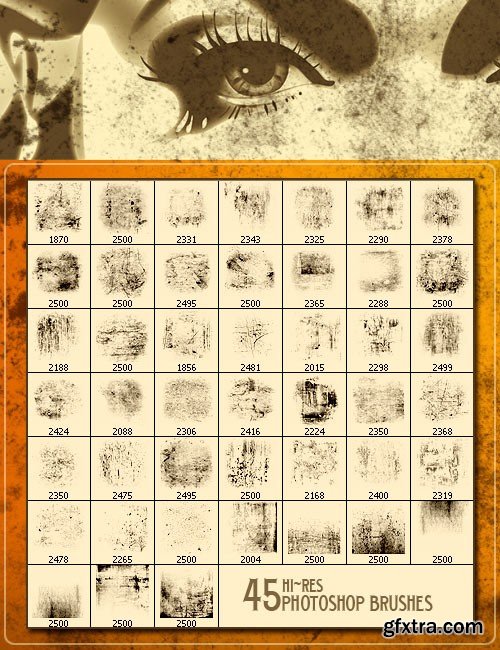
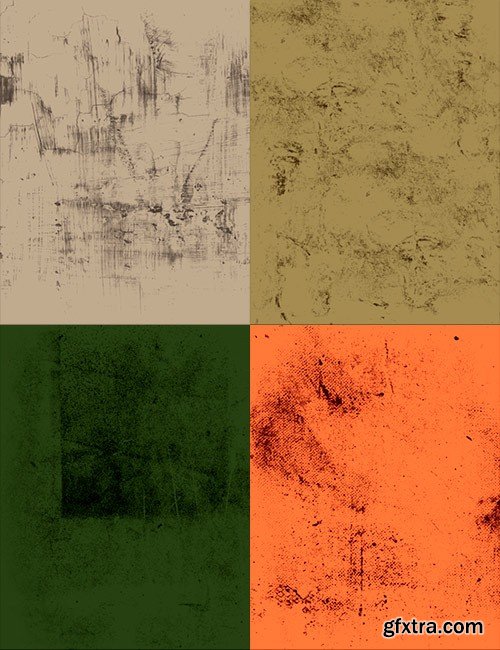
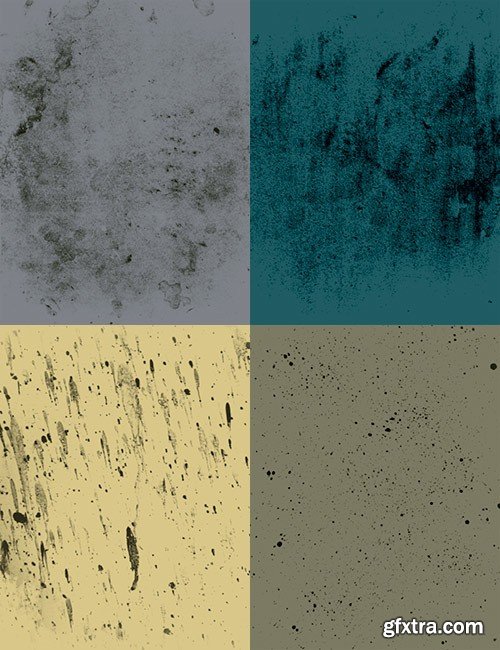
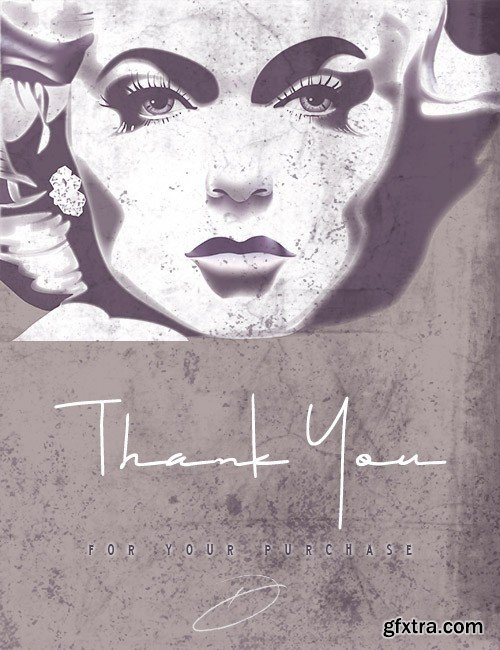
High-resolution Photoshop brushes of dirt and grit. You can mix-n-match and use blend modes for Vintage looks with backgrounds, antiquing, aging effects, toning, grudging, and overlay on art work to create a non-polished look and feel. These are huge brushes that can easily be used in print work, I think you will find these very useful and profitable.
Categories: PhotoShop » Brushes *.ABR
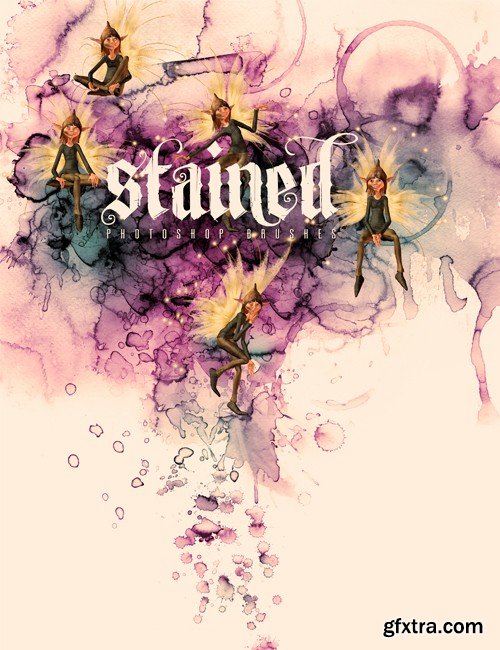
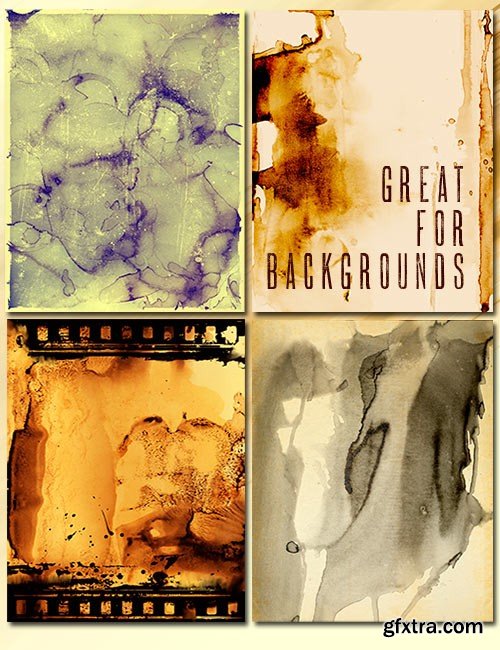
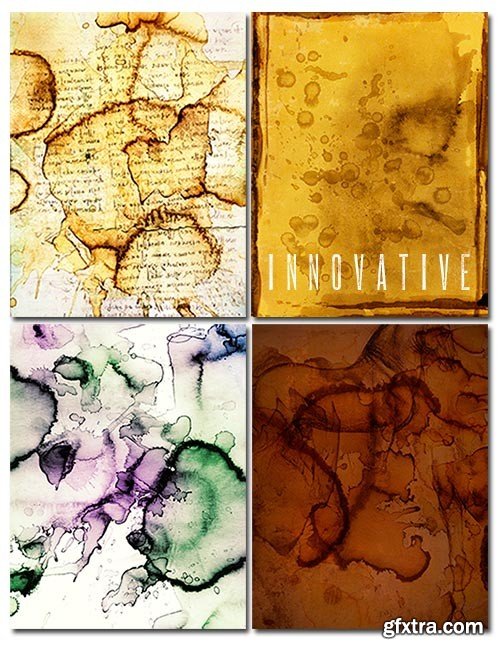

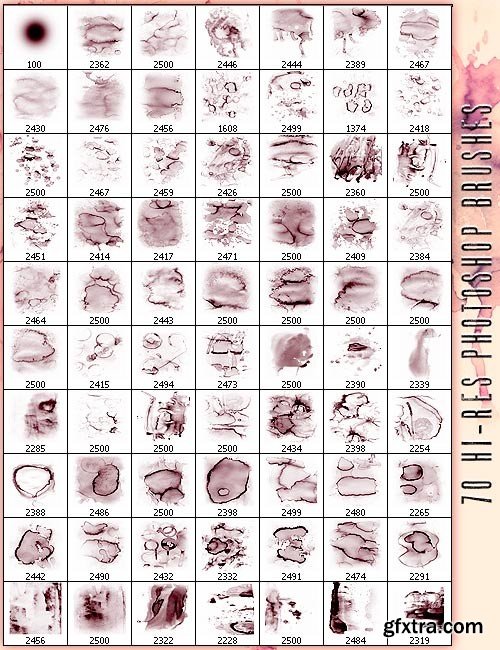
Ron's Stained Photoshop Brushes
Photoshop CS+ | ABR
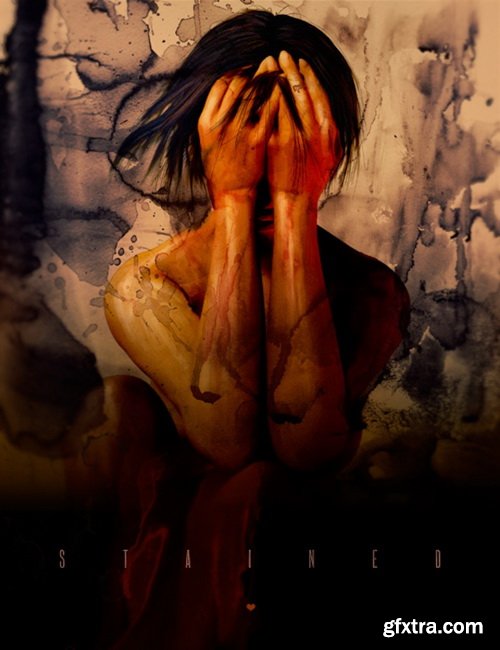
Hi-Res Photoshop brushes of all original hand painted stains,some even have a watercolor feel. An innovative approach to a wide range of possibilities. These are all huge brushes great for prints.
Categories: PhotoShop » Brushes *.ABR
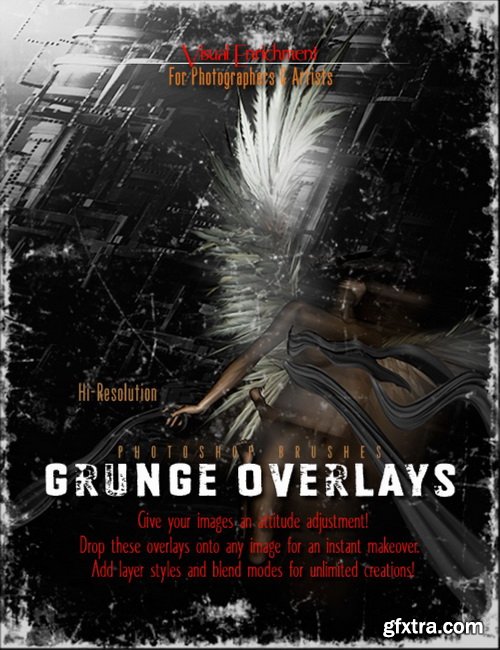

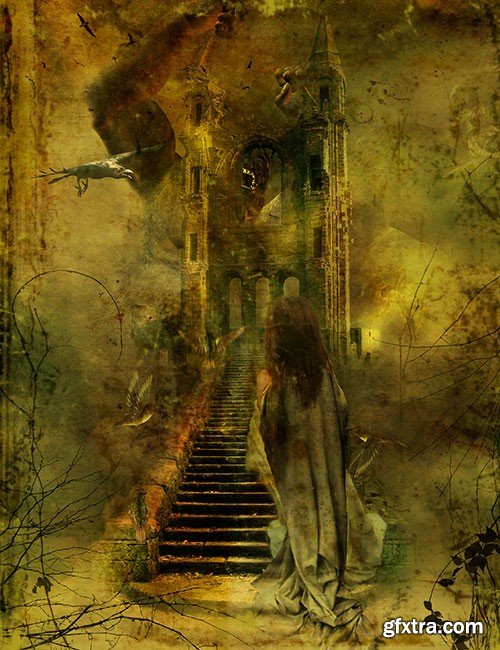
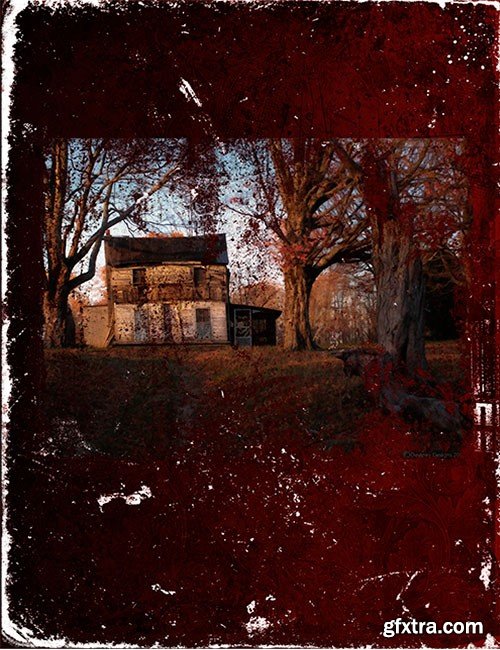
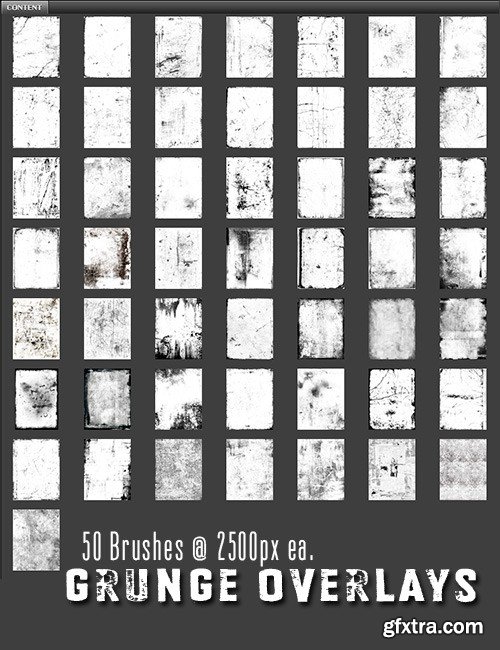
Ron's Grunge Overlays Photoshop Brushes
Photoshop CS+ | ABR
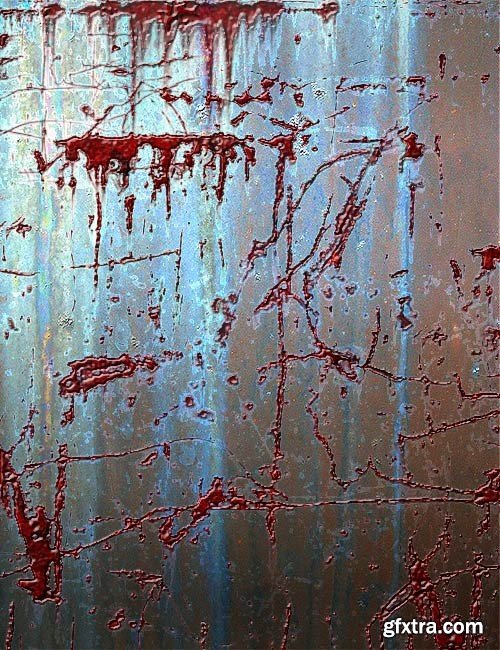
Give your images an attitude adjustment!Drop these overlays onto any image for an instant makeover. Add layer styles and different blend modes for subtle or dramatic effects for unlimited creations.
Categories: PhotoShop » Brushes *.ABR
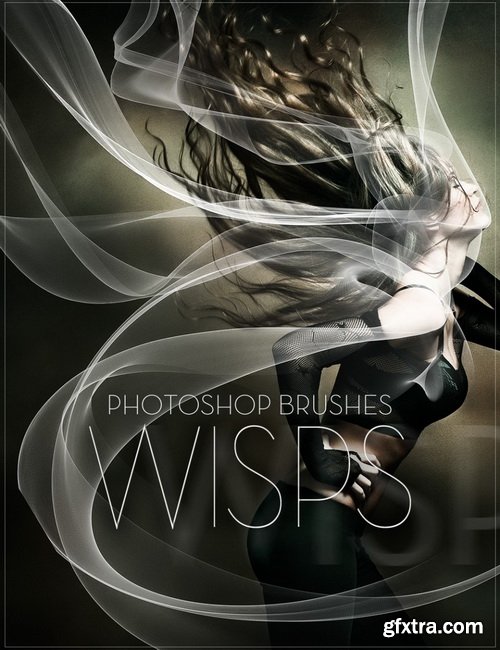
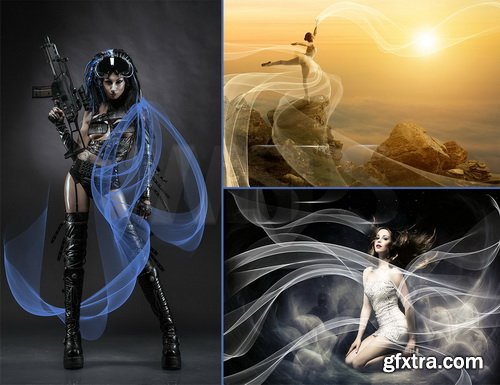
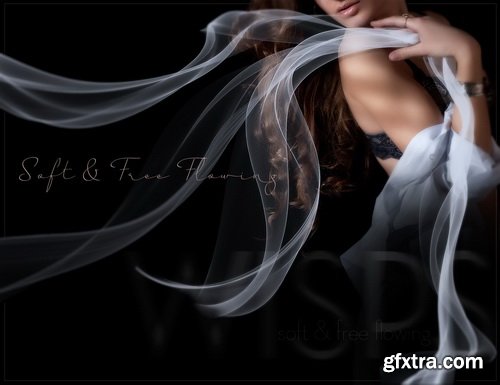
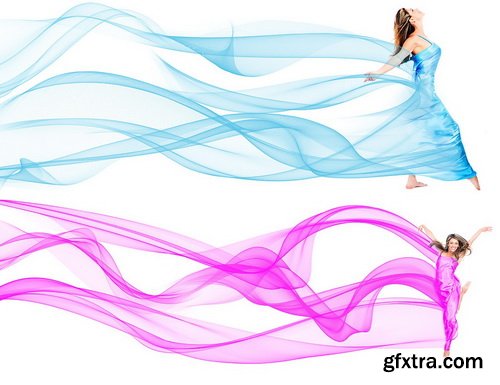
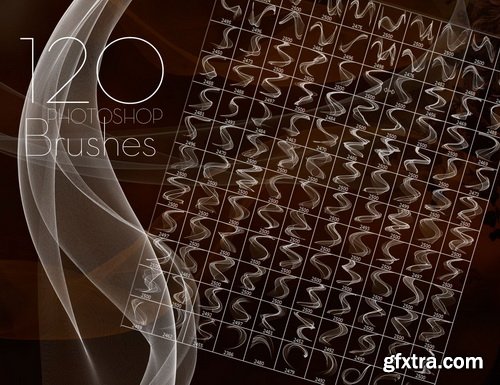
Ron's Wisps Photoshop Brushes
Photoshop CS+ | ABR
- In these stylish free flowing, elegant, delicate, romantic wisps these Photoshop CS+ Brushes give life and freedom of expression to any type of art creation.
- These can be expanded to any resolution, while on their own Photoshop Layer can also be adjusted, warped stretched to any form or position you like.
- Thanks for your purchase enjoy, create, have fun, learn and be yourself.
Categories: PhotoShop » Brushes *.ABR
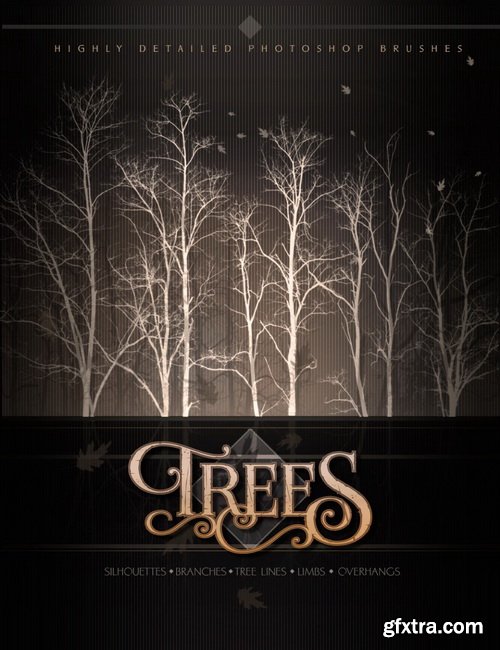
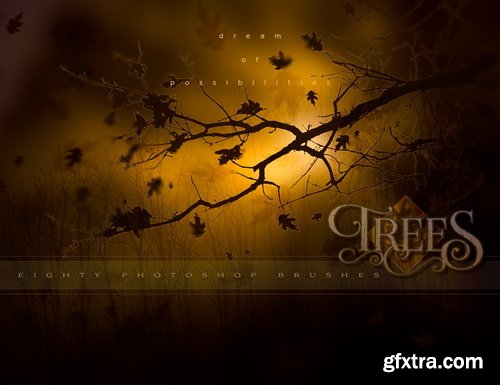
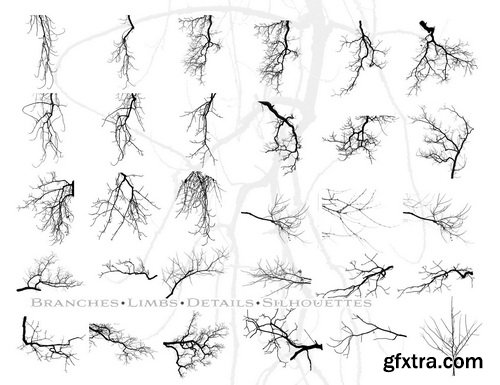
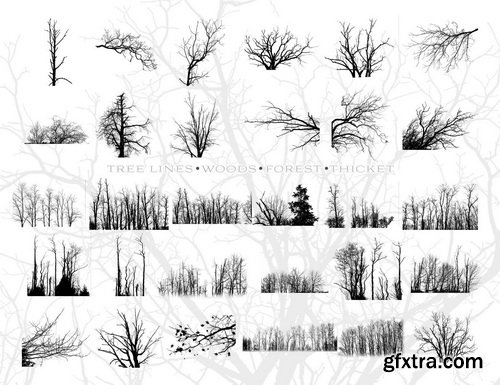
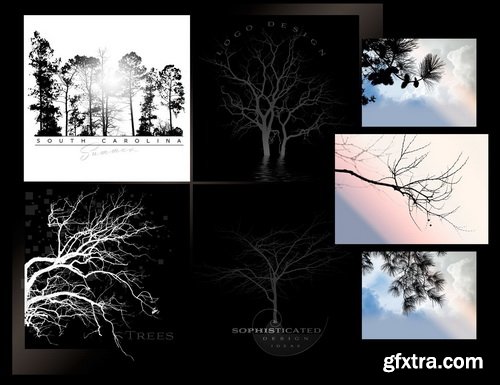
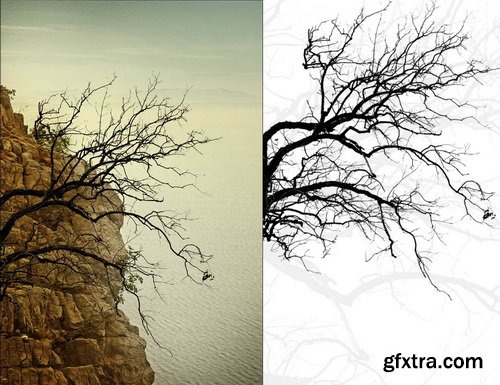
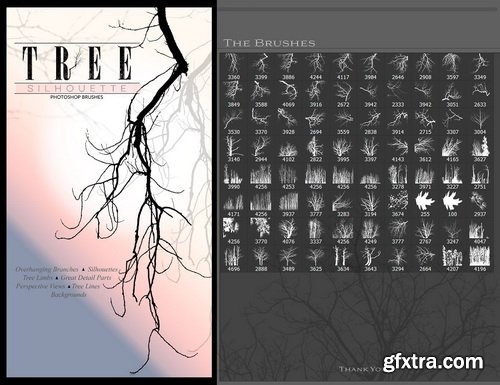
Ron's Trees Photoshop Brushes
Photoshop CS+ | ABR
- Glad to bring this outstanding set of Photoshop brushes of trees and parts plus other attractive add-ons that are perfect of bringing in the viewers eye to a scene.
- There are Trees, branches, limbs, leaves, silhouettes, overhangs, tree lines and many more great selections.
- Think you will find these helpful in your creative adventures.
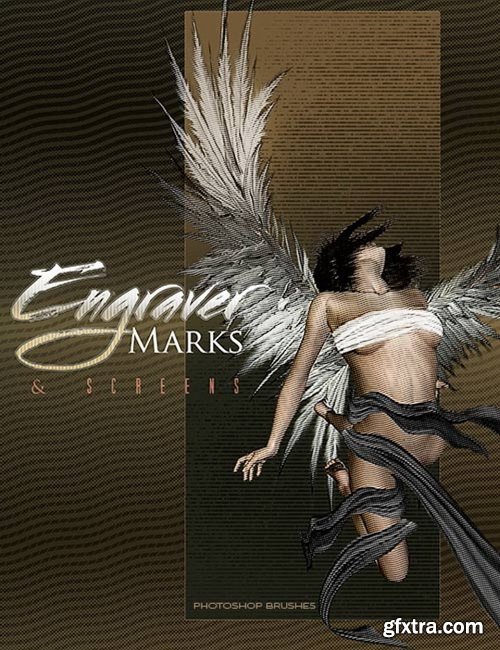
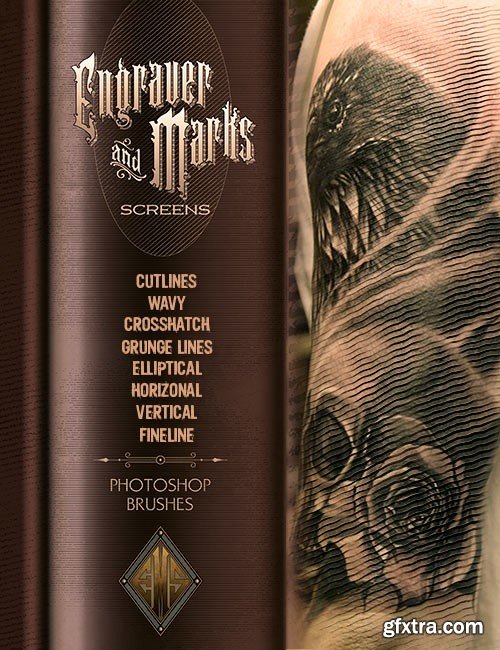
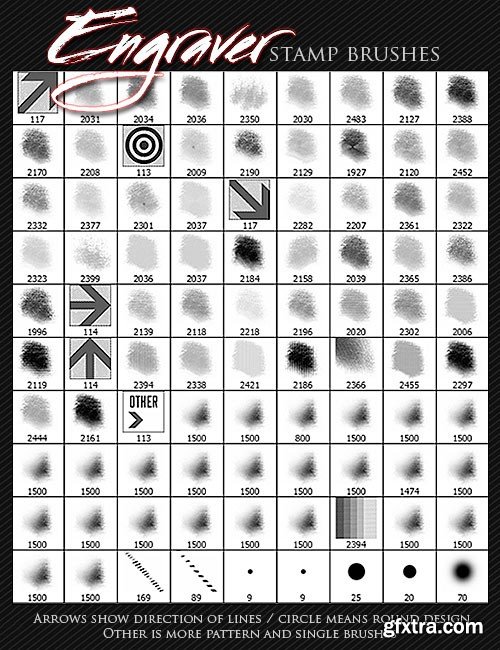
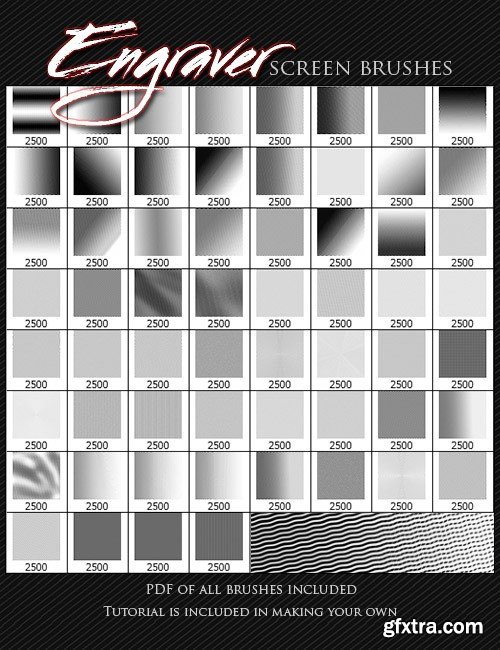
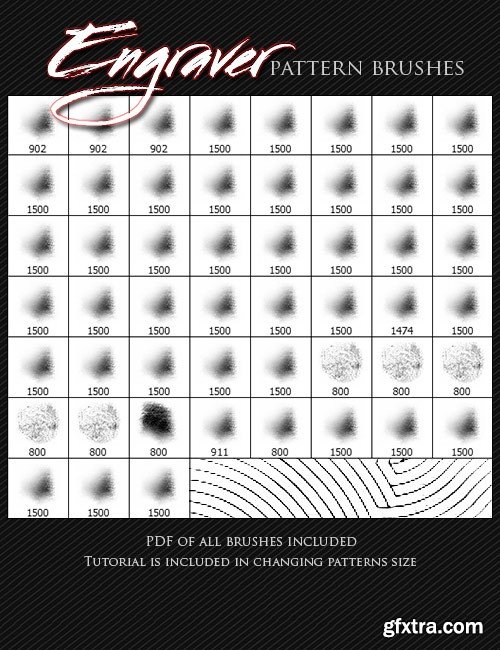
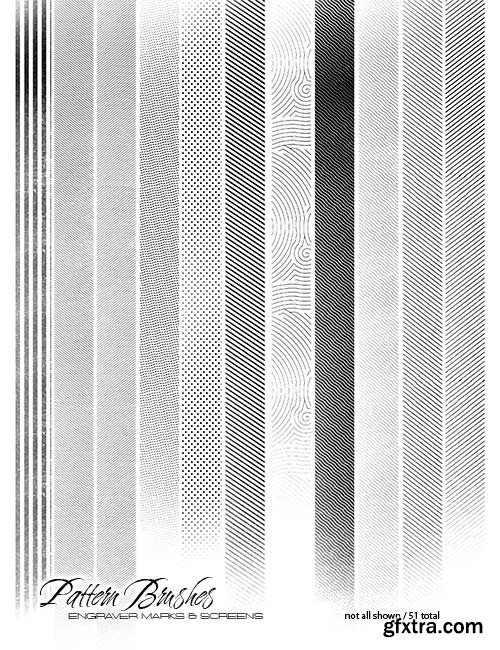
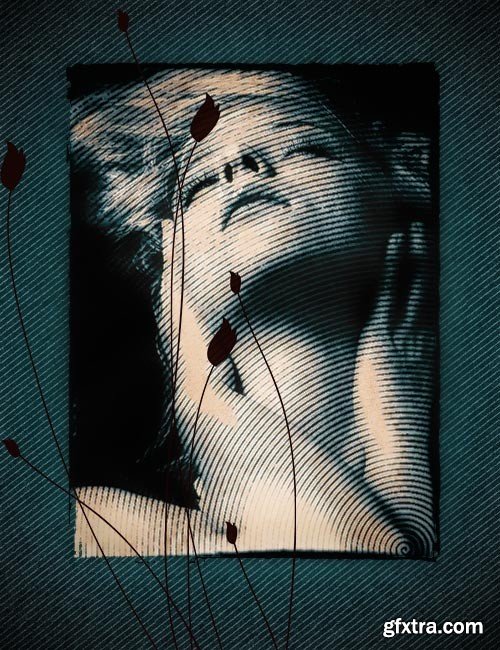
Ron's Engraver Marks and Screens Photoshop Brushes
Photoshop CS+ | ABR
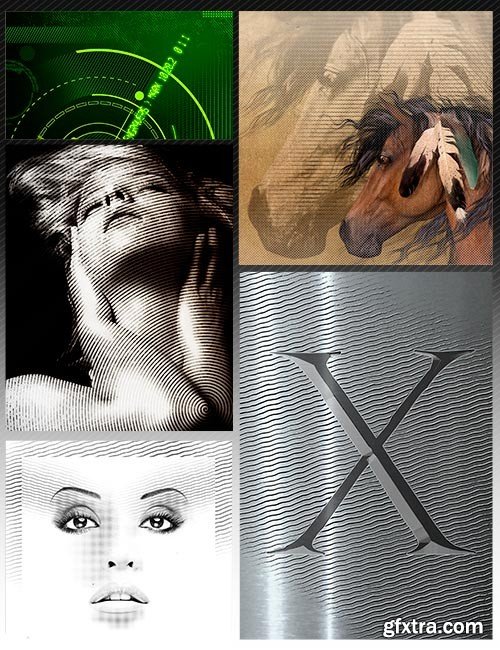
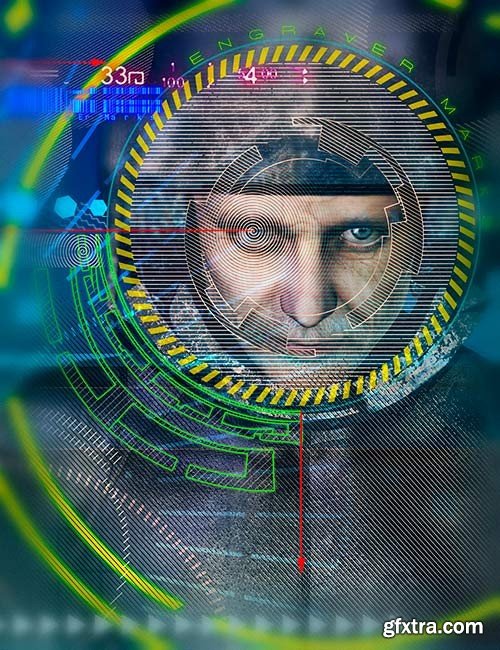
These wonderful engraver cut lines emulate classic old world engraving and woodcut techniques. I offer wavy, straight lines and ellipses in screens, pattern brushes and stamp style photoshop brushes. Working with these may require some trial and error to get the best placement, but is well worth the effort. Transforming a modern look to vintage can be achieved with this set. These brushes will save you time,and can be added quickly to achieve instant results. Enjoy.
Categories: PhotoShop » Brushes *.ABR
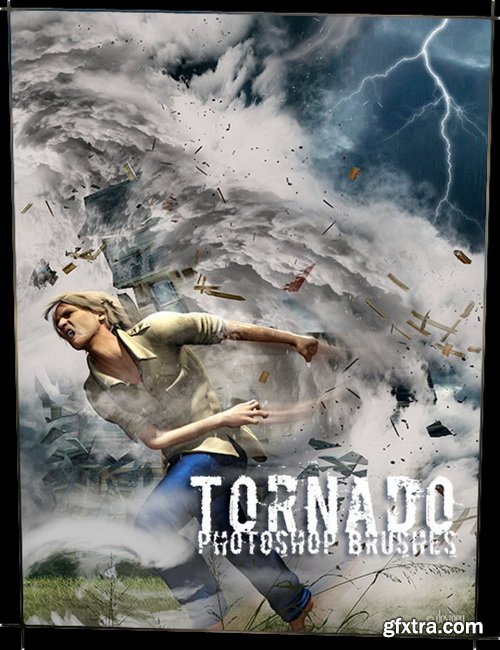
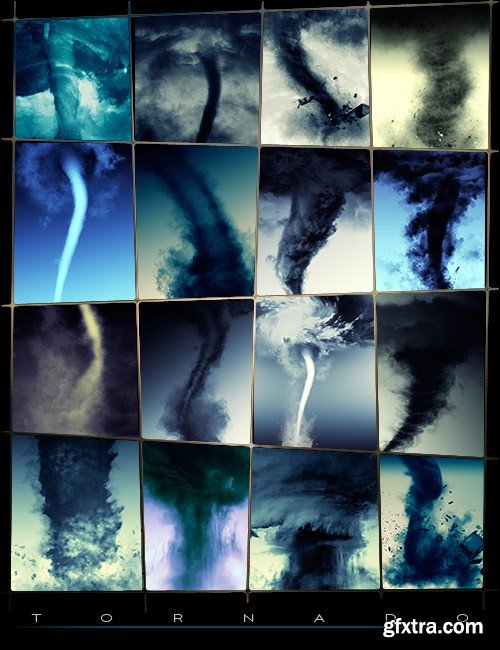
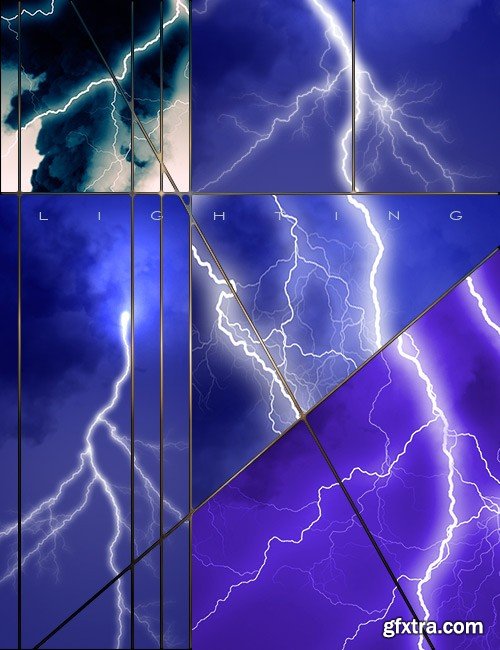
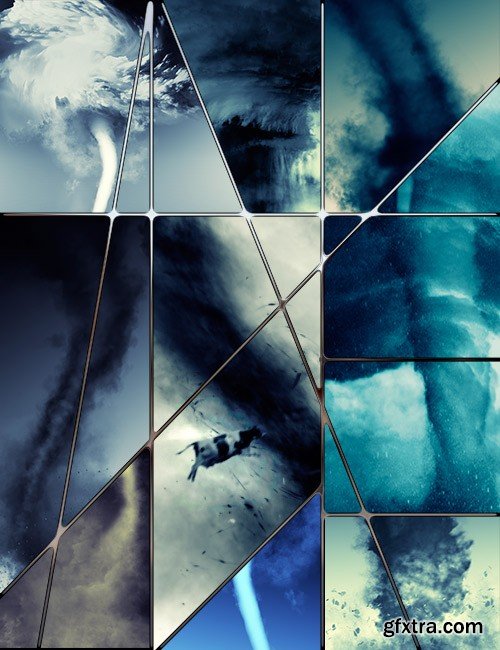
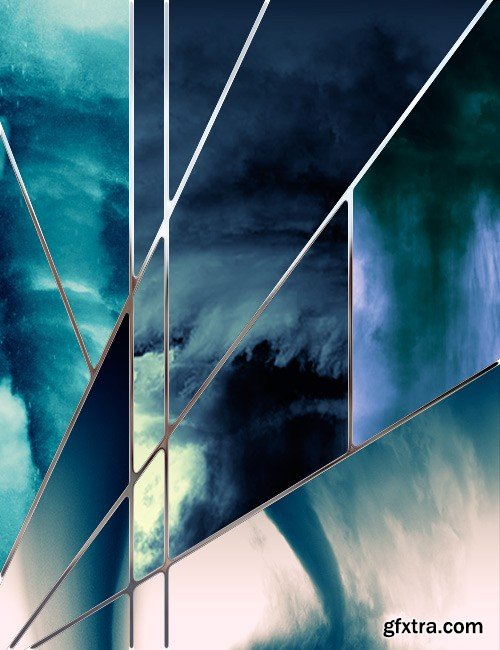
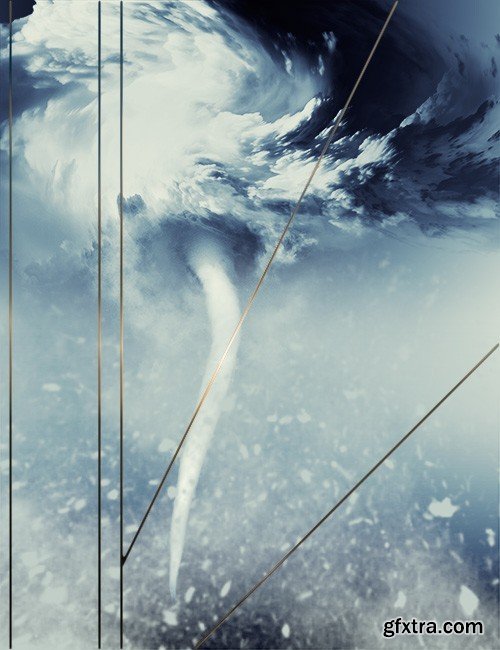
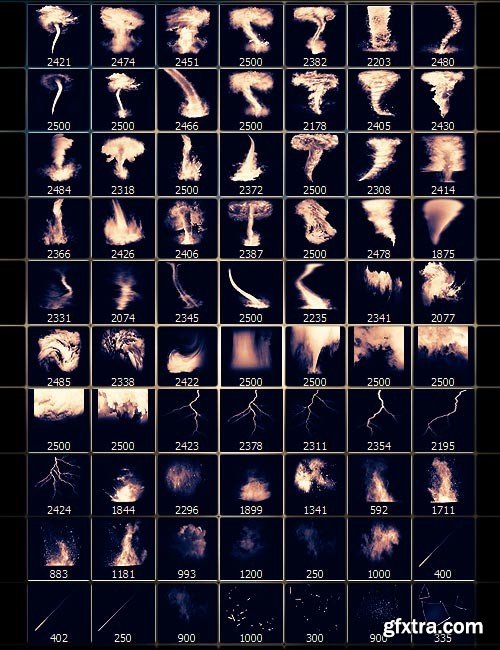
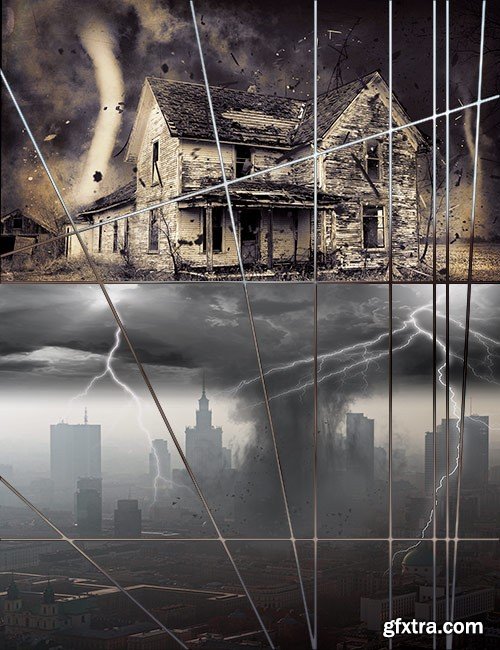
Ron's Tornado Photoshop Brushes
Photoshop CS+ | ABR
Tornadoes are nature’s most violent storms.A tornado appears as a rotating, funnel shaped cloud that extends from a thunderstorm to the ground with whirling winds. In this Hi-Res set of Photoshop Brushes I give you elements to create your own storm,tornado clouds with blowing debris,rain,and lighting. Think you will enjoy these.
Categories: PhotoShop » Brushes *.ABR
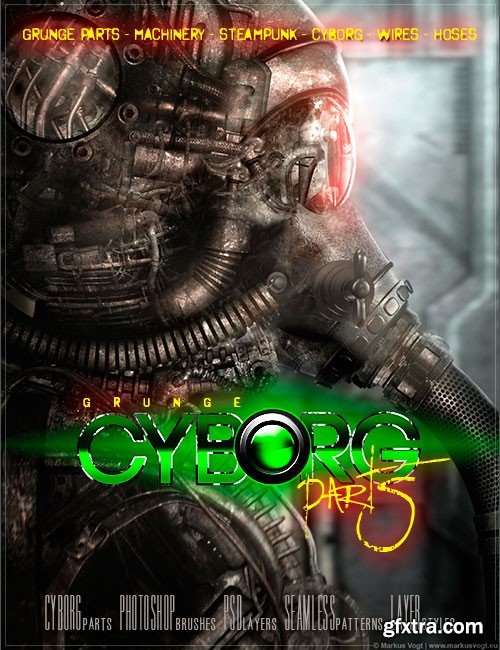
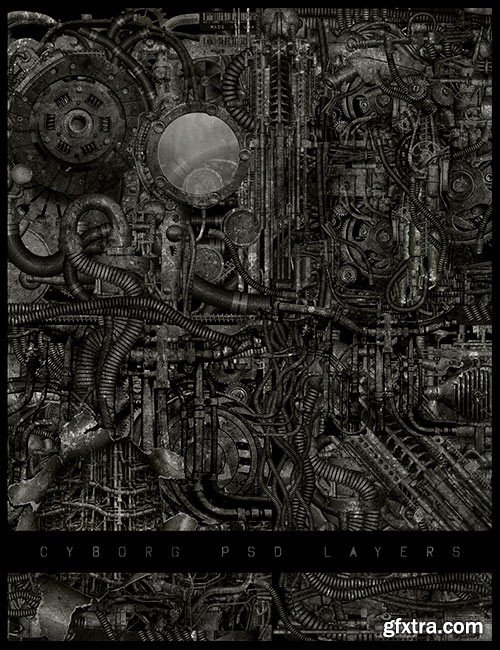
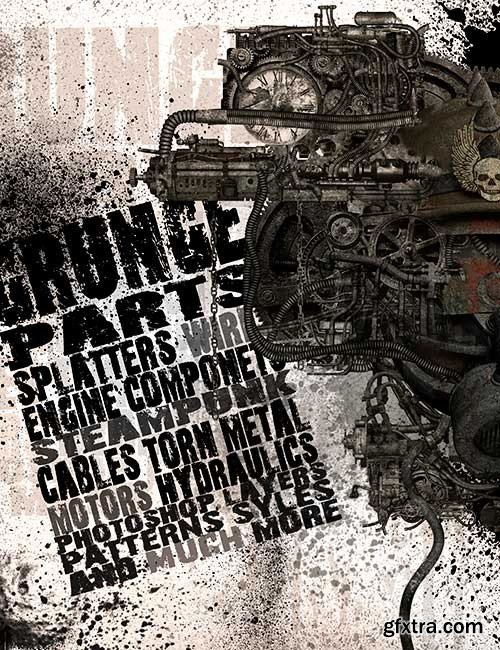
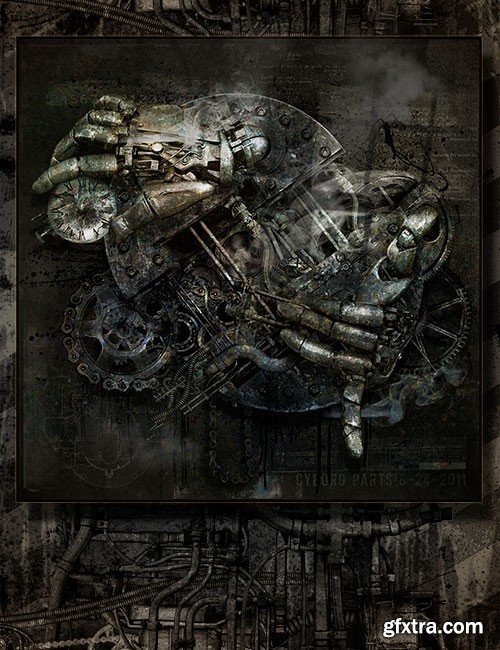
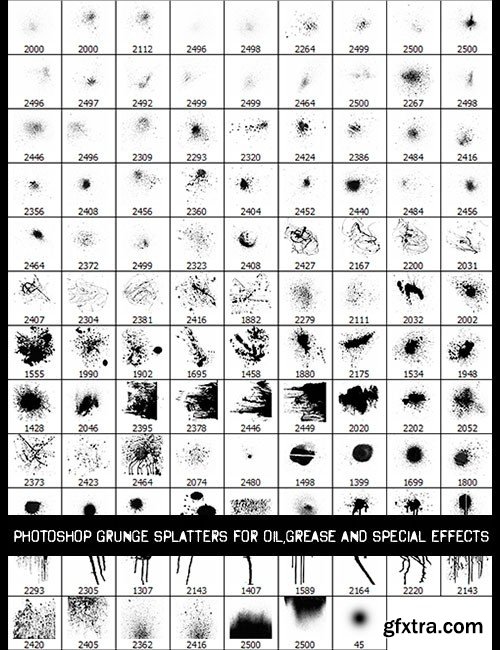
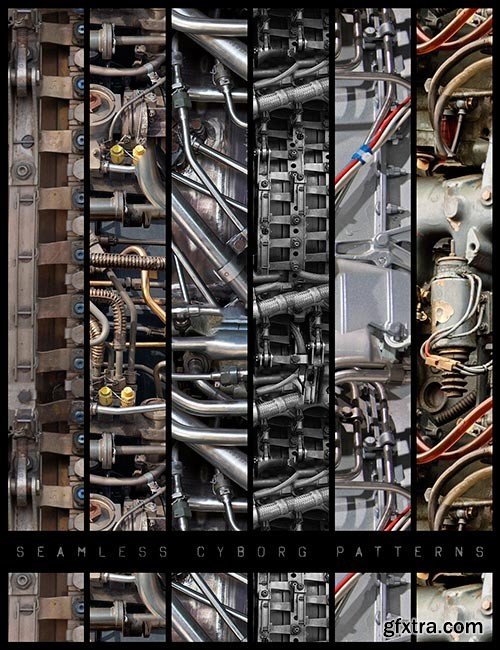
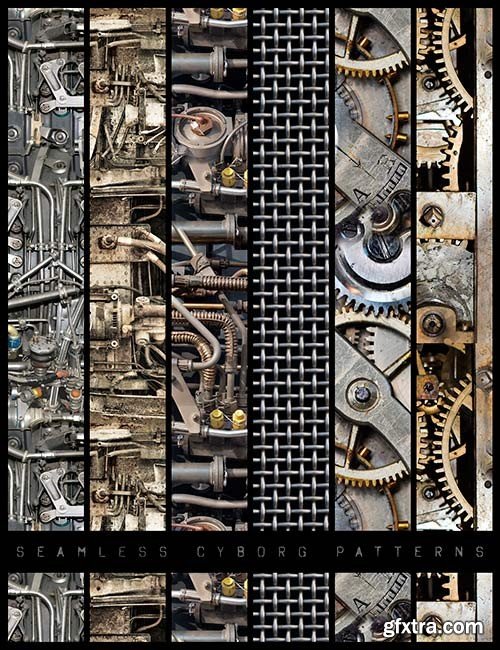
Ron's Cyborg Parts Photoshop Brushes
Photoshop CS+ | ABR | ASL | LAYERED PSD | 3000 x 3000 px | 300 DPI
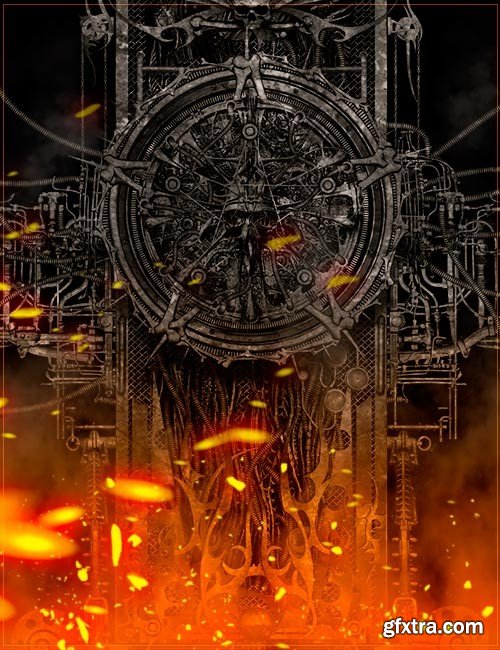
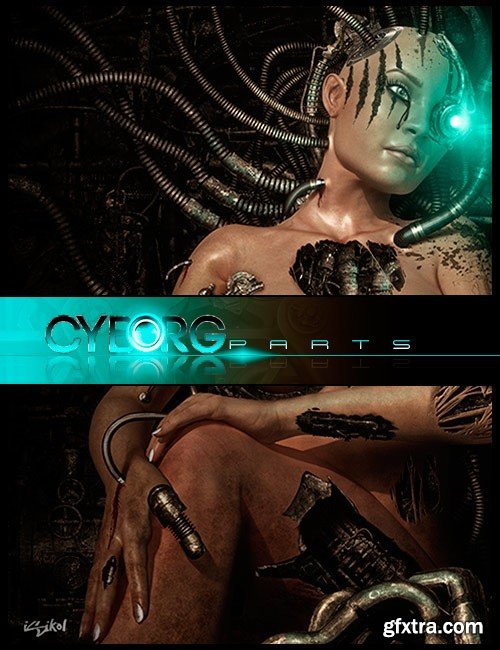
- This huge, jam-packed collection of mechanical parts, brushes, seamless patterns and layer styles will inspire and motivate you. It comes with grunge textured gears, hydraulic hoses, motors, airplane engines, gear boxes, springs, shocks and much more. As an added bonus, this set includes Photoshop splatter brushes of oil and gunk that can be used on a variety of projects. There are also untextured parts included in this package. All items are numbered and compiled to a PDF for easy access.
- Try mixing metal with flesh. You might surprise yourself by making your own creations. There are so many uses for these cyborg parts, especially in the world of fantasy.
Categories: PhotoShop » Brushes *.ABR

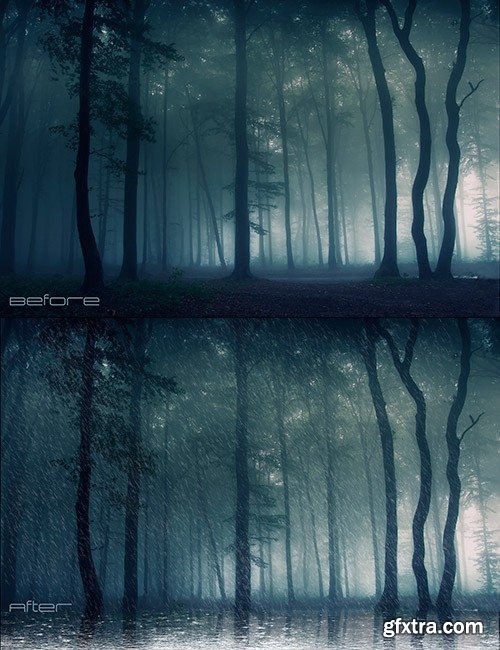
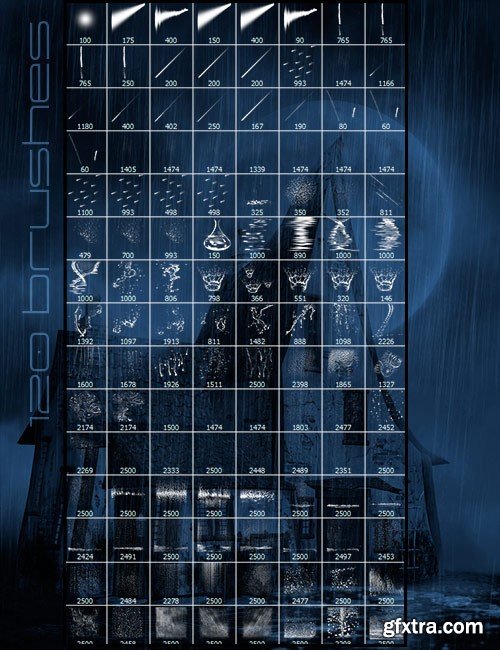
Ron's Rain Photoshop Brushes
Photoshop CS+ | ABR
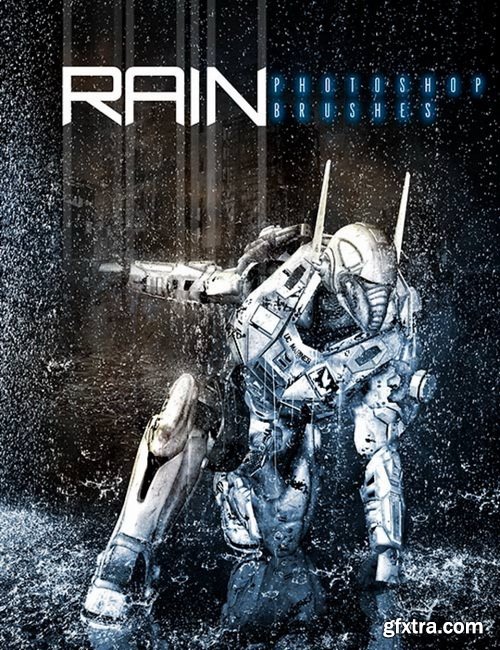
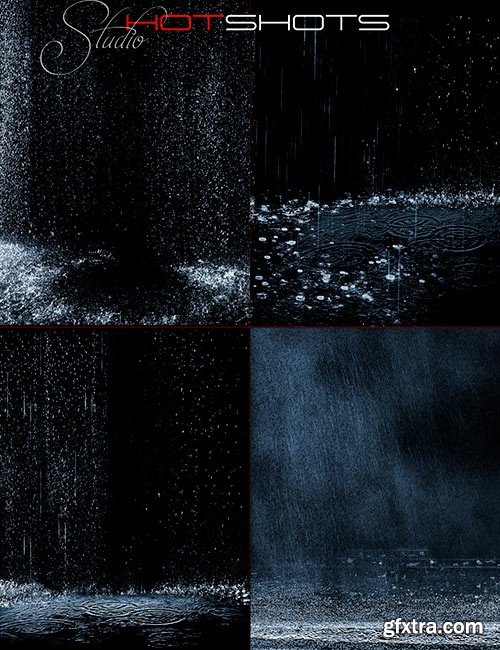
Rain, rain and more rain, all type of unique special effects. Individual custom photoshop brushes and backgrounds. From light rain, drips, splatters, drizzles to sheets and heavy rain. Nice addition to your arsenal, enjoy.
Categories: 3D Models & Addons » Poser
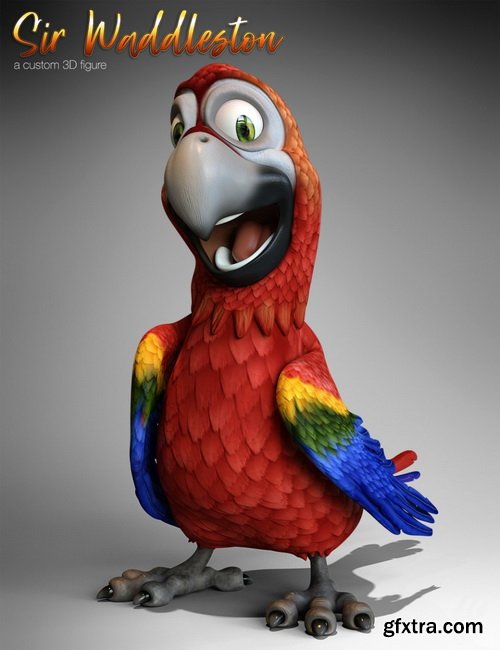
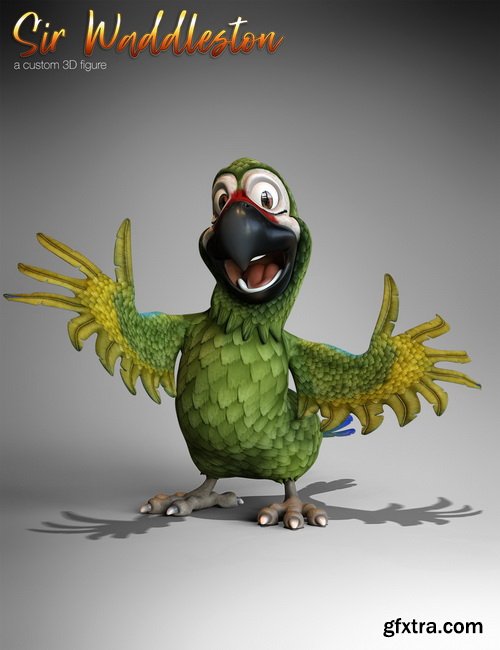
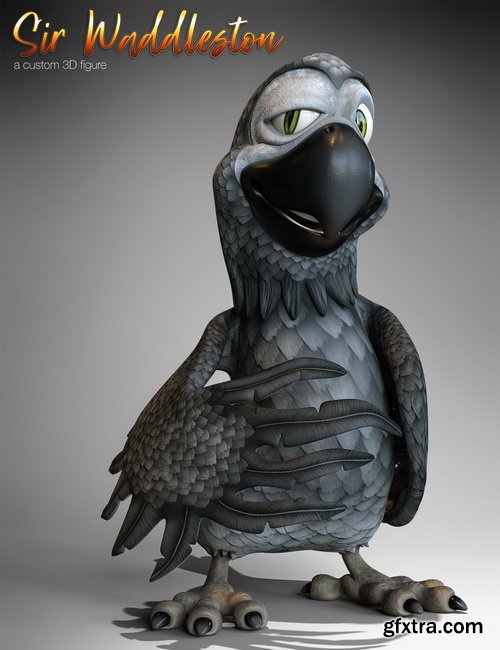
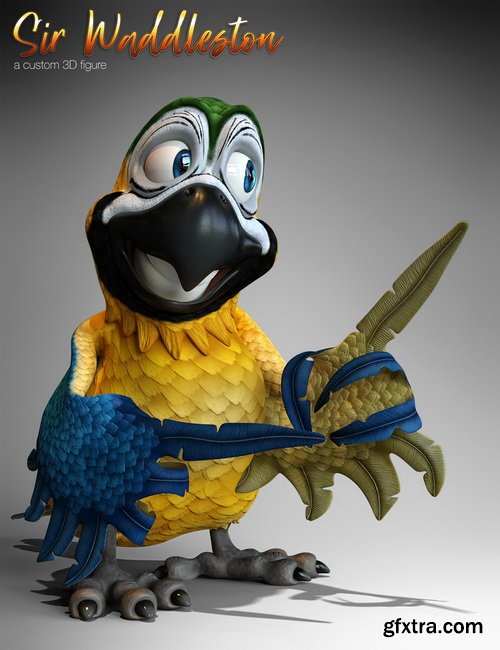
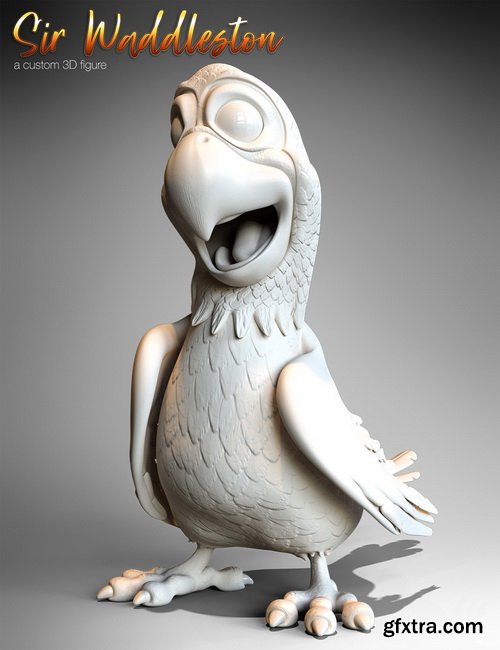
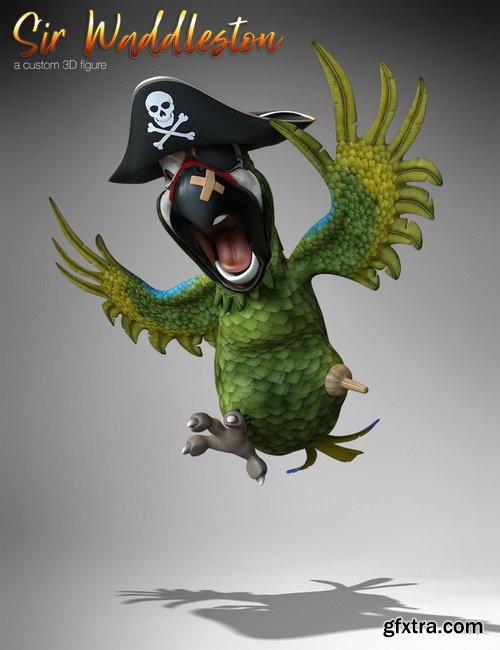
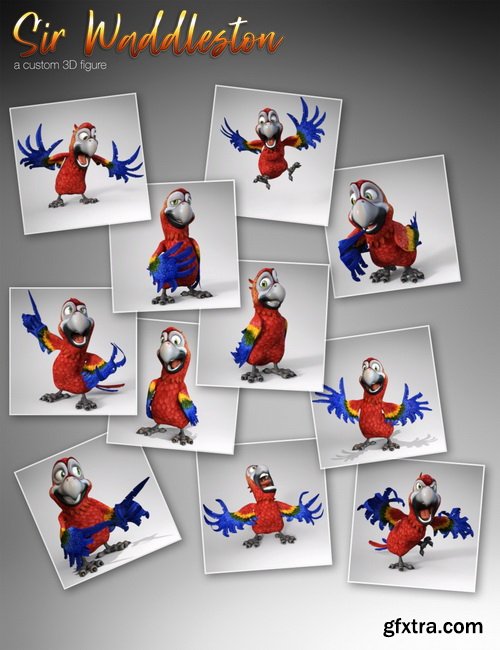
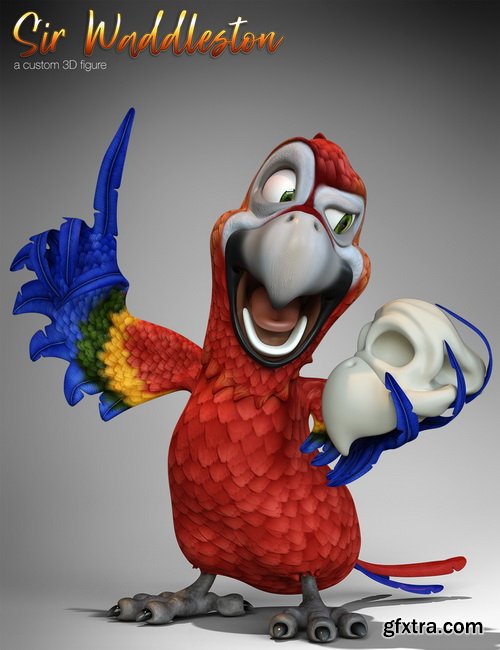
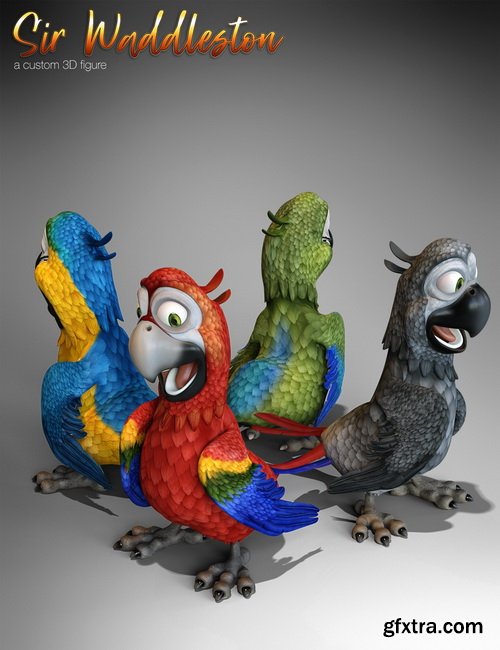
Daz3D - Cartoon Parrot for Daz Studio
DAZ | 3D MODELS
https://www.daz3d.com/cartoon-parrot-for-daz-studio
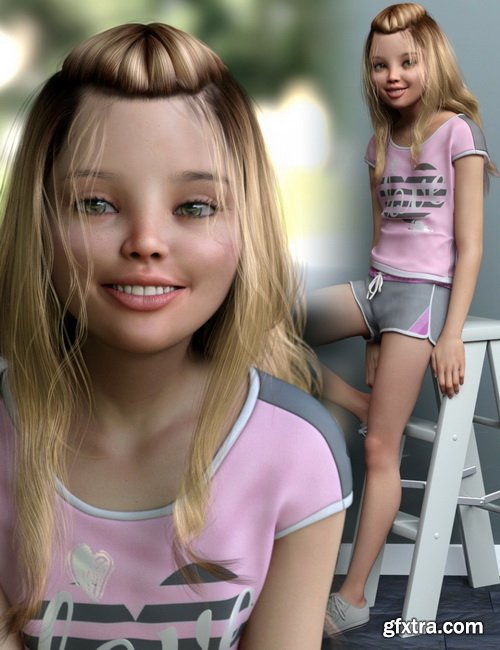
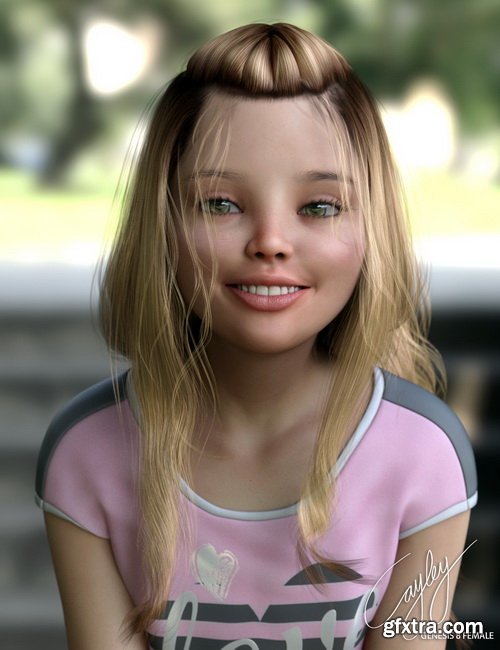
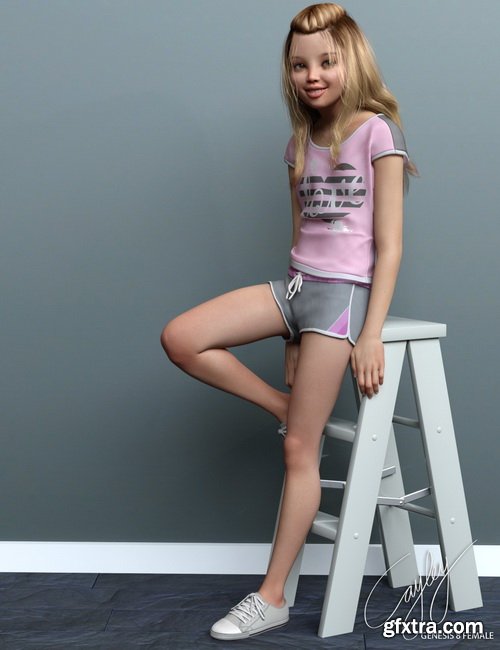
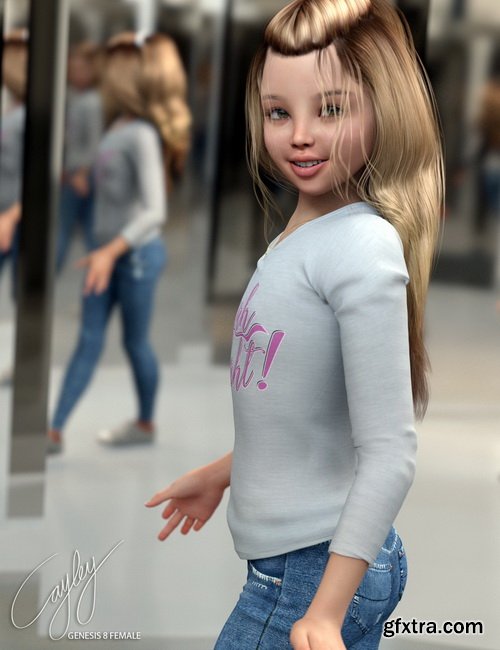
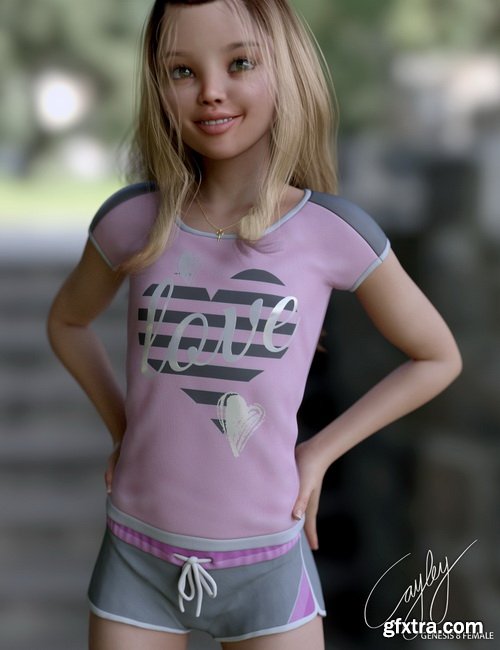
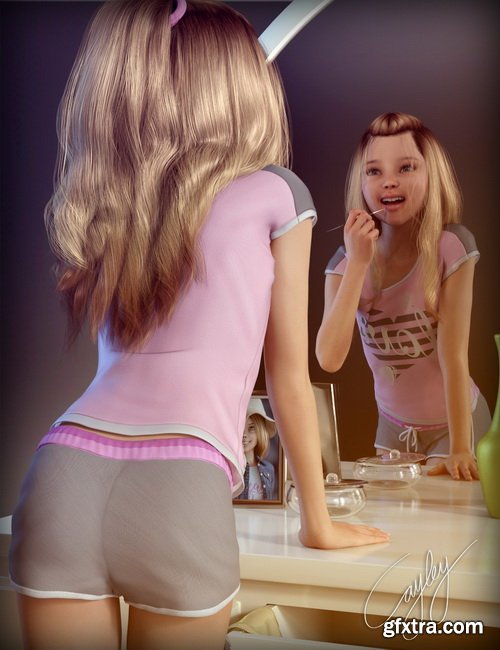
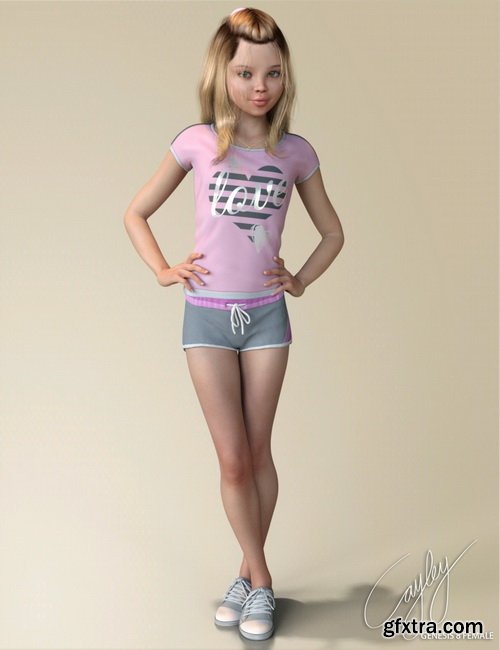
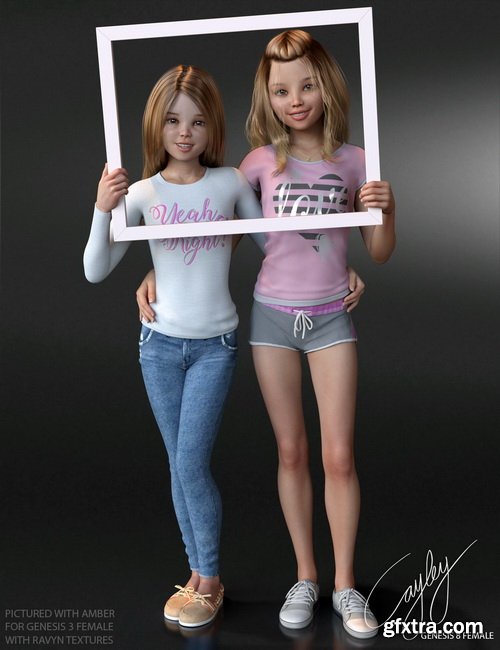
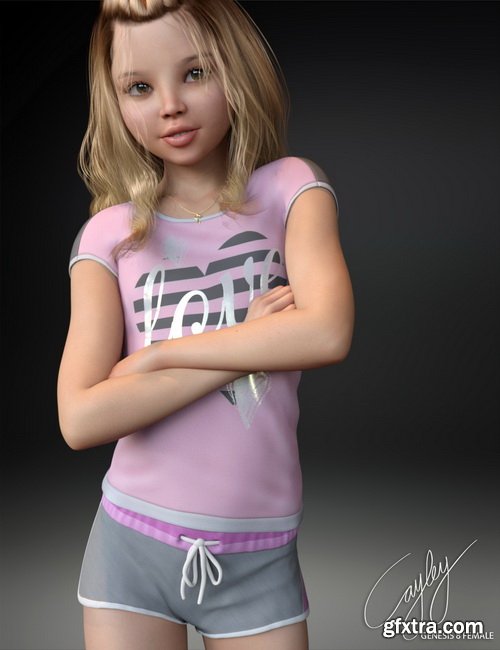
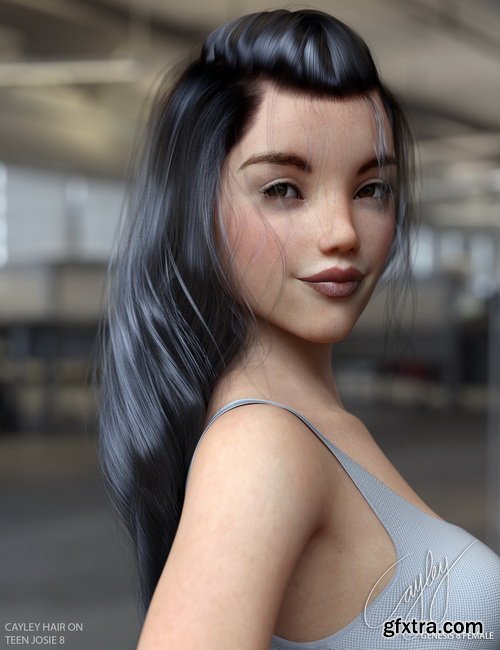
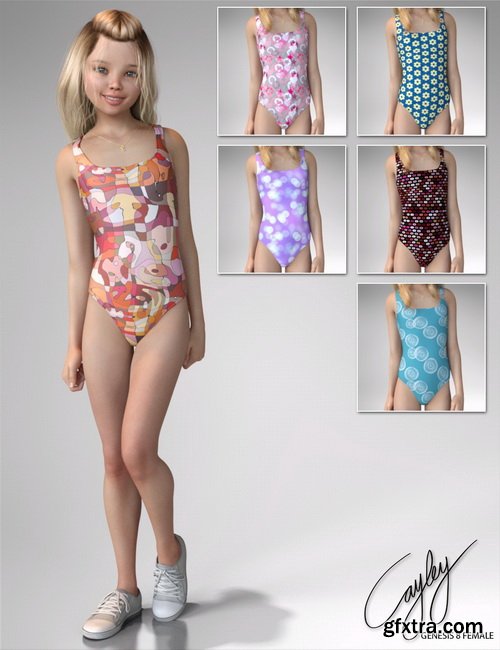
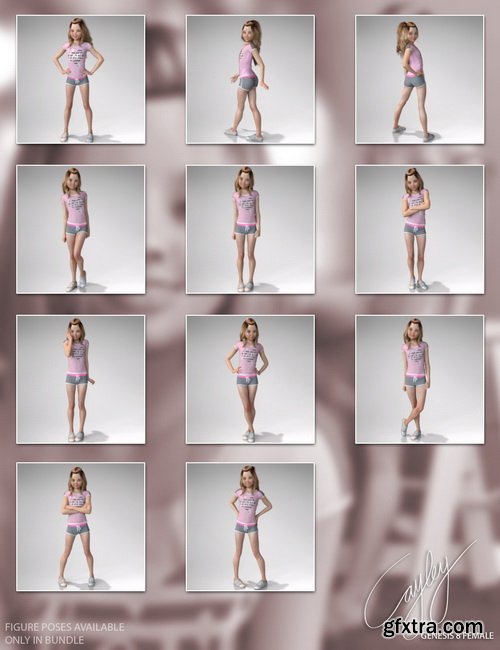
Daz3D - Cayley Bundle for Genesis 8 Female(s)
DAZ | 3D MODELS
https://www.daz3d.com/cayley-bundle-for-genesis-8-female-s
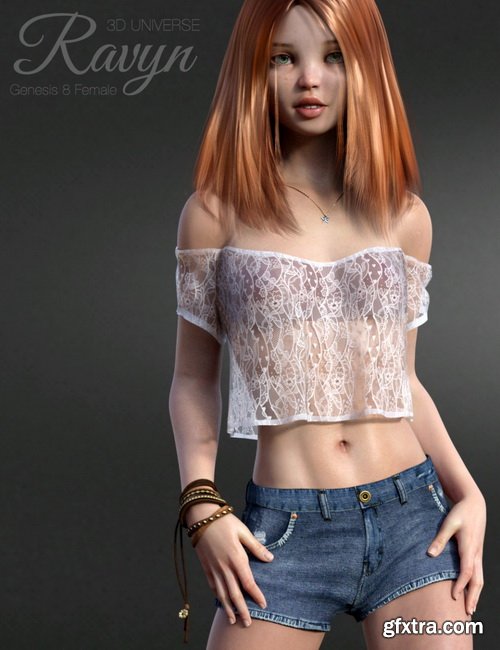
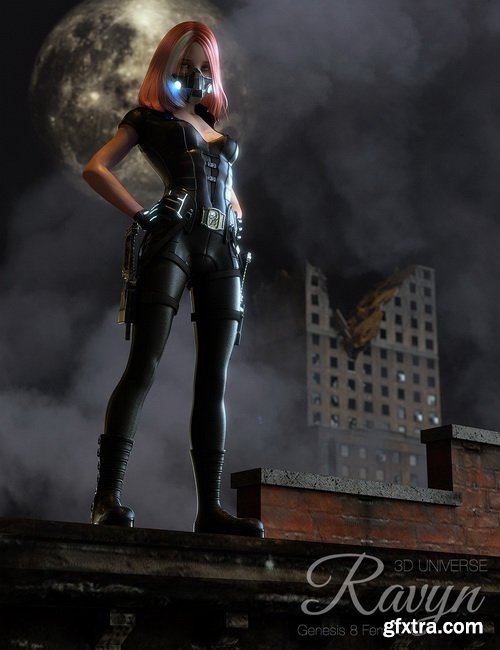
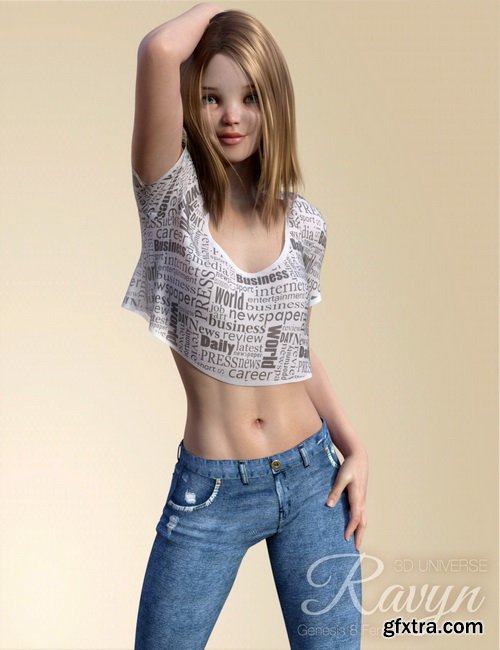
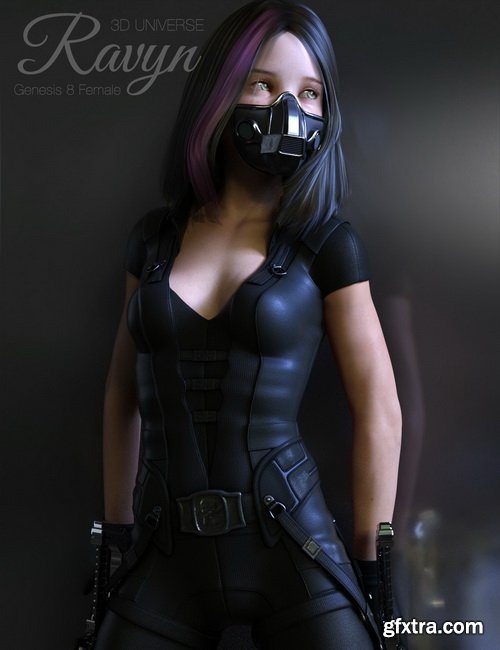
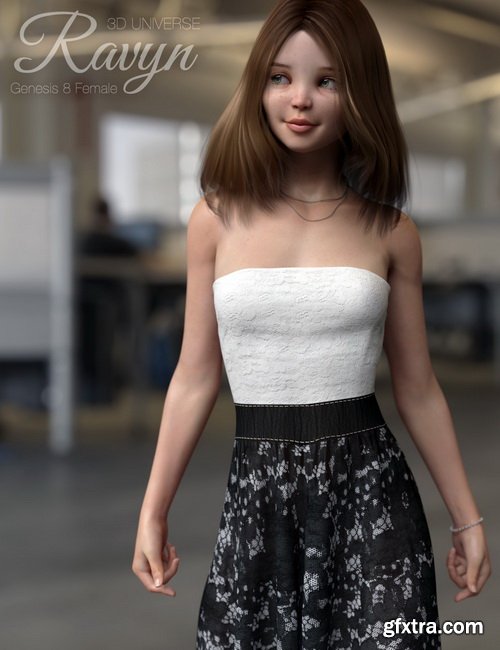
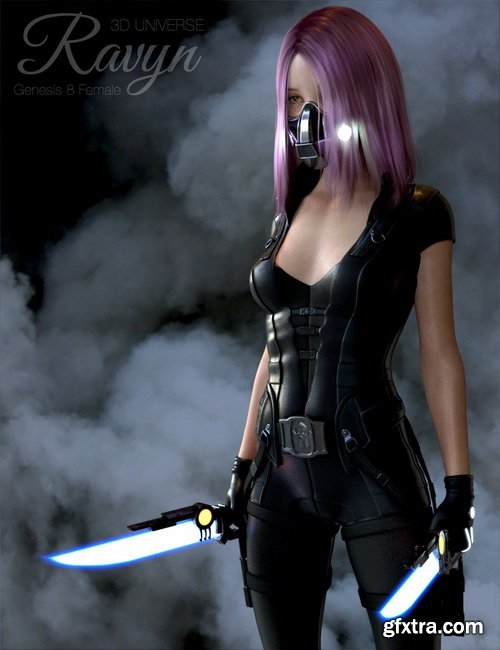
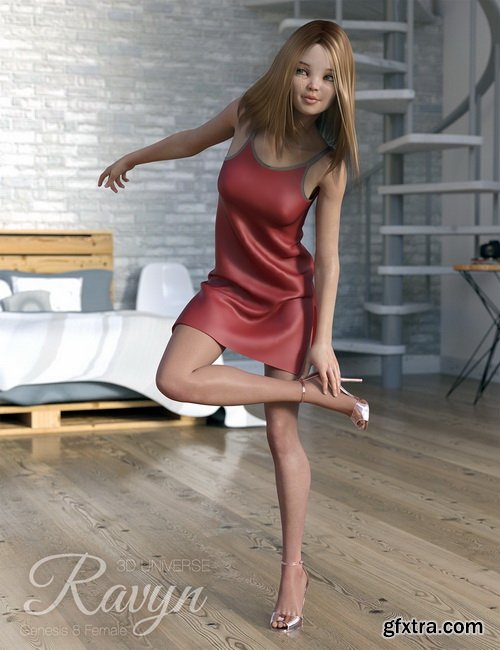

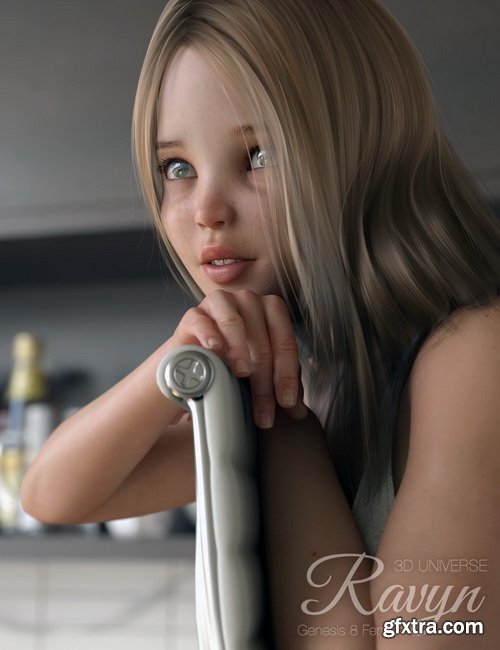
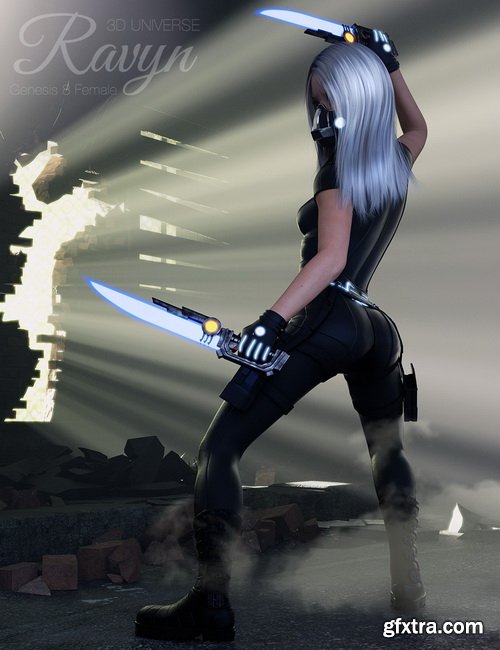
Daz3D - Ravyn Bundle for Genesis 8 Female(s)
DAZ | 3D MODELS
https://www.daz3d.com/ravyn-bundle-for-genesis-8-female-s
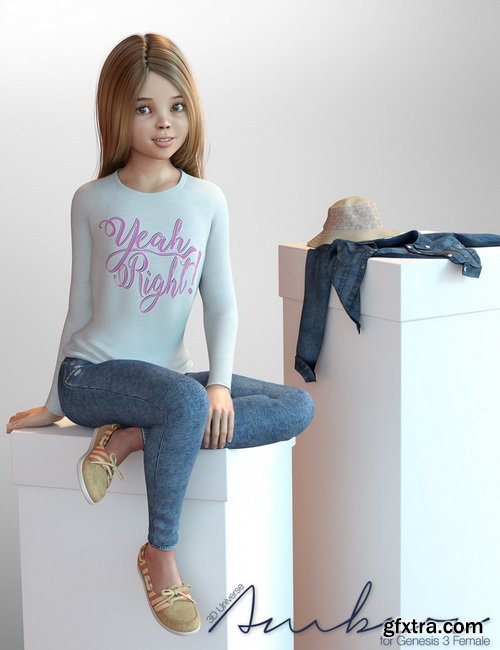
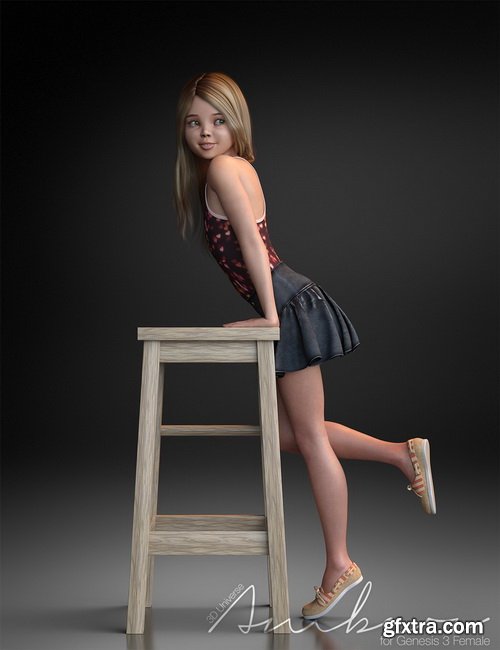
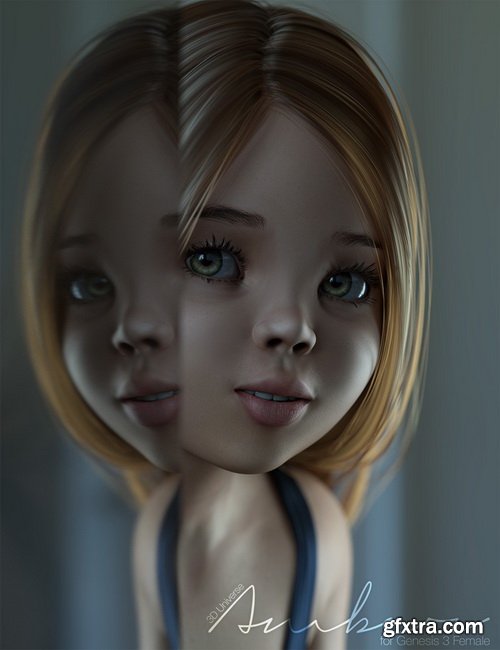
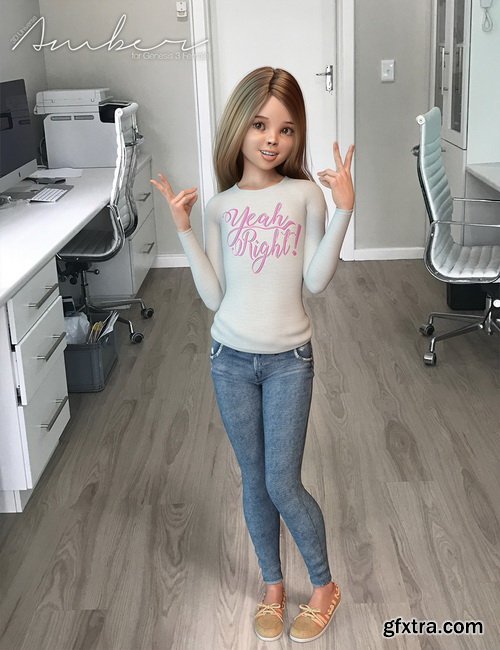
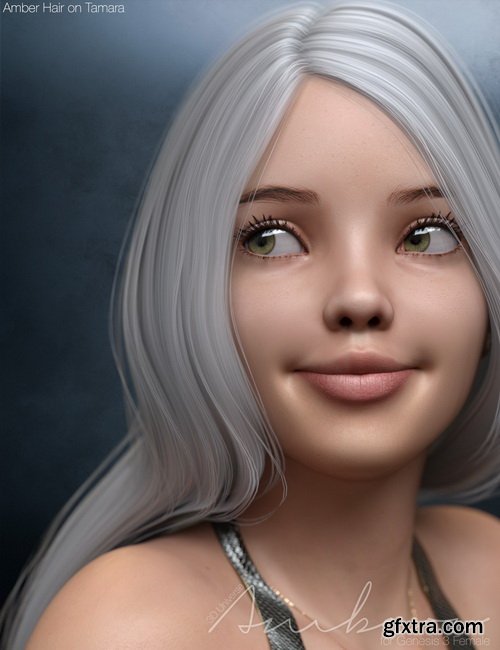
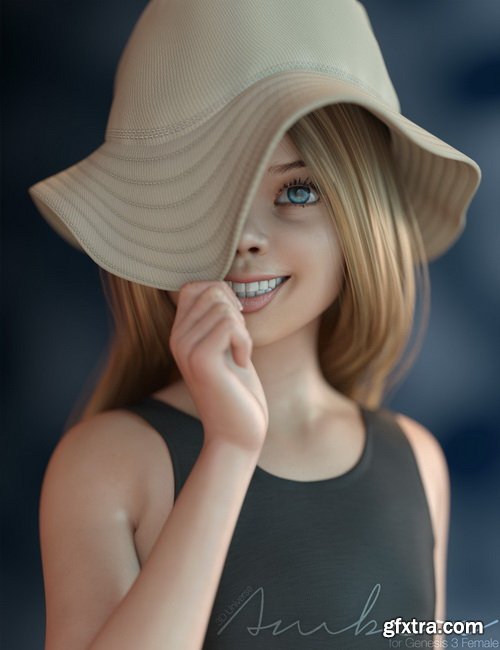
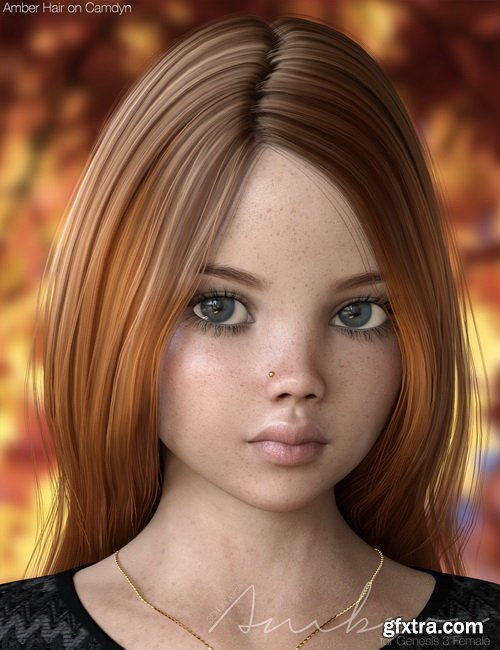
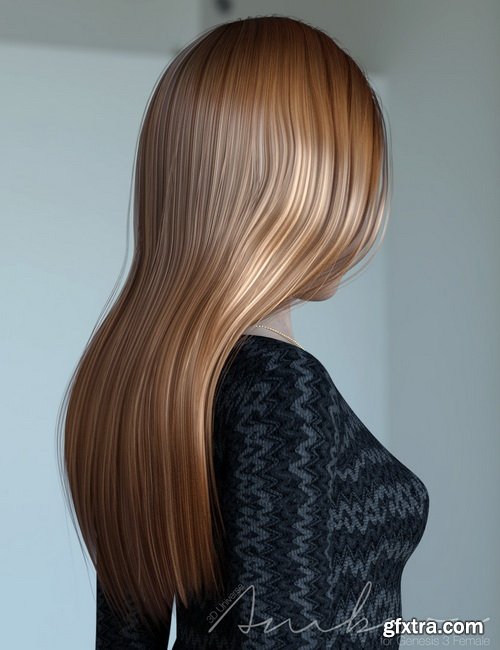
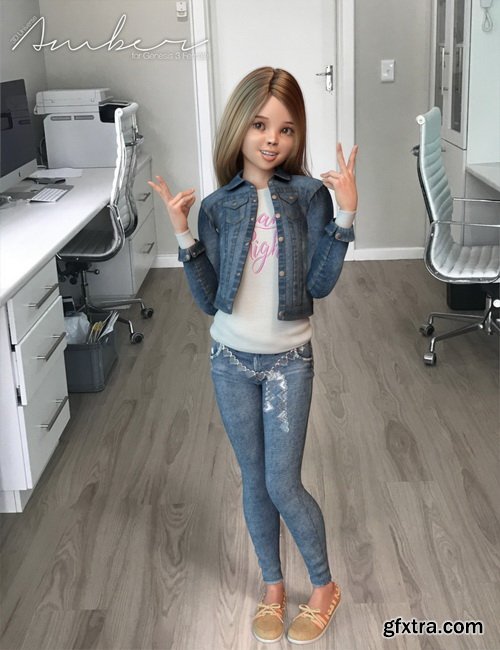
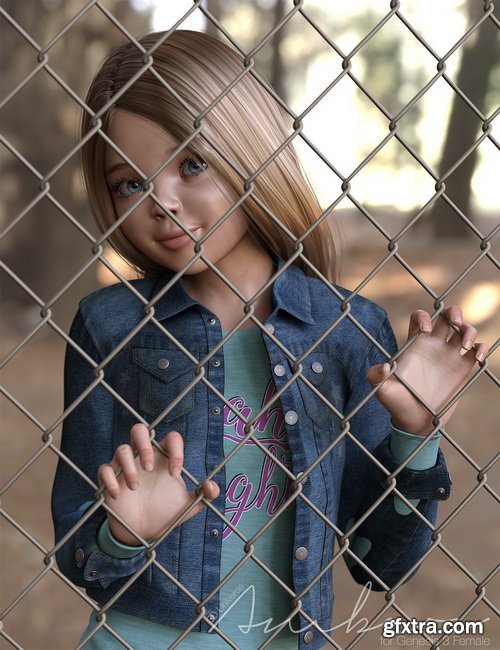
Daz3D - Amber Bundle for Genesis 3 Female(s)
DAZ | 3D MODELS
https://www.daz3d.com/amber-bundle-for-genesis-3-female-s
Categories: 3D Models & Addons » Poser
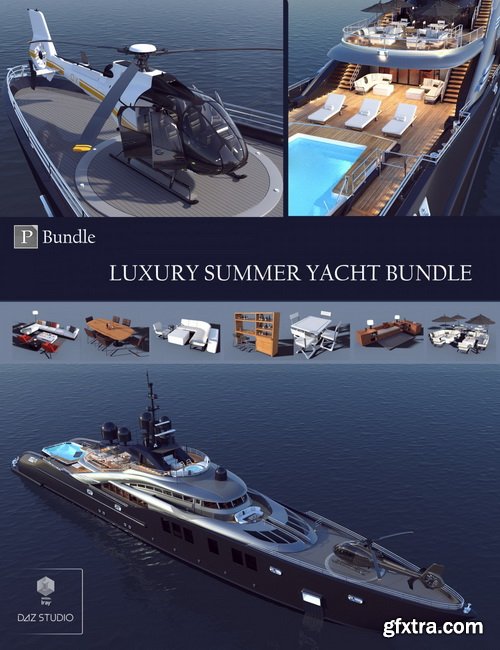
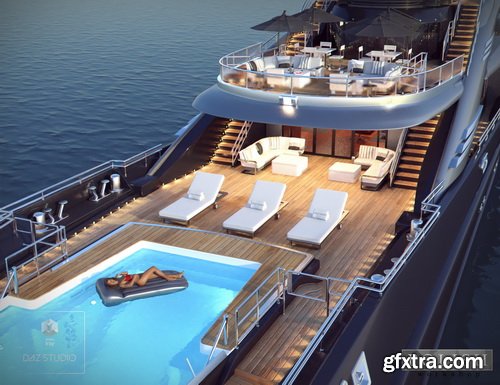
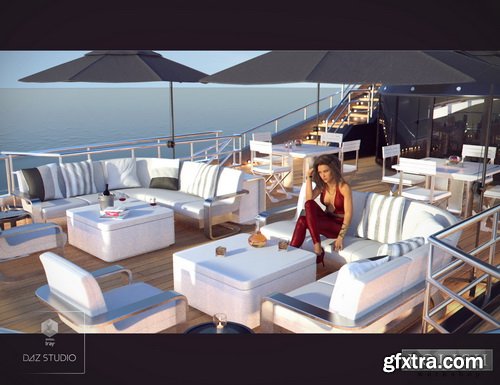


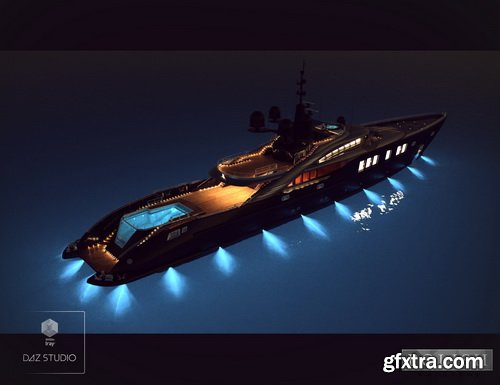
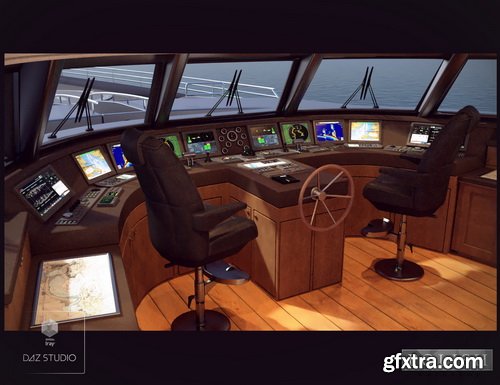
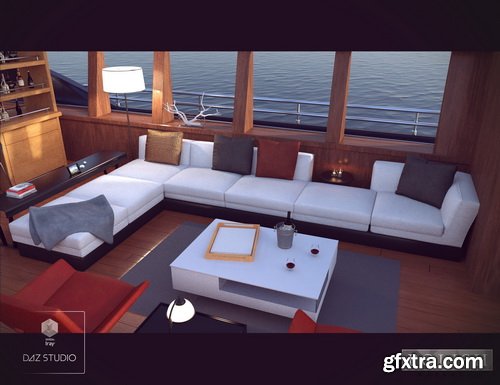
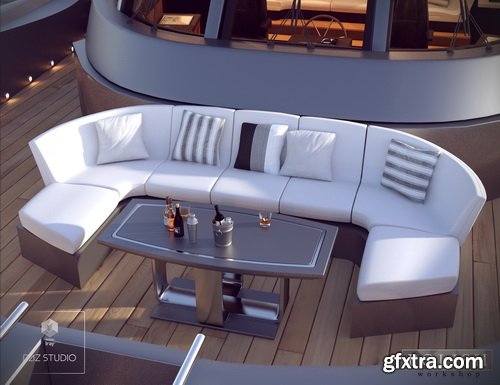

Daz3D - Luxury Summer Yacht Bundle
DAZ | 3D MODELS
https://www.daz3d.com/luxury-summer-yacht-bundle
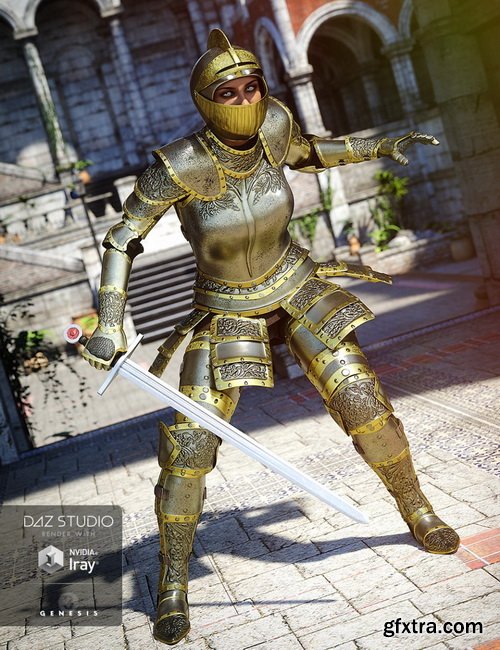
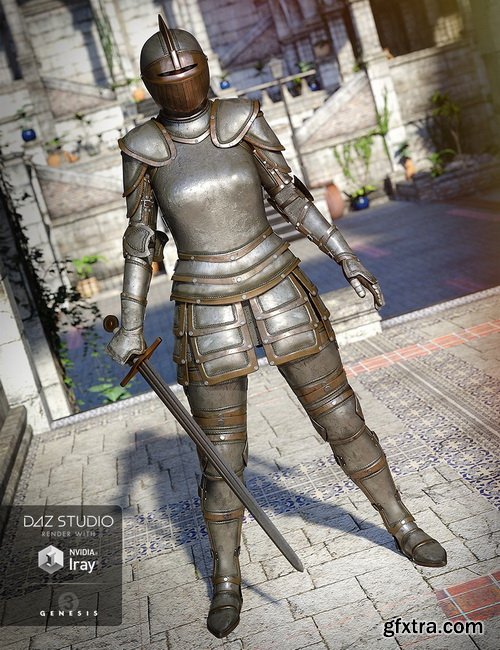
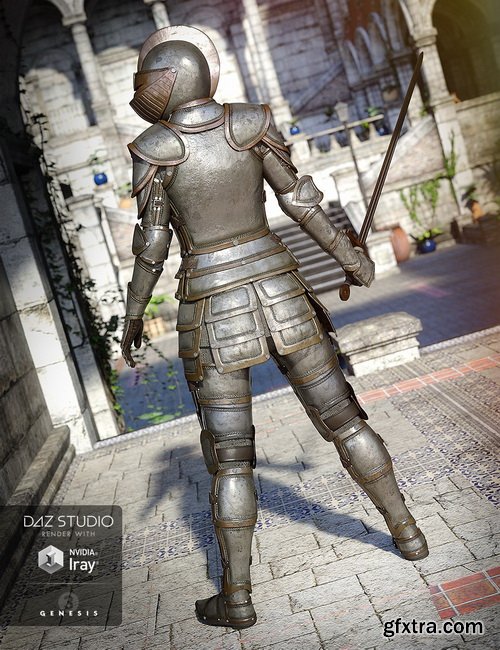
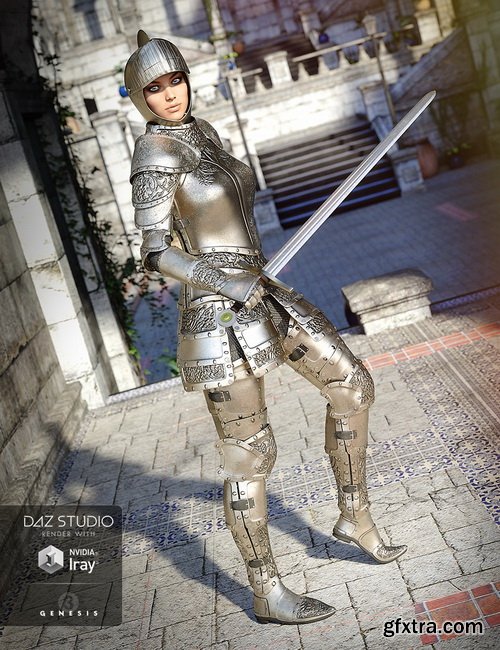
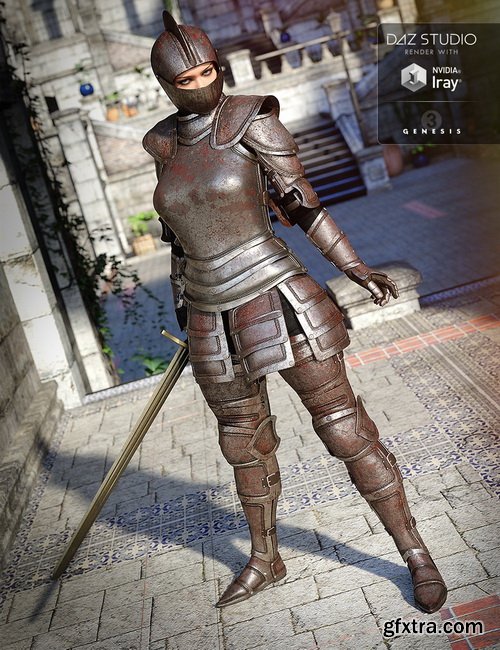
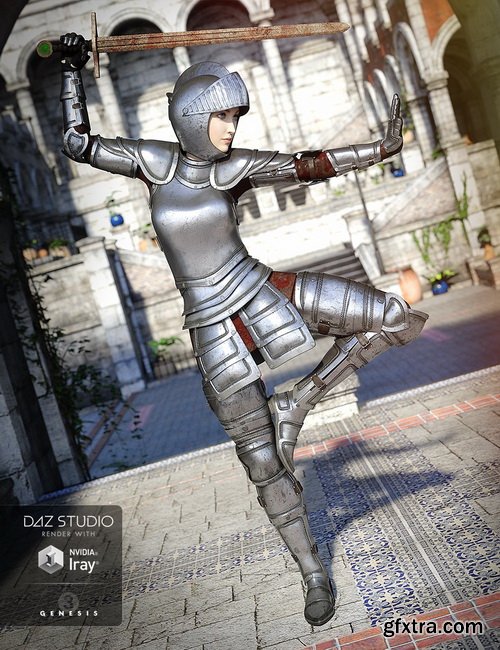
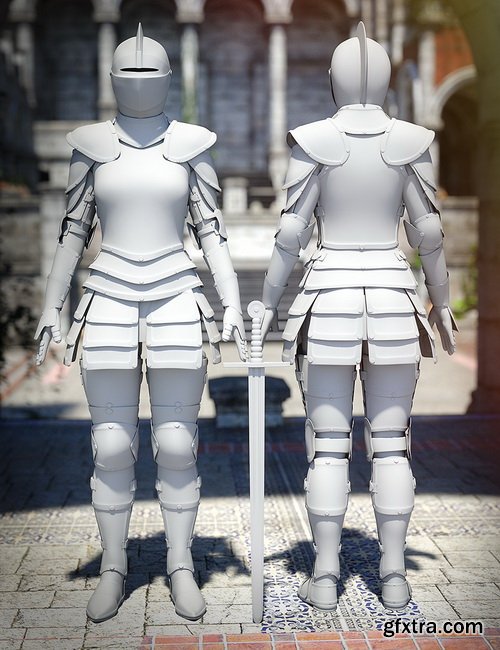
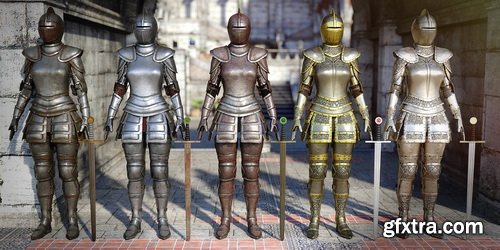
Daz3D - Knight Armor for Genesis 3 Female(s)
DAZ | 3D MODELS
https://www.daz3d.com/knight-armor-for-genesis-3-female-s
Categories: 3D Models & Addons » Poser
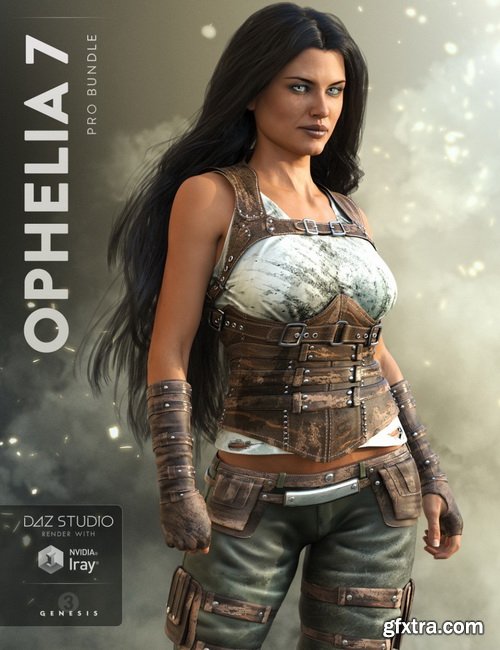
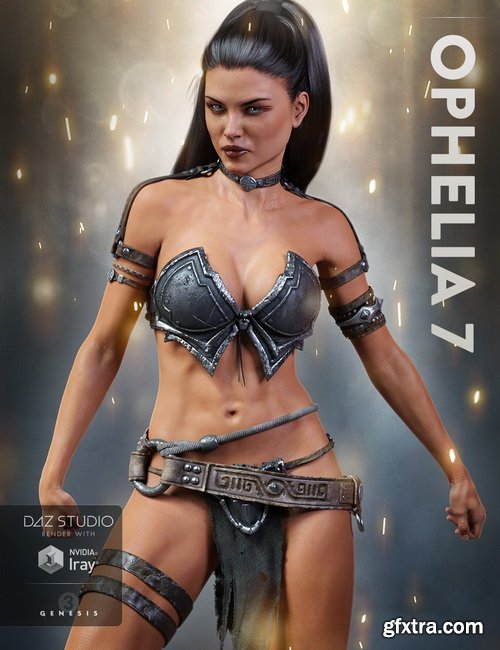
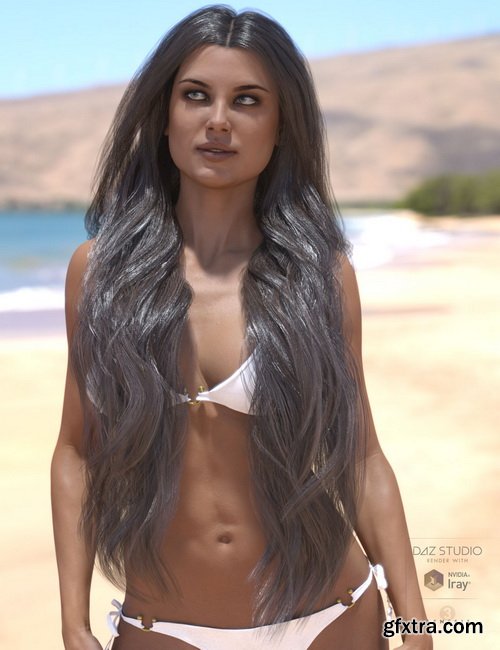
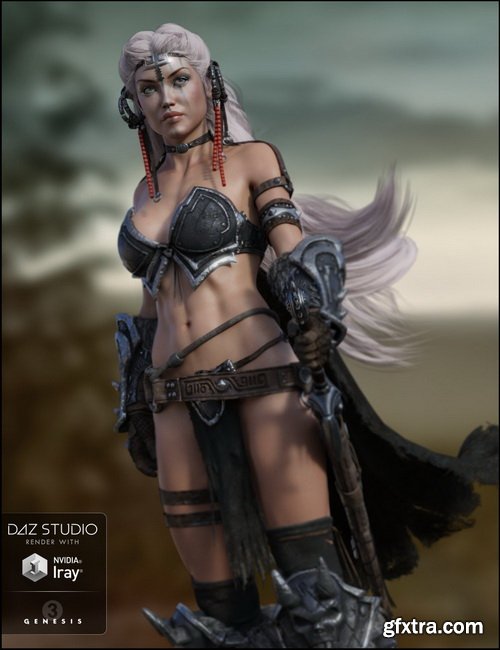
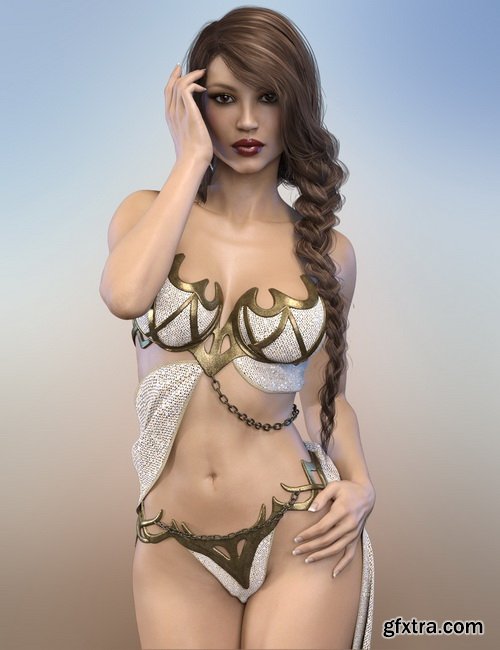
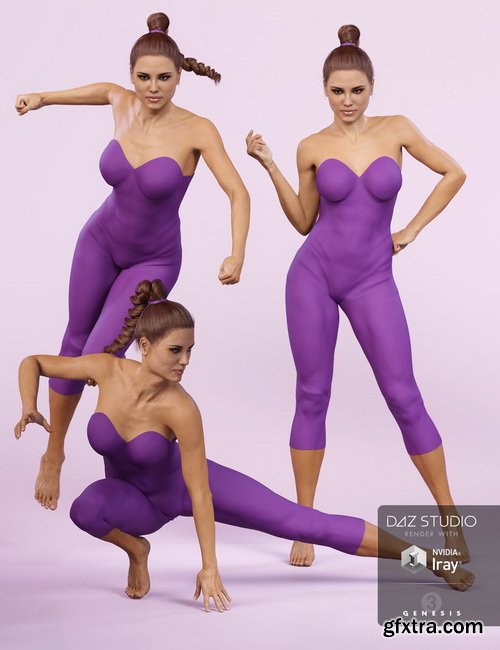
Daz3D - Ophelia 7 Pro Bundle
DAZ | 3D MODELS
https://www.daz3d.com/ophelia-7-pro-bundle
Categories: 3D Models & Addons » Poser
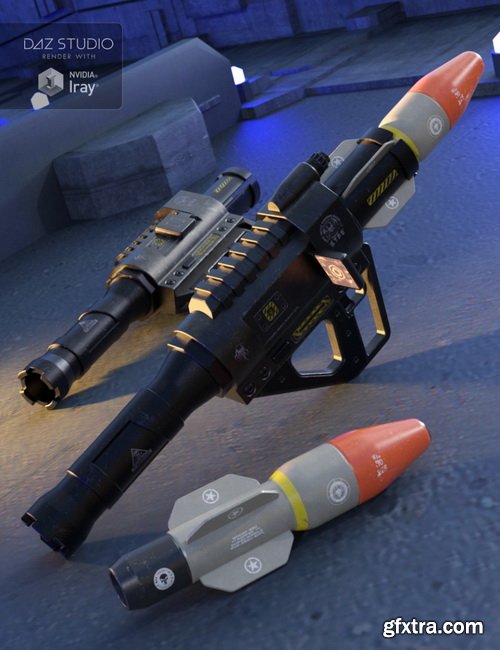
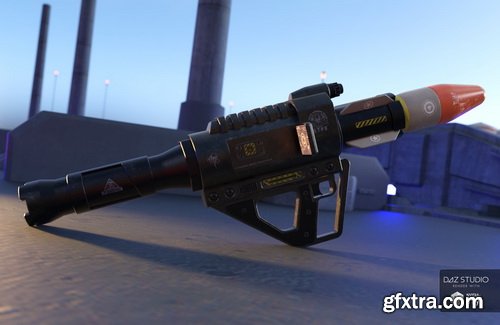
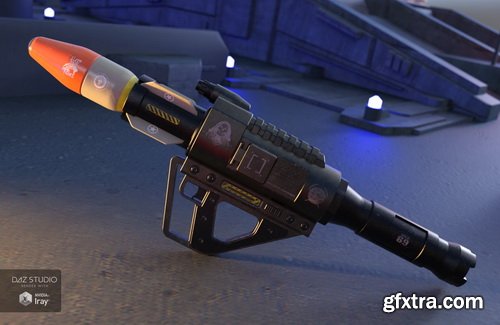
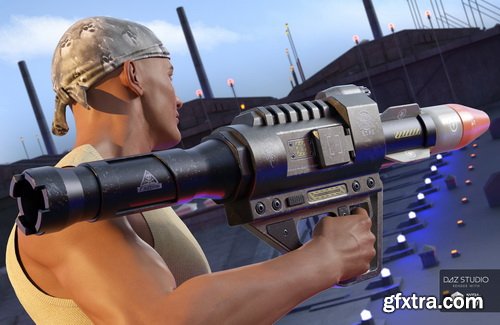
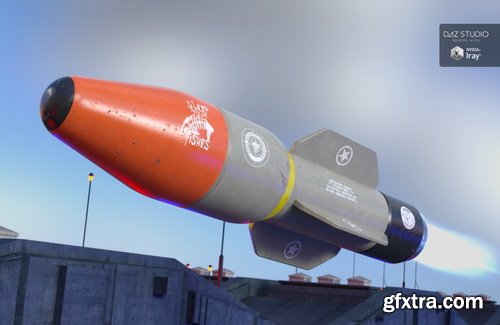
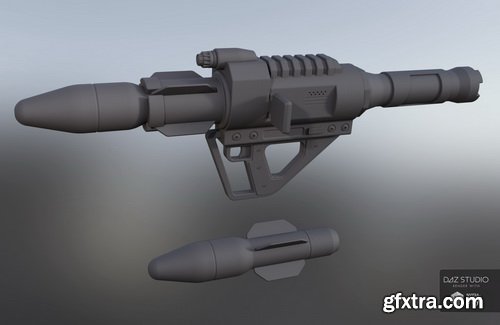
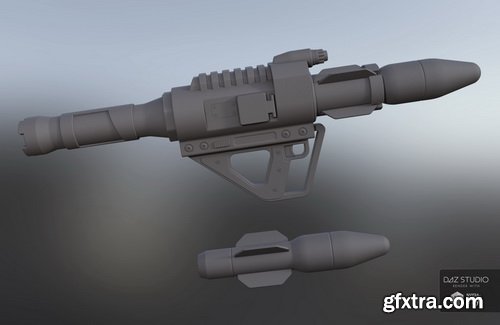
Daz3D - MAGMA-930 Missile Launcher for Genesis 2, 3 and 8 Male(s) and Female(s)
DAZ | 3D MODELS
https://www.daz3d.com/magma-930-missile-launcher-for-genesis-2-3-and-8-male-s-and-female-s
Categories: 3D Models & Addons » Poser
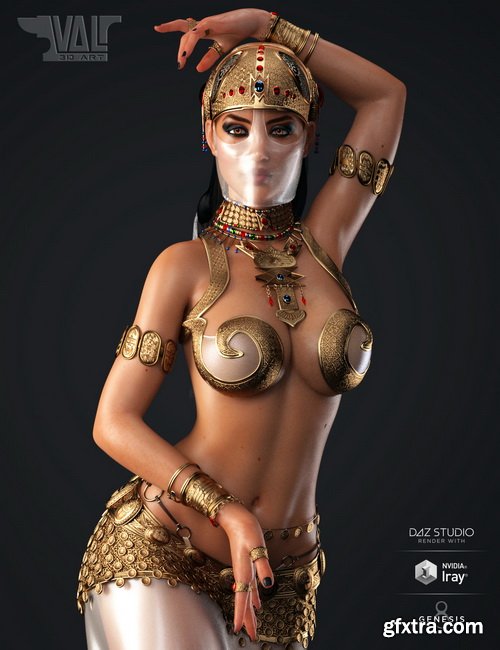
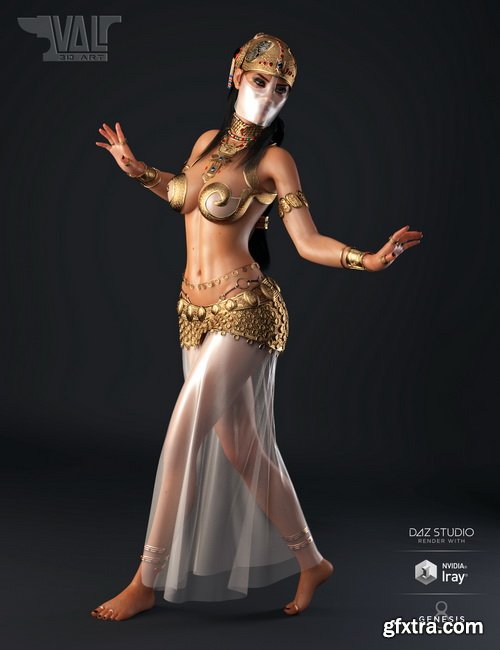
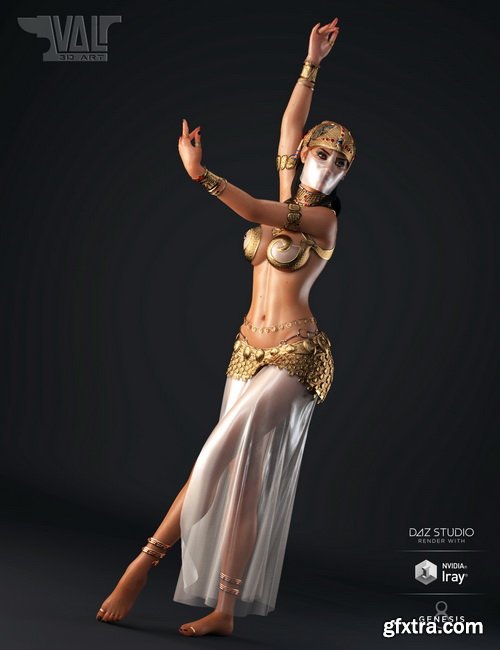
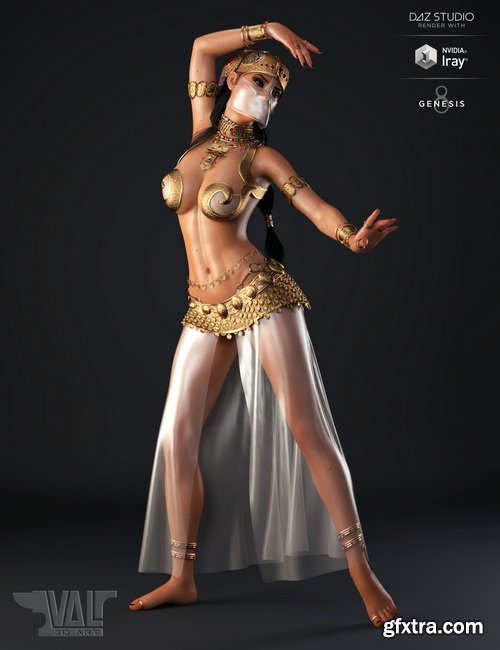
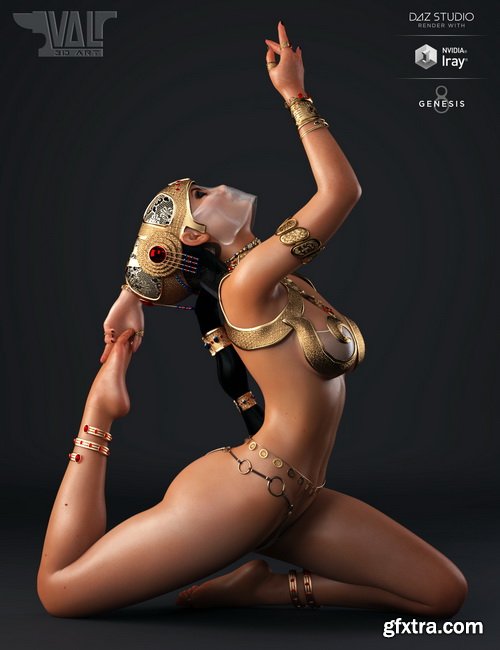
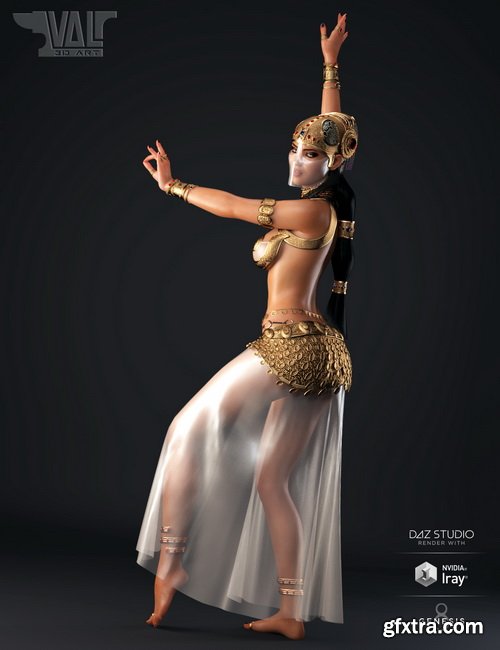
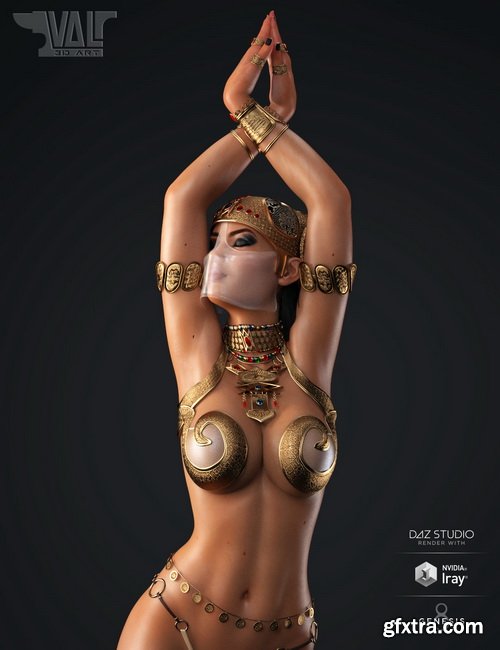
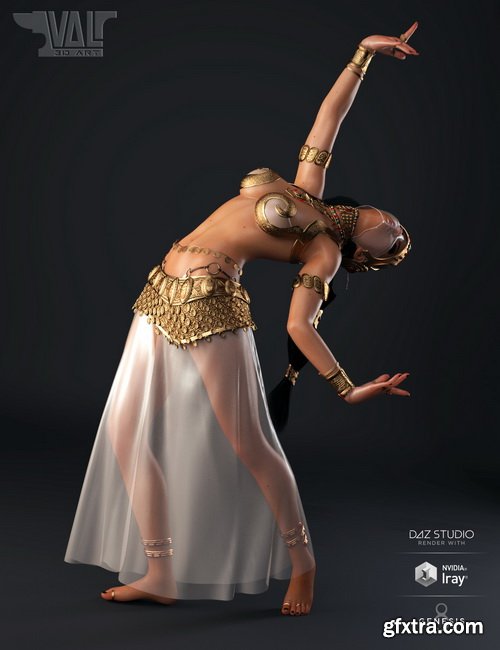
Daz3D - Salome II for Genesis 8 Female
DAZ | 3D MODELS
https://www.renderosity.com/mod/bcs/index.php?ViewProduct=126560
Salome II relive the emotions of this classic fully adapted for Genesis 8 Female and DAZ Studio, with iRay Shaders and ready for dForce
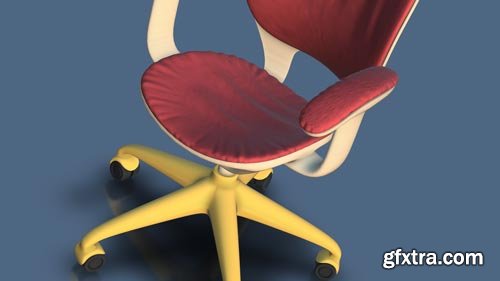
ZBrush and SubD: Design for 3D Printing with SLA
Video: 720p | Duration: 1h 57m | Language: English
Not all CAD packages excel at the same tasks. But moving models between them can be difficult. In this course, you can learn a workflow for moving models between ZBrush and CAD packages that use SubD (subdivision surfaces), such as Rhino. Instructor Jean Gorospe shows how to build incredible designs that take advantage of both their strengths-and prepare for an exciting 3D printing process known as stereolithography (SLA). Follow along and discover how to build a modern task chair in Rhino, transfer the model to ZBrush for high-res detailing, send the mesh back to Rhino to convert it to NURBs, and finalize the design for printing. Jean even shows you what the results look like coming straight off an SLA printer, and after they've been washed and cured.
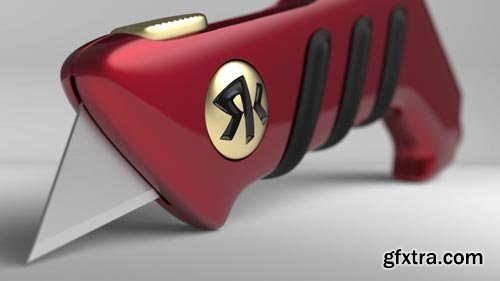
Zbrush and Keyshot for Product Design and Rendering
Video: 720p | Duration: 1h 42m | Language: English
Starting from design sketches, this course covers the 3D sculpting and modeling of a product concept in ZBrush. Discover techniques and workflows that can help you design efficiently. Then, find out how to take 3D models from ZBrush to KeyShot, where photorealistic renderings can be made for presentation purposes. Learn the steps and processes for setting up materials, using shaders and lights, and configuring helpful render settings

X-Particles 4 for Cinema 4D Essential Training
Video: 720p | Duration: 5h 40m | Language: English
X-Particles 4 is a stellar addition to Cinema 4D, allowing artists to quickly and easily create finely rendered fluid simulations, dynamics, and collisions. This course gets you started with this powerful plugin. Join Andy Needham as he walks through the Emitter interface, and shows how to use modifiers to change the look and behavior of particles. Andy demonstrates how to create visible particles, make fluid and fire simulations, and render your work. He also covers additional ways to sculpt particles, and shares helpful tips for enhancing your workflow.

Voice-Over for Video and Animation
Video: 720p | Duration: 1h 30m | Language: English
Voice acting (voice-over) is more than just funny voices. This course prepares voice actors and directors for what is expected in a recording session and provides tips to improve anyone's voiceover skills. Director and storyboard artist Mark Simon reveals the industry standards for producing better voice sessions, as well as techniques to improve line readings and create a winning demo reel. He also covers the nuts and bolts of recording, delivering, and backing up audio files, and achieving that professional sound for personal projects at a home studio or office.
Top Rated News
- Sean Archer
- AwTeaches
- Learn Squared
- PhotoWhoa
- Houdini-Course
- Photigy
- August Dering Photography
- StudioGuti
- Creatoom
- Creature Art Teacher
- Creator Foundry
- Patreon Collections
- Udemy - Turkce
- BigFilms
- Jerry Ghionis
- ACIDBITE
- BigMediumSmall
- Boom Library
- Globe Plants
- Unleashed Education
- The School of Photography
- Visual Education
- LeartesStudios - Cosmos
- All Veer Fancy Collection!
- All OJO Images
- All ZZVe Vectors


