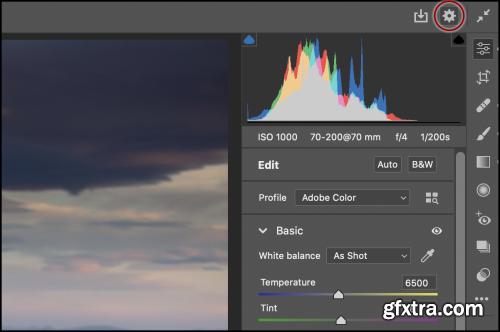
Adobe Camera Raw - Up to Speed
https://www.skillshare.com/classes/Adobe-Camera-Raw-Up-to-Speed/247755928
This course helps you to get up and running quickly with Adobe’s powerful image editing plug-in. This handy step-by-step class starts from scratch, starting with basic Camera Raw topics and moving on to more advanced features to help you to become more productive more quickly.
In no time at all you’ll be navigating the Camera Raw Interface: adjusting image exposure, clarity, vibrance and saturation; removing haze from images; adjusting shadows and highlights; changing color and adjusting white balance; using handy tools such as the Adjustment Brush, Graduated Filter and Range Masking tools; cropping and straightening images; fixing perspective problems; creating panoramas and merging photos using HDR; and much more.
Who is this course for?
This course was created for people new to photography as well as well-seasoned photographers looking to learn how to use this powerful plug-in This course will also be helpful for those coming from a previous versions of Camera Raw or those looking to delve more deeply into all of the features of Camera Raw.
What does this course include?
- Step-by-step instructional videos that are easy to follow
- Downloadable lesson files allowing you to follow along with the instructor
- Support for any questions you may have
What You’ll Learn:
- Basics. We’ll begin by looking at the difference between RAW vs JPEG processing. We’ll look at how to choose a camera profile as a starting point and make virtual copies of our images. You’ll learn a bunch of Develop Module shortcuts as well as how to use third-party plug-ins.
- Image Adjustment Basics: Next, we’ll drive into photo editing beginning with a Basic Panel. You’ll learn how to adjust image exposure, contrast and clarity as well as tweek the vibrance and saturation. We’ll discuss how to remove fog and haze from images, adjust the shadows and highlights and blacks and whites, and how to effectively use Lightroom’s Clipping Indicators.
- Working with Color: We’ll go in-depth working with Color in Camera Raw. You’ll learn how to set the white balance in an image as well as how to change color in an image. We’ll also add some interesting effects using split toning, learn how to apply selective adjustments using the Adjustment Brush, how to add a gradient using the Graduated Filter tool and learn how to use Lightroom’s new Range Masking Feature.
- Fixing Common Image Problems: To help you fix those pesky image problems, you’ll learn how to crop and straighten photos, remove spots and other image imperfections, and fix red eye. You’ll also make lens corrections, fix perspective problems and even rotate images.
- Beyond the Basics: We’ll then move into some of the more advanced Lightroom editing features. You’ll learn how to adjust contrast using Lightroom’s Tone Curve, how to merge multiple images into a panorama or merge bracketed photos into an HDR image.
- Adding Effects and Finishing Touches: You’ll learn how to add those special finishing touches to an image. You’ll learn how to add a post-crop vignette, add grain, reduce color and luminance noise and sharpen your images. We’ll also add a spotlight to areas of our image using Camera Raw’s handy Radial Filter tool. You also work with removing Camera Raw adjustments from an image as well as learn how to export your images into a variety of different formats.


