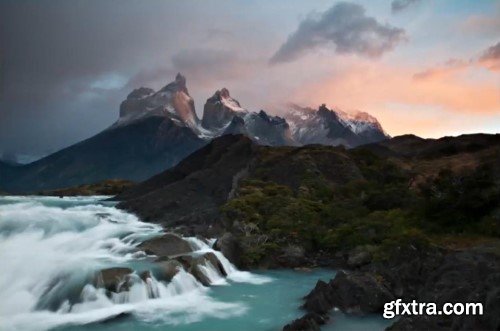
These videos present my personal digital image processing workflow using Adobe Camera Raw and Adobe Photoshop.
The first eight videos in the series focus on basic techniques for raw conversion, working with layers and masks, image editing using adjustment layers, black & white conversion, and blending multiple exposures. Personally, I think that instructional videos are simply the best way to learn the complexities of digital image processing.
Content of this course:
1. Introduction to Layers and Masks. This introduction to using layers and masks in Photoshop teachers the fundamentals of working with layers and vector masks, the cornerstone of advanced digital image processing.
2. Working With Adjustment Layers. Demonstrates my personal Photoshop digital image processing workflow using five basic adjustment layers to optimize photos in terms of color, saturation, and contrast.
3. Introduction to Black & White Conversion. Introduces basic black & white conversion techniques using Adobe Photoshop, and demonstrates advanced techniques for fine-tuning conversions.
4. Basic Blending Techniques. This introduction to blending multiple exposures shows how to merge exposures using the layer masking techniques discussed in previous tutorials, and includes tips for making blends look realistic.
5. Advanced Blending: Channel Selections. Teaches advanced techniques for making difficult multiple exposure blends. Channel selections are often an elegant solution to challenging exposure blends.
6. Multiply Mode Blends. RAW files often lack color, contrast, and saturation, appearing washed out, especially in highlight areas. This tutorial teaches how to use multiply mode blends to easily add drama and punch.
7. Creative White Balance Processing. Sometimes a single white balance setting can't capture the range of tones and colors seen by the eye. Learn how to double-process a raw file for creative white balance effects.
8. Optimizing Photos for Web Presentation. Introduces resizing, sharpening, and color optimizing photographs for presentation on the Internet. Includes discussion of sRGB conversion and file size optimization.
9. Cloning, Patching, and Fills. Explains several easy ways of removing footprints, blemishes, sensor dust, and other distracting elements. Includes a discussion of cloning, patches, and content aware fills.
10. Removing Lens Flare. Demonstrates techniques for removing lens flare, and includes a field technique that, when combined with some easy Photoshop processing, allows flare to be easily removed.
11. Wildlife Photography Techniques. Introduces basic techniques for adding some character to wildlife photos, including background blurs, catch-lights, and techniques for toning down highlight areas.
12. Selective Color Adjustments. Selective Color is a powerful tool that allows darkening blue skies for drama, optimizing the colors and hues in digital images, and adding color to sunset skies.
13. Removing Digital Noise. Teaches basic and advanced methods of removing digital noise and chromatic aberrations using layer-masking techniqes.
14. Creative Blurring. How to add creative blurs, including background blurs for macro, motion-blur effects for wildlife, and the "Orton" technique for creating dreamy images.
Top Rated News
- Sean Archer
- AwTeaches
- Learn Squared
- PhotoWhoa
- Houdini-Course
- Photigy
- August Dering Photography
- StudioGuti
- Creatoom
- Creature Art Teacher
- Creator Foundry
- Patreon Collections
- Udemy - Turkce
- BigFilms
- Jerry Ghionis
- ACIDBITE
- BigMediumSmall
- Boom Library
- Globe Plants
- Unleashed Education
- The School of Photography
- Visual Education
- LeartesStudios - Cosmos
- All Veer Fancy Collection!
- All OJO Images
- All ZZVe Vectors


