English | 17h 41m | AVC1 1440x900 24 fps | AAC 64 Kbps 44.1 KHz | 6.78 GB
Genre: eLearning
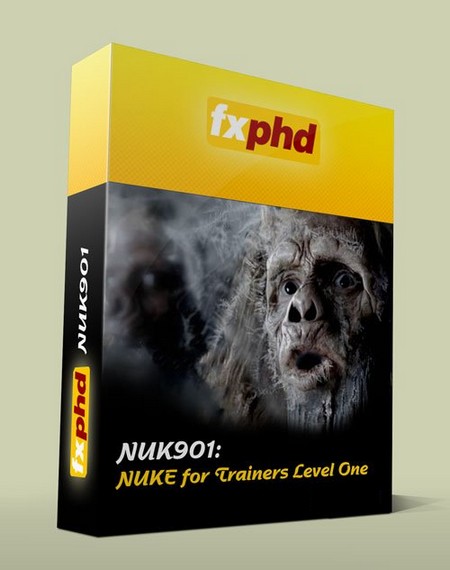
Level I - Introduction (17 Hours 41 Mins) - Welcome to Level I, an Introduction to The Foundry’s NUKE, made specifically for trainers. With nearly eighteen hours of material we believe this is the most comprehensive training on NUKE available. The course is kept completely up-to-date as new versions of NUKE are released, and with access to the Professor via the forums this course is a must for anyone looking to become an accredited NUKE trainer.
Matt Leonard has been in the 3D and visual effects industry for 20 years. He has spoken at various events and shows on behalf of Autodesk, The Foundry and eyeon Software and has had articles published in various magazines and journals. He is a member of the Visual Effects Society and has worked as a beta tester for Maya, Katana, Arnold, RenderMan, Mari and Nuke. He currently runs his own on-site training company in the UK and has trained artists from companies such as ILM, Pixomondo, MPC and Framestore.
class syllabus
Class 1: An Introduction to Nuke (2 hours 21 mins) - Project 1 - In our first class we really hit the ground running starting with a detailed look at the Nukes User Interface. We cover topics like working Panes, adding nodes, working in the Node Graph, and understanding the Properties Panel. We also look at the Viewer and Proxy settings. From here we begin with our first project and look at how Nuke’s Node Based approach differs from other compositors such as After Effects and Flame. Next we look at the importance of setting up a project correctly which leads nicely into a brief overview of Rotoscoping in Nuke. Next we take a detailed look at Nuke’s unique Channel and Channel Set (Layers) system and begin to build our first basic composite. Finally we end the class looking at the Write node, Nuke’s method of rendering out our final composite.
Class 2: Compositing: Live Action, CGI and Multipass CGI (1 hour 23 mins) - Project 2 - Our second class starts by looking at our next project, a shot from the award-winning short ‘Moving Day’. From here we begin looking at compositing in depth, gaining an understanding of how you can bring nodes into the Node Graph and Premultiplied Alpha. We then look at the Bounding Box (or BBox) and Black Outside both fundamental to how Nuke works with images. Following this we look at how the BBox enables us to optimize our composite and how the CurveTool enables us to further increase the speed of the comp. Finally we look at CGI compositing and three different ways of working with CGI multipass files either rendered individually or combined into a single openEXR file. The class finishes with a brief look at the use of the Flipbook which sends the composite to a RAM player for reviewing.
Class 3: Animation, Transforms and Color Management (1 hour 9 mins) - Project 2 - We start the class looking in detail at how Nuke deals with Color Management, how it works with sRGB, Log and Linear images, both reading in and rendering out. We look at Look up Tables (LUT’s) and how we can import them into Nuke along with making our own. We then look at how images/pixels can be transformed (moved, rotated, scaled, etc), along with transformational filtering and motion blur. Then we move onto animation concepts, working with the Graph Editor and Dope Sheet, and how we can copy data from one node to another. We look at more transformation nodes such as Reformat, Crop and Position, before moving on to Clone and Duplicate. We finish the class looking at the visual indicators found on each node, finishing up with a brief look at the Switch Node.
Class 4: Color Correction, Morphing and Warping (1 hour 38 mins) - Project 2 - Our fourth class begins with a detailed look at Nuke’s color correction tools, both what they do and how they work under the hood. We look at Nuke’s ‘atomic operators’ the building blocks of other color correction nodes (Add, Multiply, Gamma, etc) before moving on to the larger color correction nodes (Grade, Color Correction, Color Lookup, Hue Correct, etc). From here we move across to look at the GridWarp and SplineWarp tools and how these can be used for morphing as well.
Class 5: Effects and Filters (1 hour 5 mins) - Project 2 - Our next class focuses on the effects and filters found in Nuke. We begin with a discussion on ‘tile operators’ and how they work differently to the color correct nodes that we looked at in the last class. We focus firstly on the convolve nodes (Matrix, Blur, Convolve, etc), before building a custom Unsharpen Mask and a custom Defocus setup. We then go on to look at some of the other filters and effects found in Nuke before building a custom Edge Blur Matte setup out of Erode nodes. We finish up the class with even more effects and filter nodes including God Rays, Flares, Glints and more.
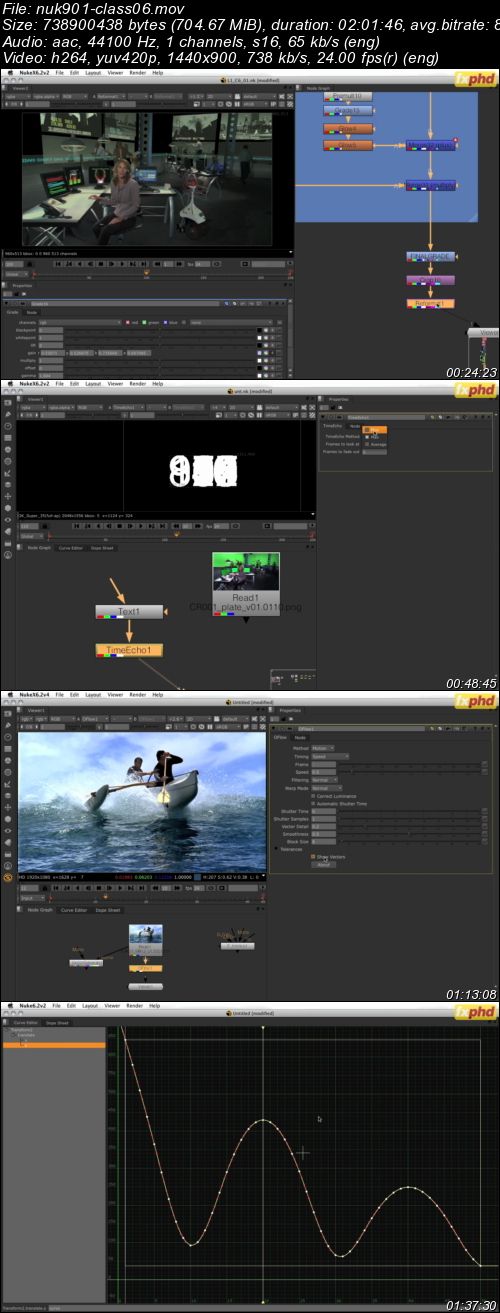
Class 6: Time, Time Editors and Utilities (2 hours 2 mins) - Project 3 - We start by spending the first half an hour of the class looking at our new project (The Control Room) and how it works. For there we look at Nuke’s time nodes which can be used to hold individual frames, speed footage up and down, add motion blur and perform optical flow effects. We then have a detailed look at the Animation/Time Editors (the Graph Editor and Dope Sheet) before finishing the class looking at some of Nuke’s utility nodes including the Dot, Backdrop and Postage Stamp nodes.
Class 7: Roto, Paint and Text (2 hours 3 mins) - Project 3 - In this class we take a detailed, in-depth look at the both the Roto and RotoPaint nodes along with their many features. We also look at how Nuke’s Tracker can be used with both the Roto and Paint nodes. We end our class building a custom title slate which could be used at the beginning of a shot.
Class 8: Keying and Tracking (1 hours 56 mins) - Project 3 - In our eighth class, we start by looking at creating a garbage mask used for removing unwanted elements before pulling a key. From there we look at a number of keys starting with Nuke’s primary Keyer node before moving on to the Difference Keyer, Hue Keyer and finally Keylight. In this section we also look at marker removal techniques, despill and various compositing techniques for integrating the keyed material into the rest of the composite. We then move on to a detailed look at Nuke’s Tracking node, covering Tracking, Stabilizing, Matchmoving and Corner Pinning techniques. Last of all, we look at combining multiple keys together to make a final matte and how Nuke deals with concatenation in its transform nodes.
Class 9: An Introduction to 3D, Projections and UV Mapping (1 hour 47 mins) - Project 4 - In this class we begin to look at Nuke’s superb 3D system, starting with a basic overview of 3D and how to work in Nuke’s 3D environment. From there we build a basic 3D scene, gaining a detailed understanding of all the elements involved including the Camera, ScanlineRender and Card nodes. We also build a simple object in Maya and look at how that can be imported into Nuke. We then move into our next project, a shot from Red Dwarf: Back to Earth. Here we Matchmove the background plate, import a number of .fbx files, created in Maya, rebuild a more complex 3D model, and explore Projection and UV Mapping techniques. We finish up the class looking at how Nuke can export 3D data out as .fbx files and how that can be loaded into Maya, adjusted and exported back out to Nuke.
Class 10: 3D Transformations, Displacements, Lights, Shaders and Cards (2 hour 17 mins) - Project 4 - In our final class of Level I, we start by looking at 3D transformation tools such as the Axis and TransformGeo. We cover how you can create an aim constraint making an object always look at a particular Axis. We then look in detail at Nuke’s shaders, FillMat and Lights including Shadows and HDRI. We then move on to look at the integration of Pixar’s RenderMan into Nuke including the PRmanRender and the Reflection and Refraction shaders. From here we focus on 3D deformation tools before moving on to look in-depth at Nuke’s widely used Card node, including its ability to accurately represent a really world photograph and its extended (and linear) bicubic system. We end the class looking at Nuke’s ability to snap 3D objects to vertices. 
Download Links:
http://rapidgator.net/file/87b293476e130e367d4d4ed20bed3ea5/fxphd_NUK901_NUKE_for_Trainers_Level_One.part1.rar.html
http://rapidgator.net/file/885d56d6c0031b5273f205b0e0edd6f4/fxphd_NUK901_NUKE_for_Trainers_Level_One.part2.rar.html
http://rapidgator.net/file/4f5a78ccb60cbec83f7bc1f9bafb3996/fxphd_NUK901_NUKE_for_Trainers_Level_One.part3.rar.html
http://rapidgator.net/file/9bd4c034a786627400a25828a6050b49/fxphd_NUK901_NUKE_for_Trainers_Level_One.part4.rar.html
http://rapidgator.net/file/8fe7cb510e372865b3f8a11ba176bbe3/fxphd_NUK901_NUKE_for_Trainers_Level_One.part5.rar.html
http://rapidgator.net/file/5a08b54b10a8f29c5eb3aac618f2bf1b/fxphd_NUK901_NUKE_for_Trainers_Level_One.part6.rar.html
http://rapidgator.net/file/dcaeddcc27a8022072b3b9905bc13923/fxphd_NUK901_NUKE_for_Trainers_Level_One.part7.rar.html
http://rapidgator.net/file/1a798ab080836fe1fa0f9720e1c1d7c6/fxphd_NUK901_NUKE_for_Trainers_Level_One.part8.rar.html
Uploaded:
http://uploaded.net/file/snpfmfv5/fxphd_NUK901_NUKE_for_Trainers_Level_One.part6.rar
http://uploaded.net/file/hvf0v61j/fxphd_NUK901_NUKE_for_Trainers_Level_One.part4.rar
http://uploaded.net/file/sc2bo7u0/fxphd_NUK901_NUKE_for_Trainers_Level_One.part2.rar
http://uploaded.net/file/0pw1kugj/fxphd_NUK901_NUKE_for_Trainers_Level_One.part3.rar
http://uploaded.net/file/q6szuk15/fxphd_NUK901_NUKE_for_Trainers_Level_One.part5.rar
http://uploaded.net/file/gb6pv8ul/fxphd_NUK901_NUKE_for_Trainers_Level_One.part1.rar
http://uploaded.net/file/hq95c6mp/fxphd_NUK901_NUKE_for_Trainers_Level_One.part7.rar
http://uploaded.net/file/ct0dvdlp/fxphd_NUK901_NUKE_for_Trainers_Level_One.part8.rar
TO MAC USERS: If RAR password doesn't work, use this archive program:
RAR Expander 0.8.5 Beta 4 and extract password protected files without error.
TO WIN USERS: If RAR password doesn't work, use this archive program:
Latest Winrar and extract password protected files without error.

