Lynda.com Photorealistic Lighting with Maya and Nuke
with Mark Lefitz
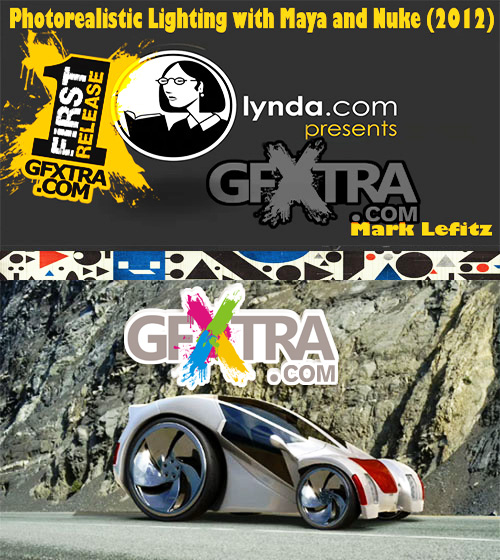
This course demonstrates how to light an object on a live-action still plate, using Maya, Nuke, and Adobe Photoshop. Author Mark Lefitz shows how to capture and use a high dynamic range image (HDRI) as the main light source, as well as how to analyze the plate to determine lighting direction, intensity, reflection, and shadow information. He layers in additional key, fill, and bounce lighting, plus ray-traced shadows, using the mental ray render engine. The course also demonstrates how to render various passes from mental ray to composite the final image in Nuke. The composite is finished off with some motion blur and vignetting in Photoshop.
Topics include:
Understanding image-based lighting
Analyzing and color correcting the background plate
Creating a 3D camera to match the plate
Lighting with low-quality settings and proxies
Setting light samples
Setting up render passes
Rendering mattes ground shadow, and occlusions passes
Adding gamma correction in Nuke
Adding the object to the plate and rendering the final composite
Retouching the composite using Photoshop
Introduction 3m 12s
Welcome 52s
What you should know before watching this course 37s
Using the exercise files 1m 43s
1. Image-Based Lighting 19m 0s
Explaining image-based lighting 1m 12s
Examining how the HDRI was created 2m 42s
Shooting the background plate 3m 44s
Analyzing and color correcting the background plate 6m 0s
Correcting the HDRI 5m 22s
2. Asset Integration 17m 0s
Using Maya references to import the geometry 4m 42s
Creating a 3D camera to match the plate 5m 0s
Setting up image-based lighting 5m 13s
Determining render resolution 2m 5s
3. Lighting 28m 27s
Exploring mental ray light types 6m 20s
Lighting with low quality settings and proxies 4m 41s
Working with area lights 5m 29s
Setting light samples 3m 22s
Using raytrace shadows 2m 23s
Lighting the body lines 2m 51s
Adding a bounce light 3m 21s
4. mental ray Rendering 16m 16s
Using render layers 2m 51s
Setting up render passes 3m 28s
Creating 32-bit files 3m 39s
Adjusting the render quality settings 2m 42s
Explaining final gathering 2m 24s
Rendering the final image 1m 12s
5. Creating Secondary Passes 24m 32s
Rendering matte passes 5m 14s
Creating a ground occlusion pass 4m 7s
Creating a ground shadow pass 3m 22s
Adding ambient occlusion 6m 29s
Adding a fresnel pass 5m 20s
6. Compositing the Rendered Passes in Nuke 26m 15s
Adding a gamma correction in Nuke 2m 1s
Getting started in Nuke 6m 5s
Color correcting the passes using mattes 4m 0s
Adding the secondary passes 4m 11s
Adding the background plate and the shadow 6m 35s
Adding the car and rendering the final composite 3m 23s
7. Final Touch-Ups in Photoshop 8m 46s
Adding motion blur to the wheels 3m 27s
Fixing the road 2m 46s
Adding a vignette 2m 33s
Conclusion 1m 10s
Comparing the final composite with the original plate 1m 10s
Letitbit Link
TO MAC USERS: If RAR password doesn't work, use this archive program:
RAR Expander 0.8.5 Beta 4 and extract password protected files without error.
TO WIN USERS: If RAR password doesn't work, use this archive program:
Latest Winrar and extract password protected files without error.

